Zimmereben / Huterlaner Klettersteig (C/D, 500m), 2011
Key Facts
| Location: | Mayrhofen, Zillertal, Austria |
| Difficulty: | Huterlaner C, Zimmereben A/B |
| Exposure: | Northwest |
| Walking time: | ca. 2 hours, ca. 1 hour |
| Climbing length: | ca. 220 m |
| Elevation gain: | ca. 220 m |
| Descent: | Descent via hiking trail or Gasthof Zimmereben |
| Summit: | Zimmereben ca. 1.130 m |
Links
via-ferrata.de
bergsteigen.com
klettersteig.de
bergsteigen.com
klettersteig.de
zimmereben.at
Report
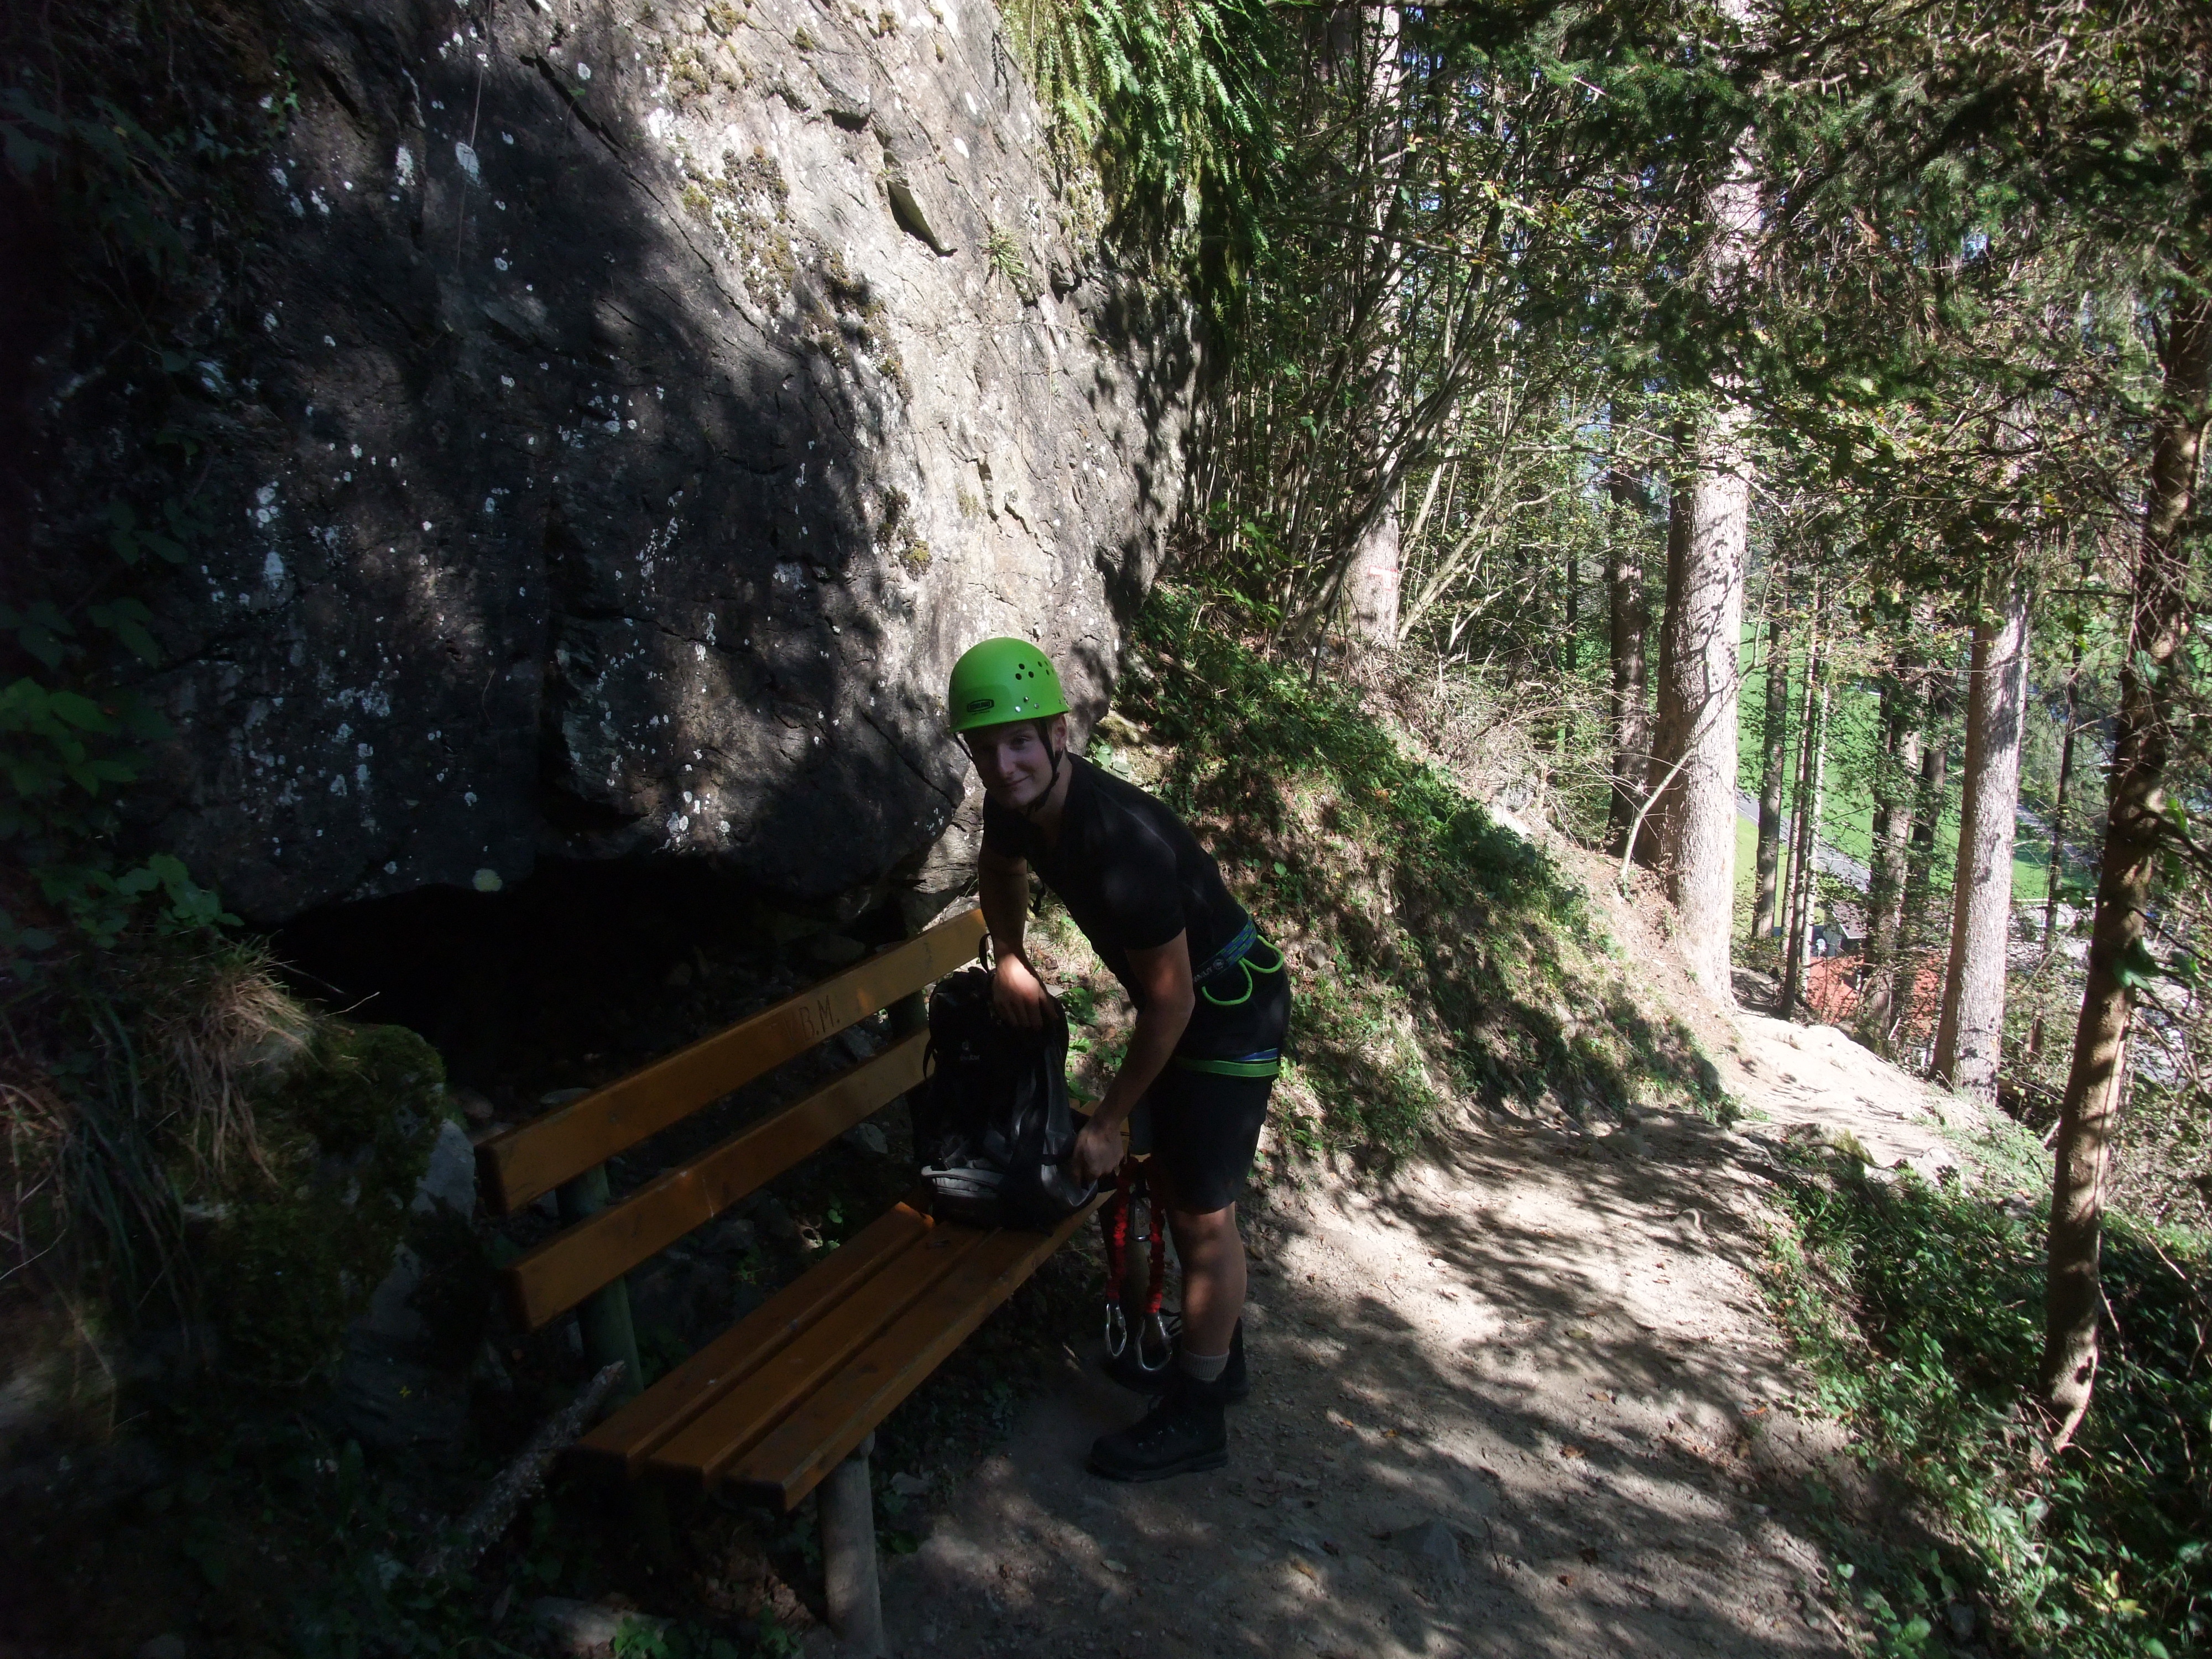
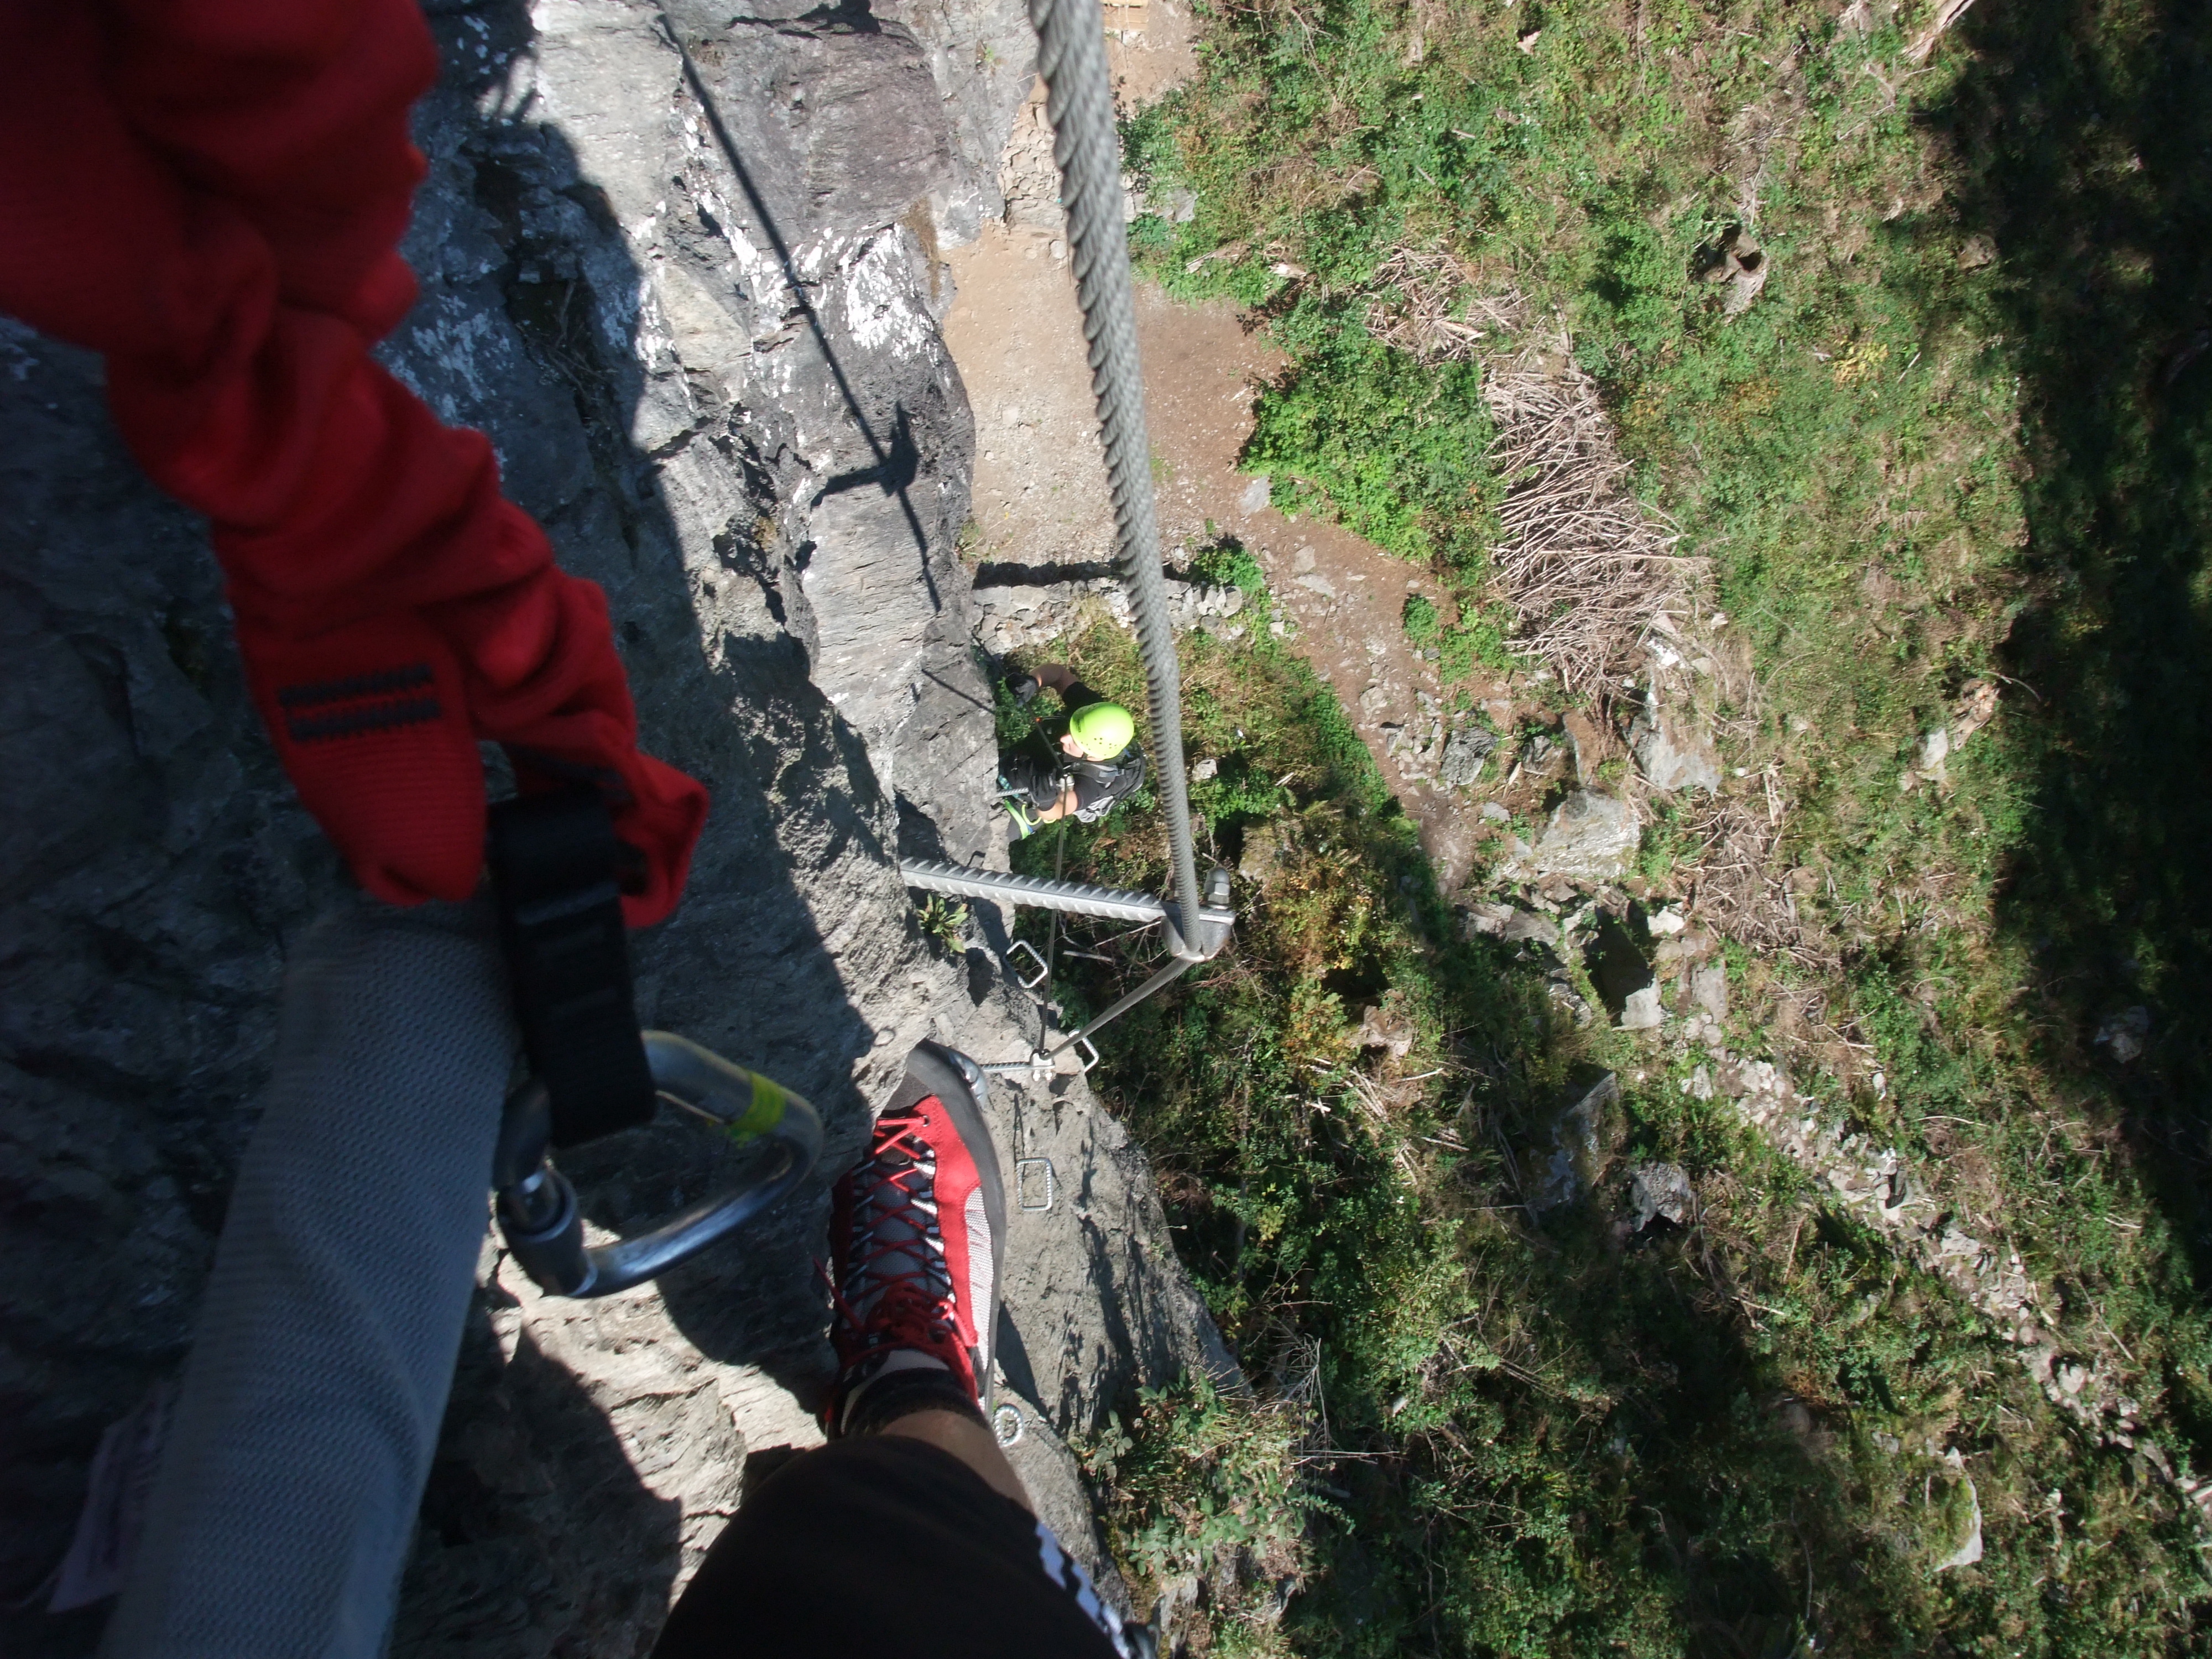
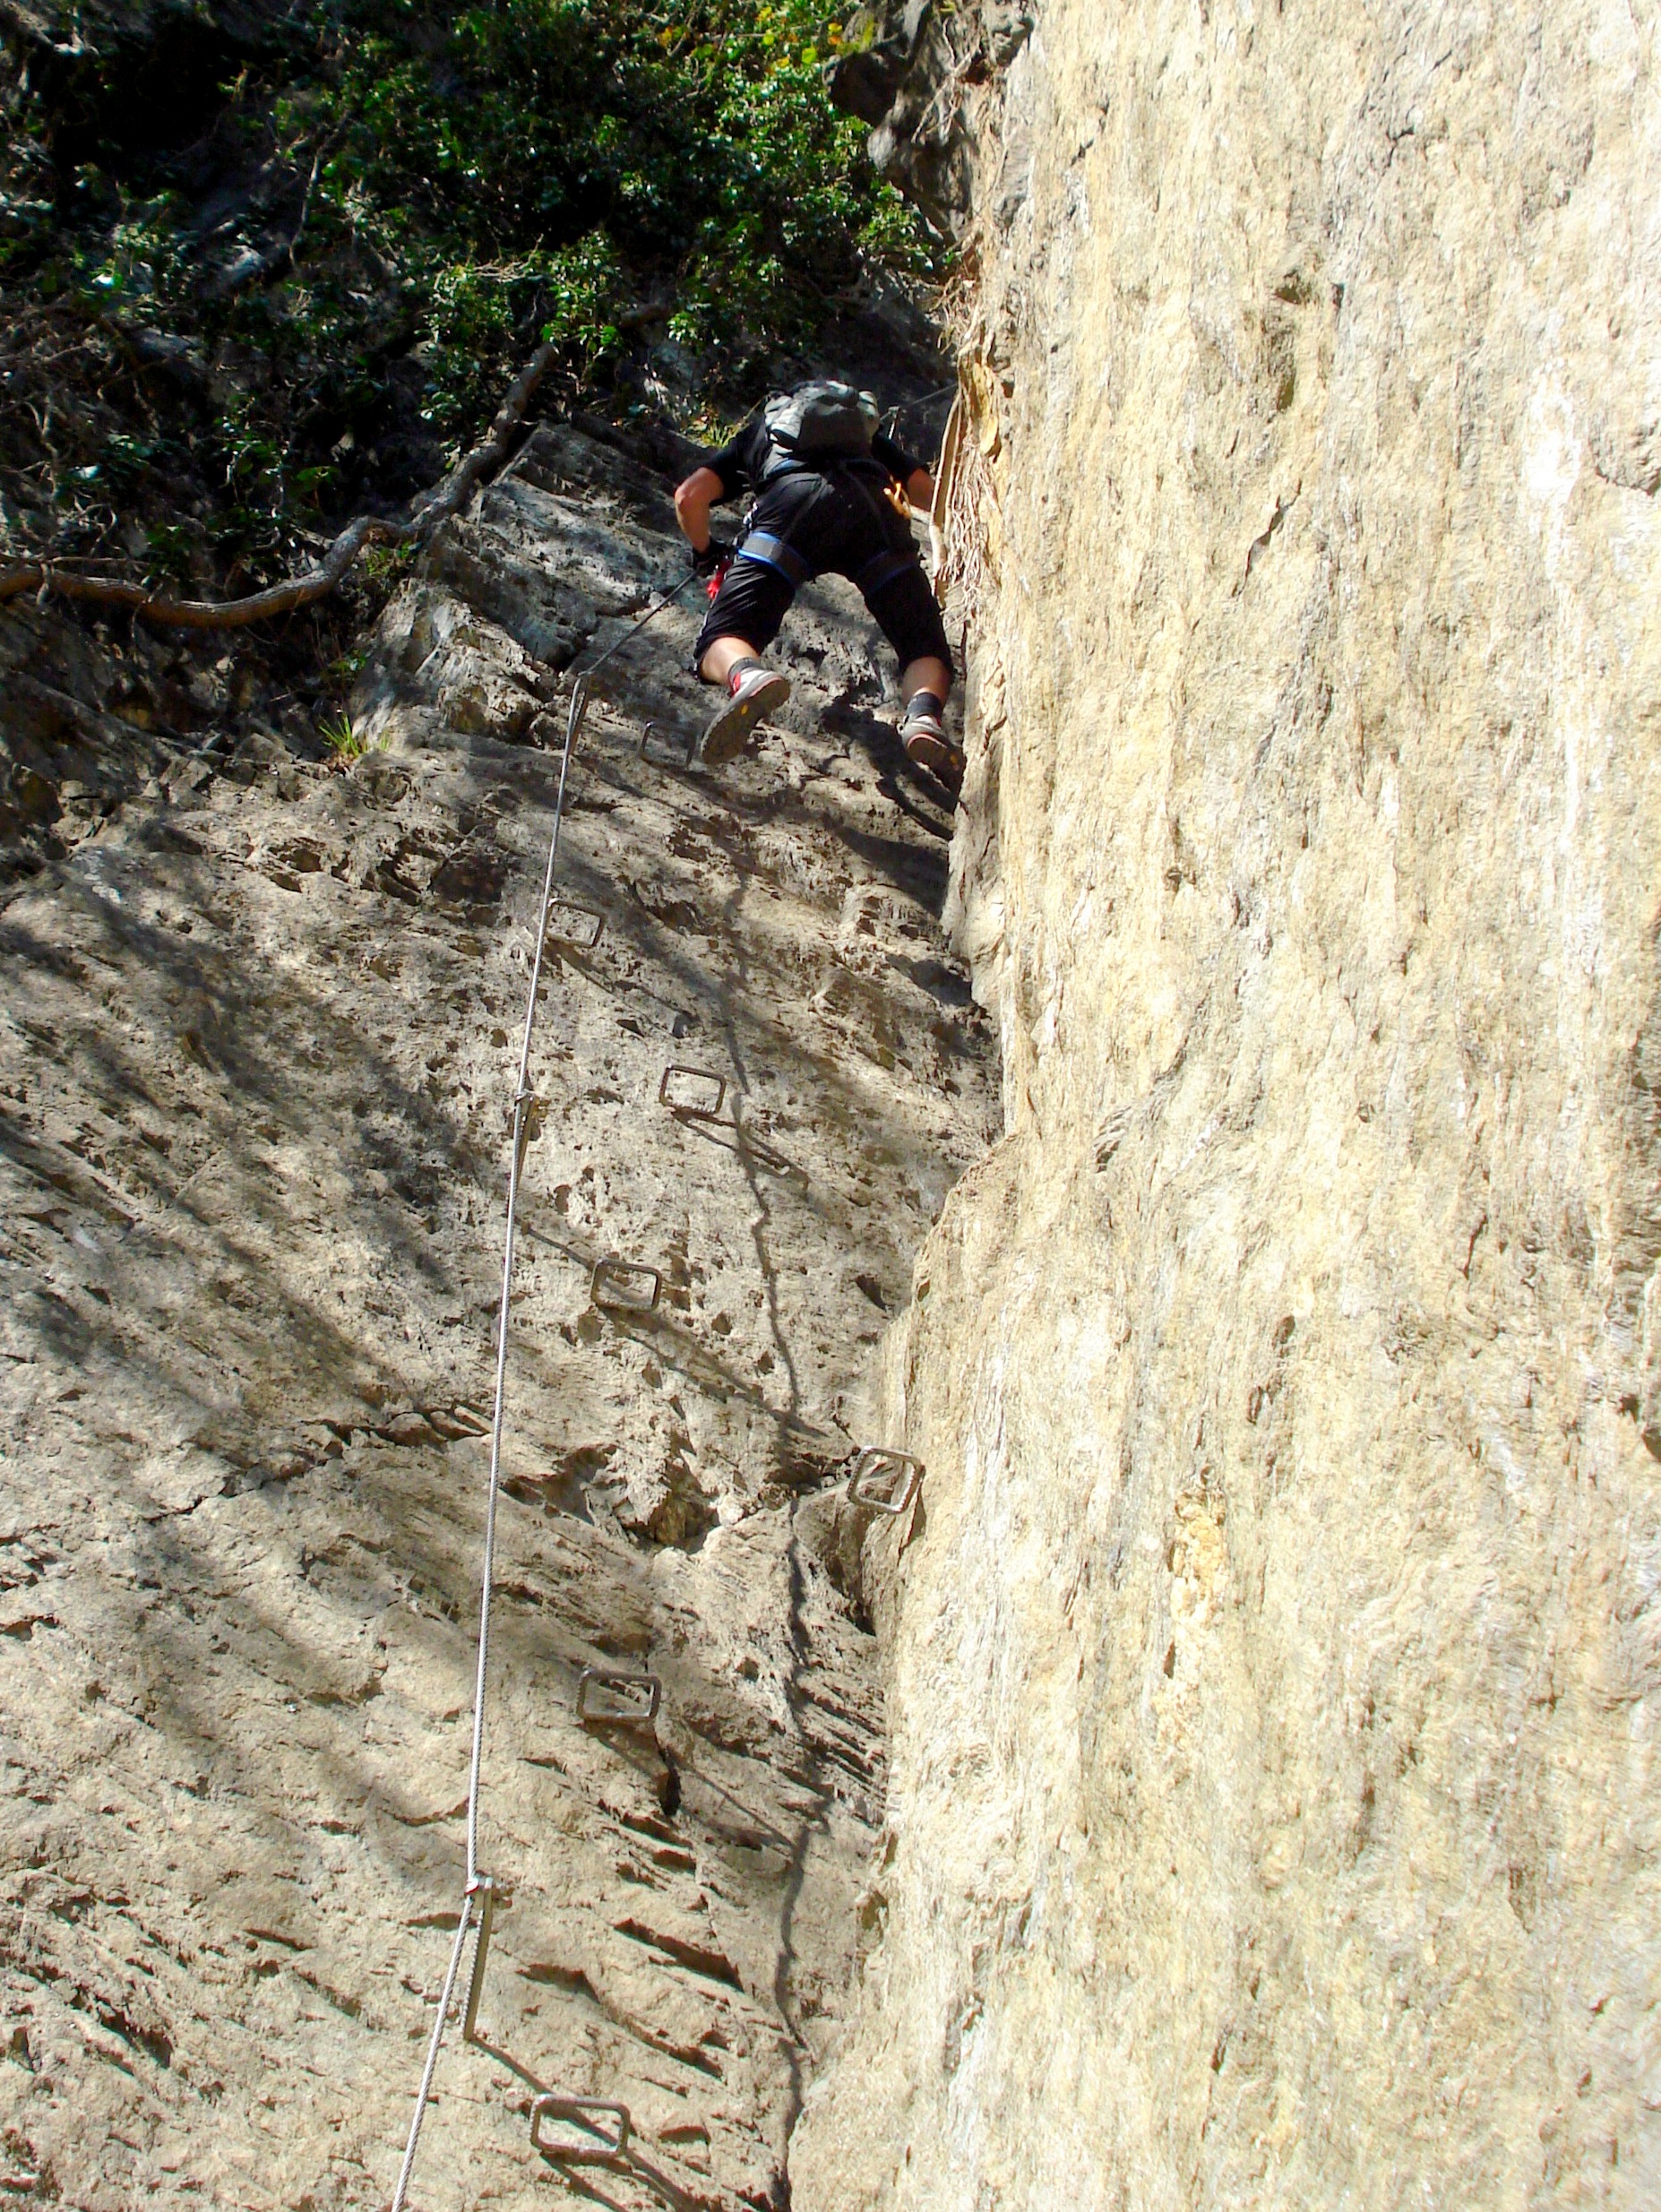
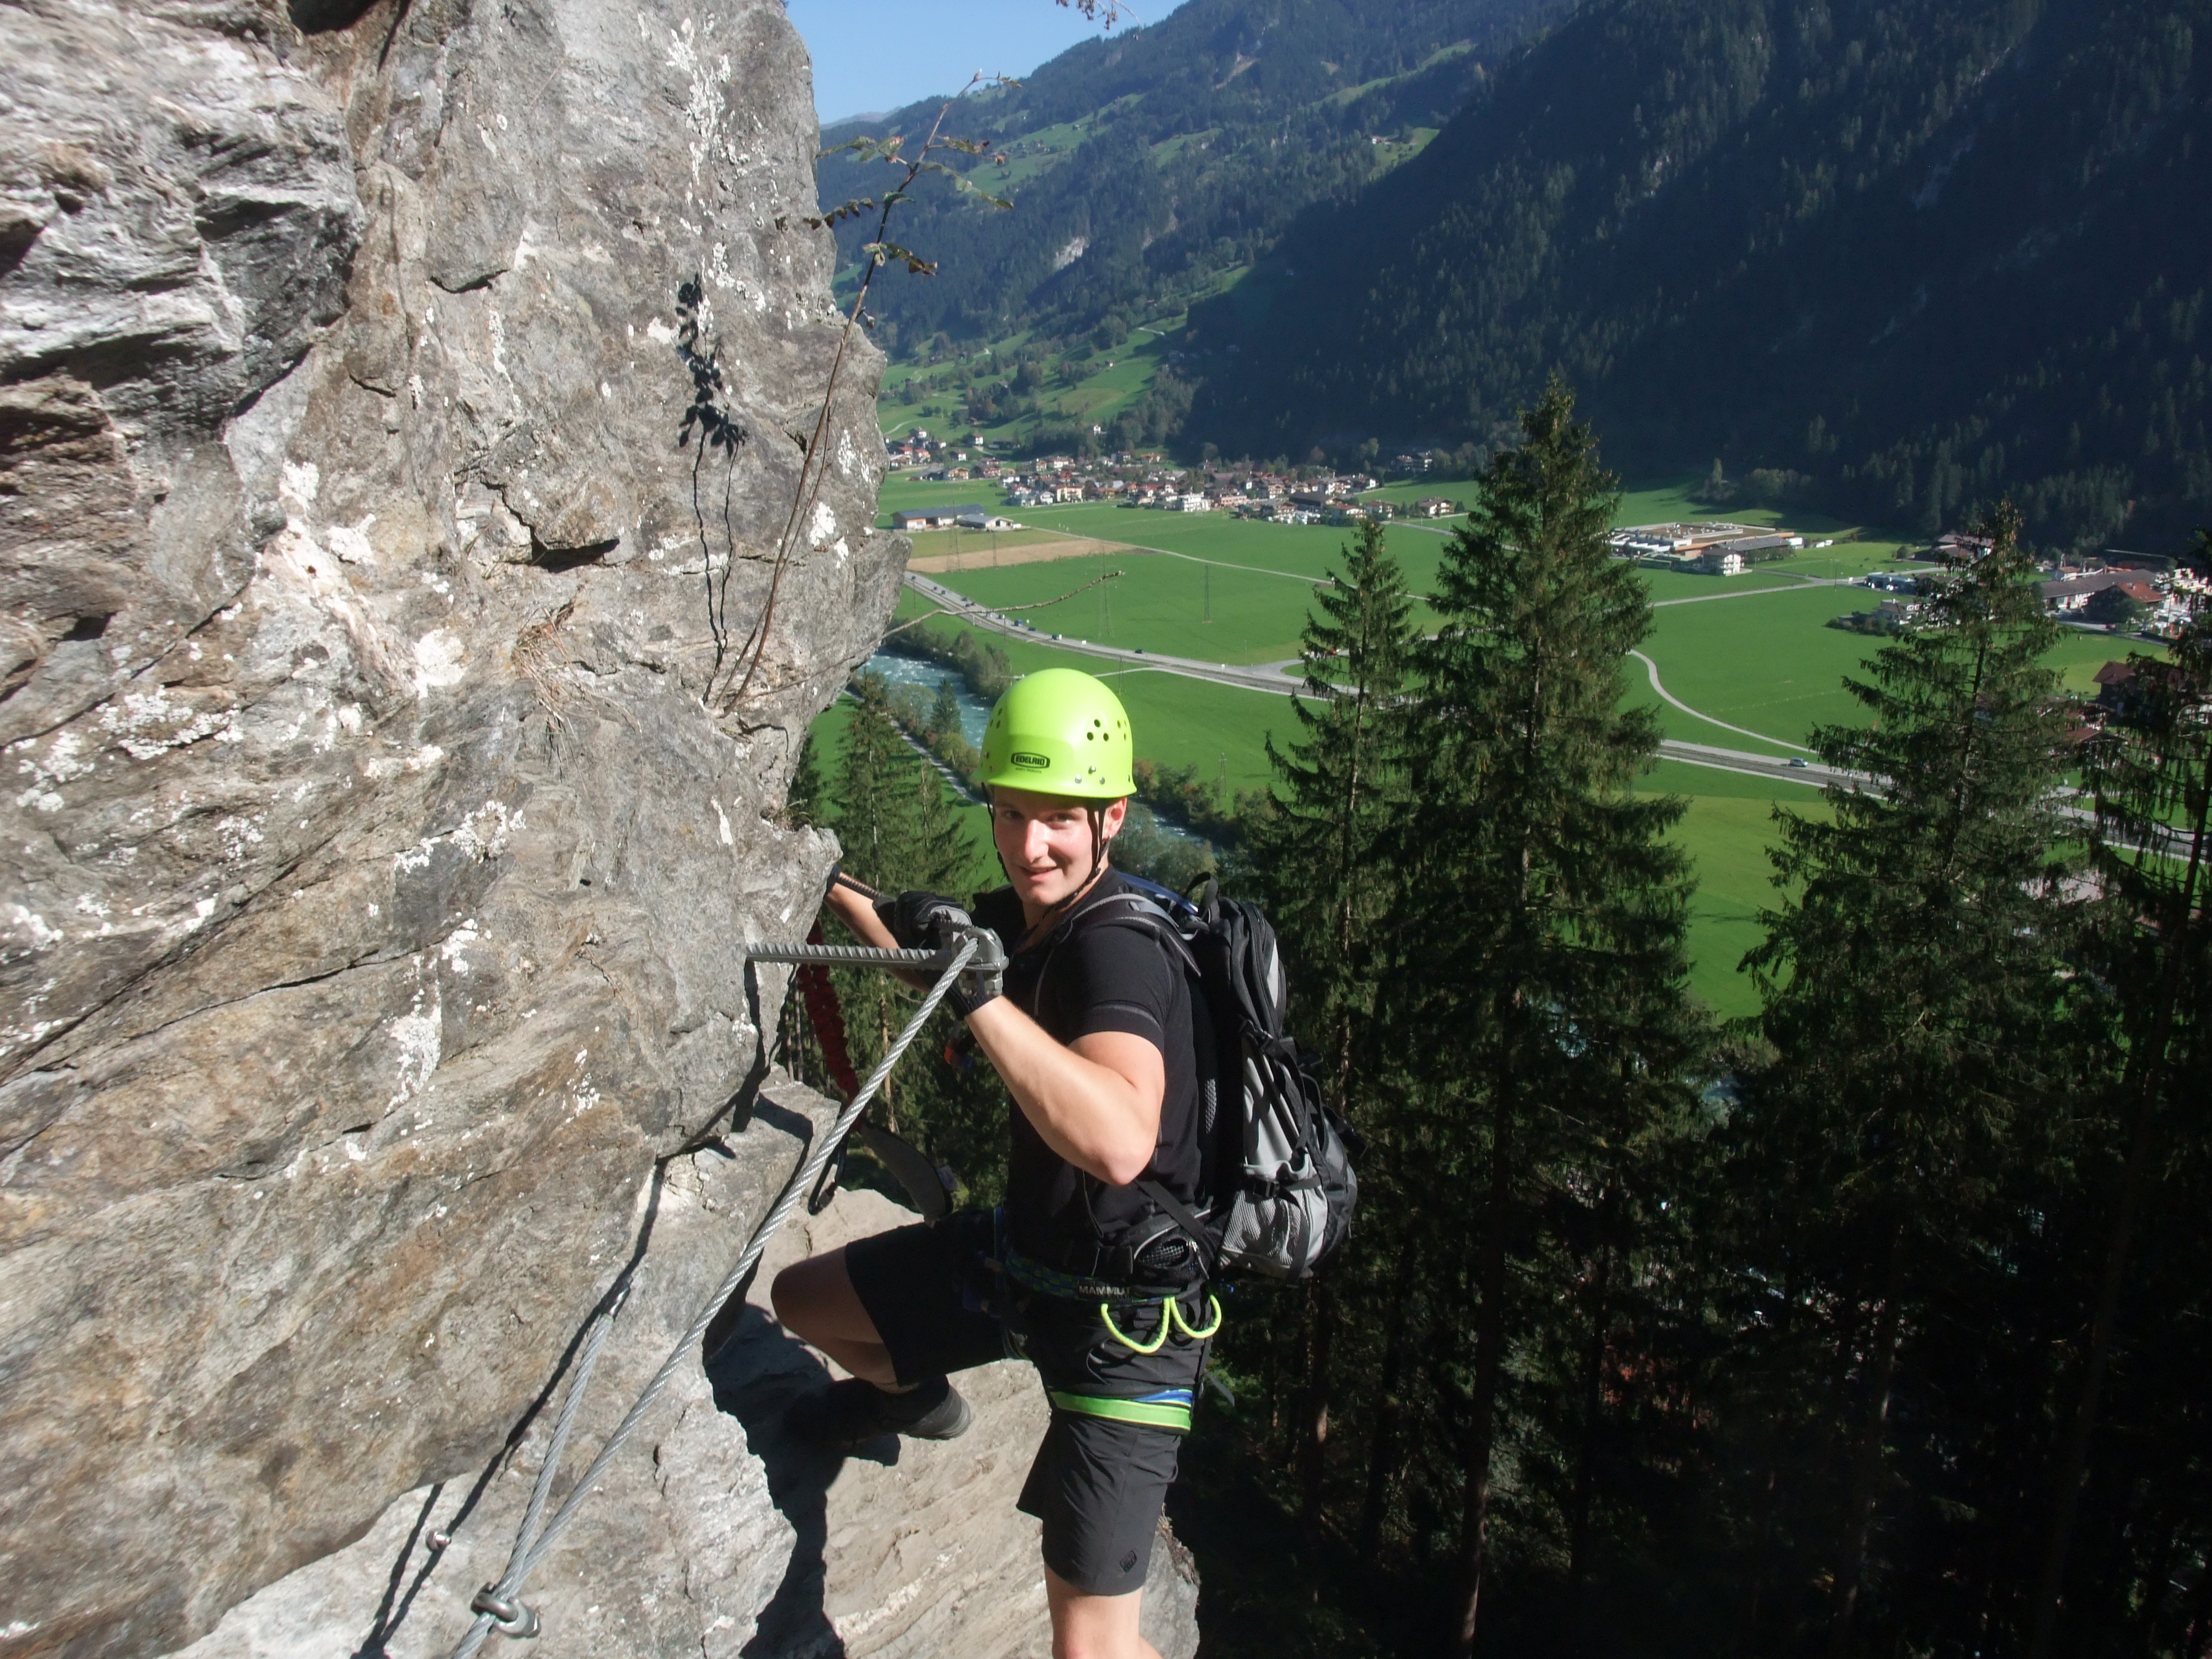
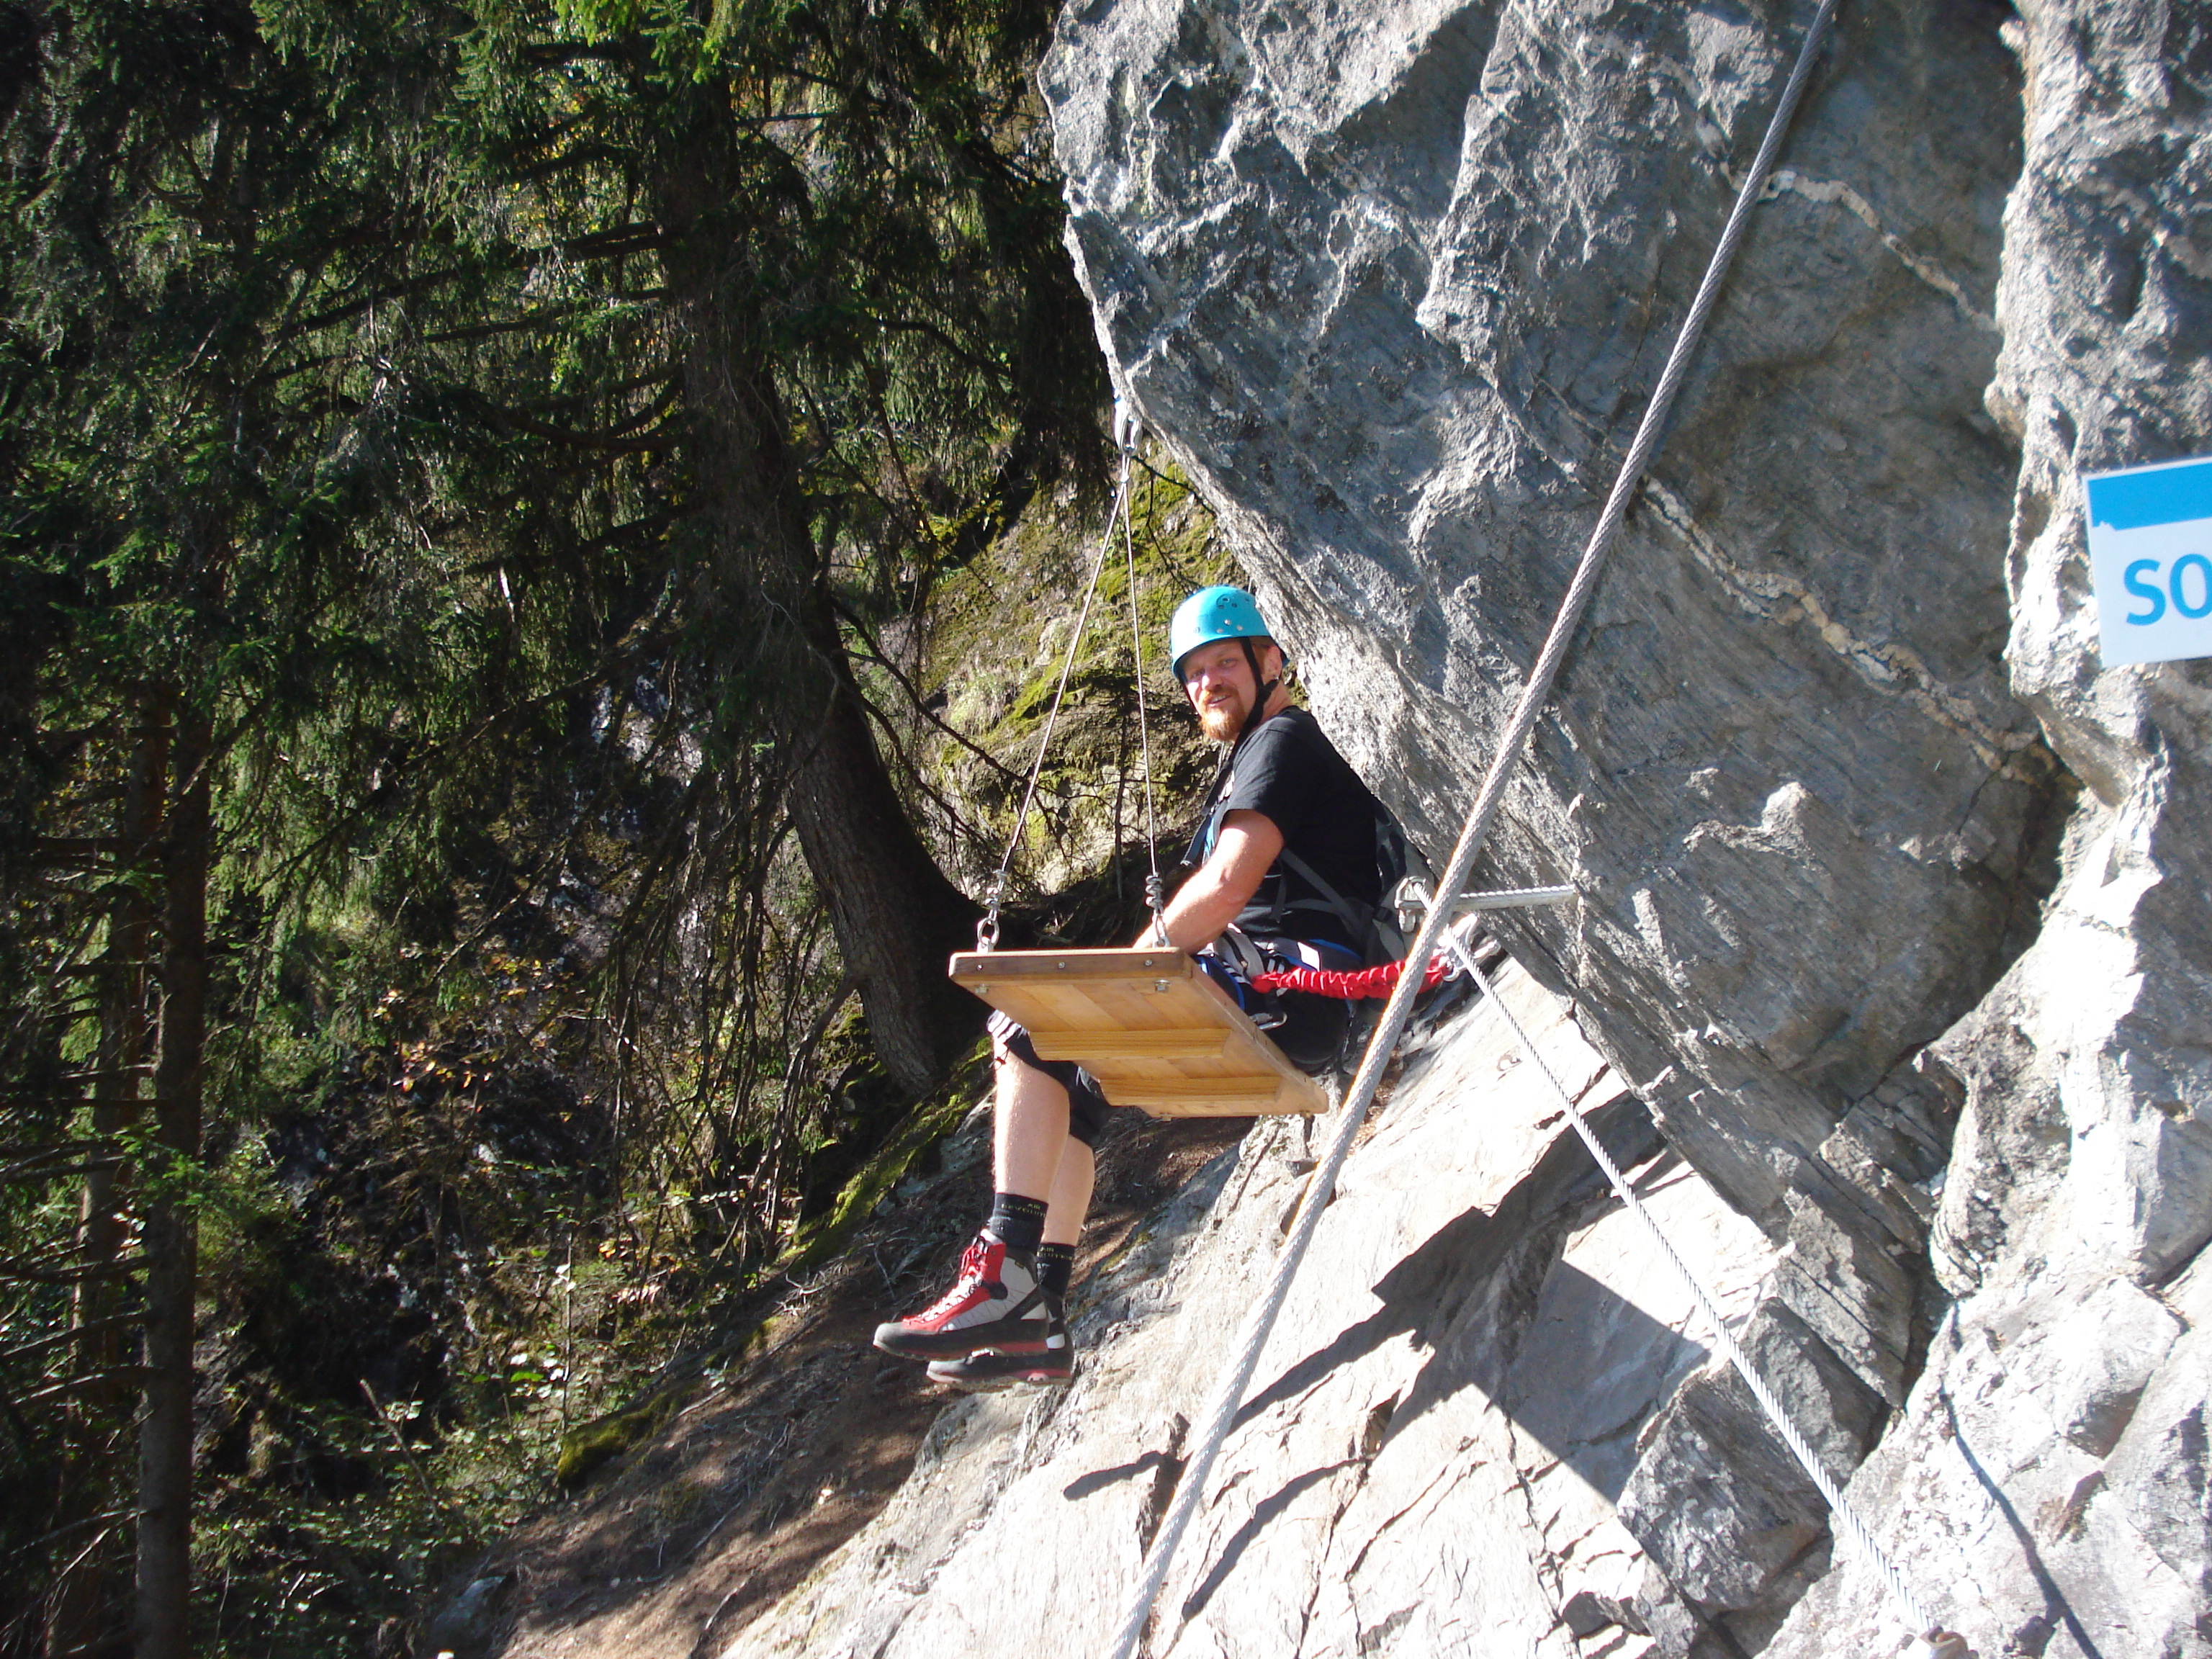
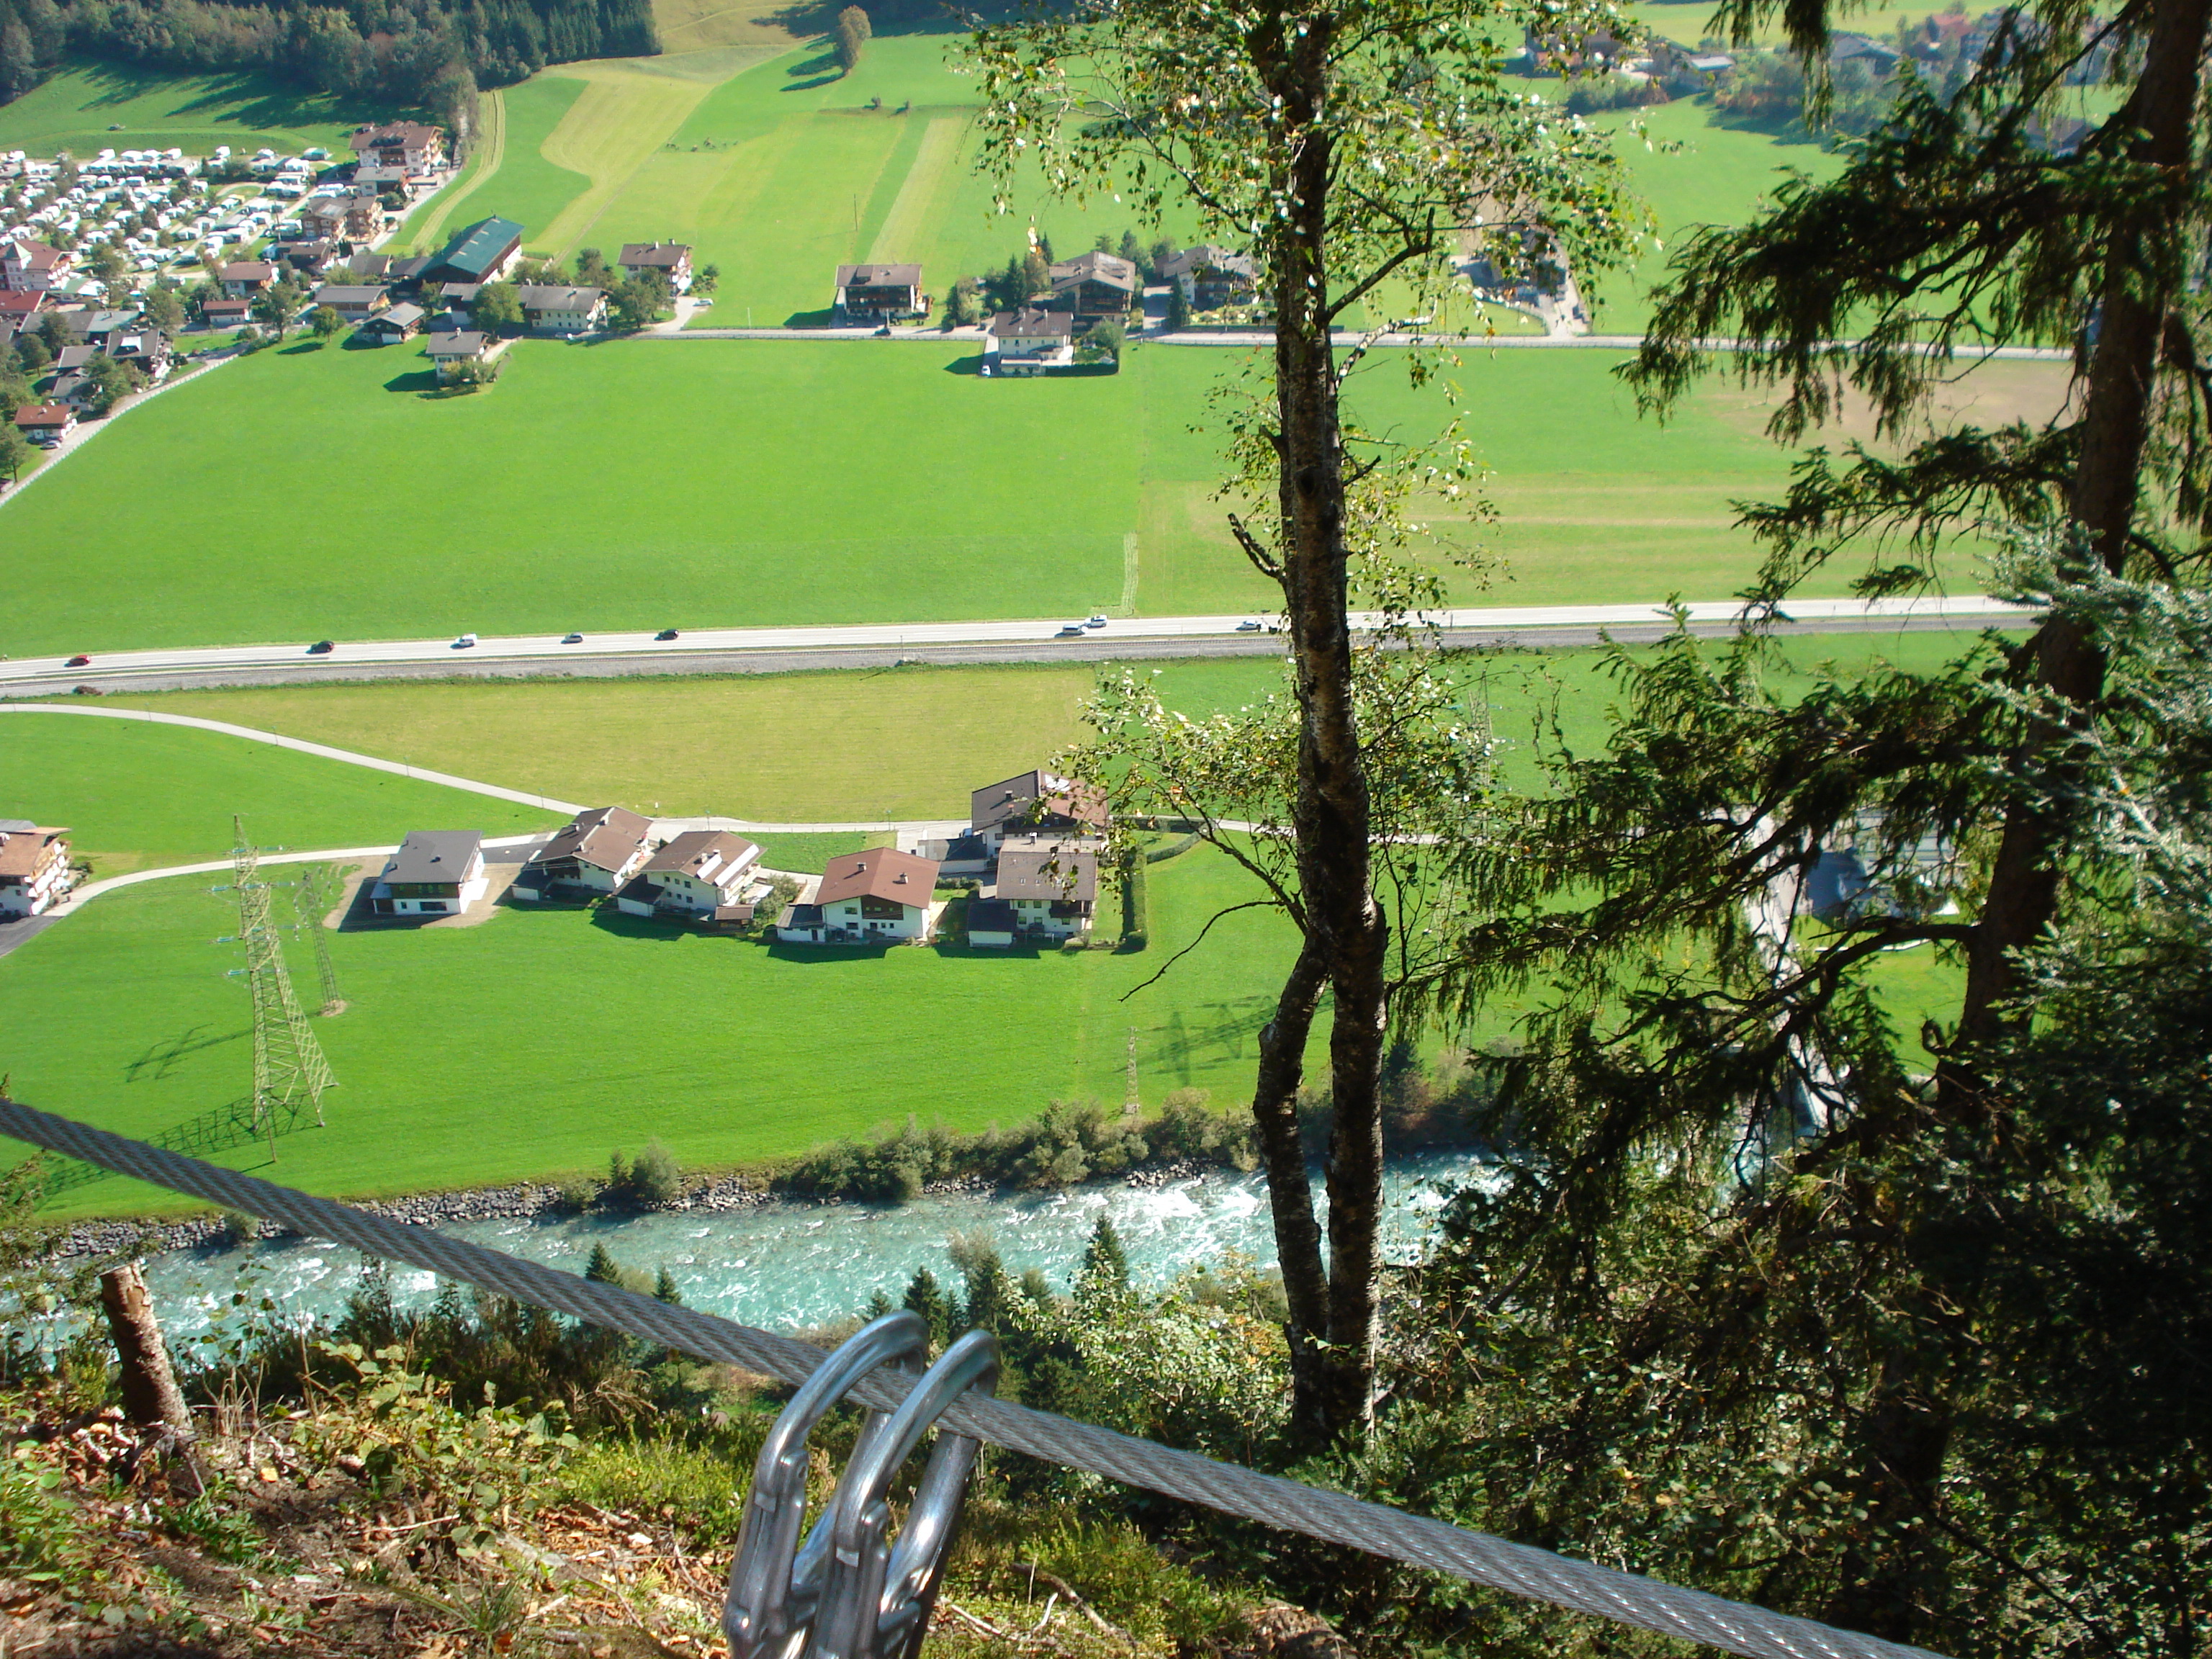
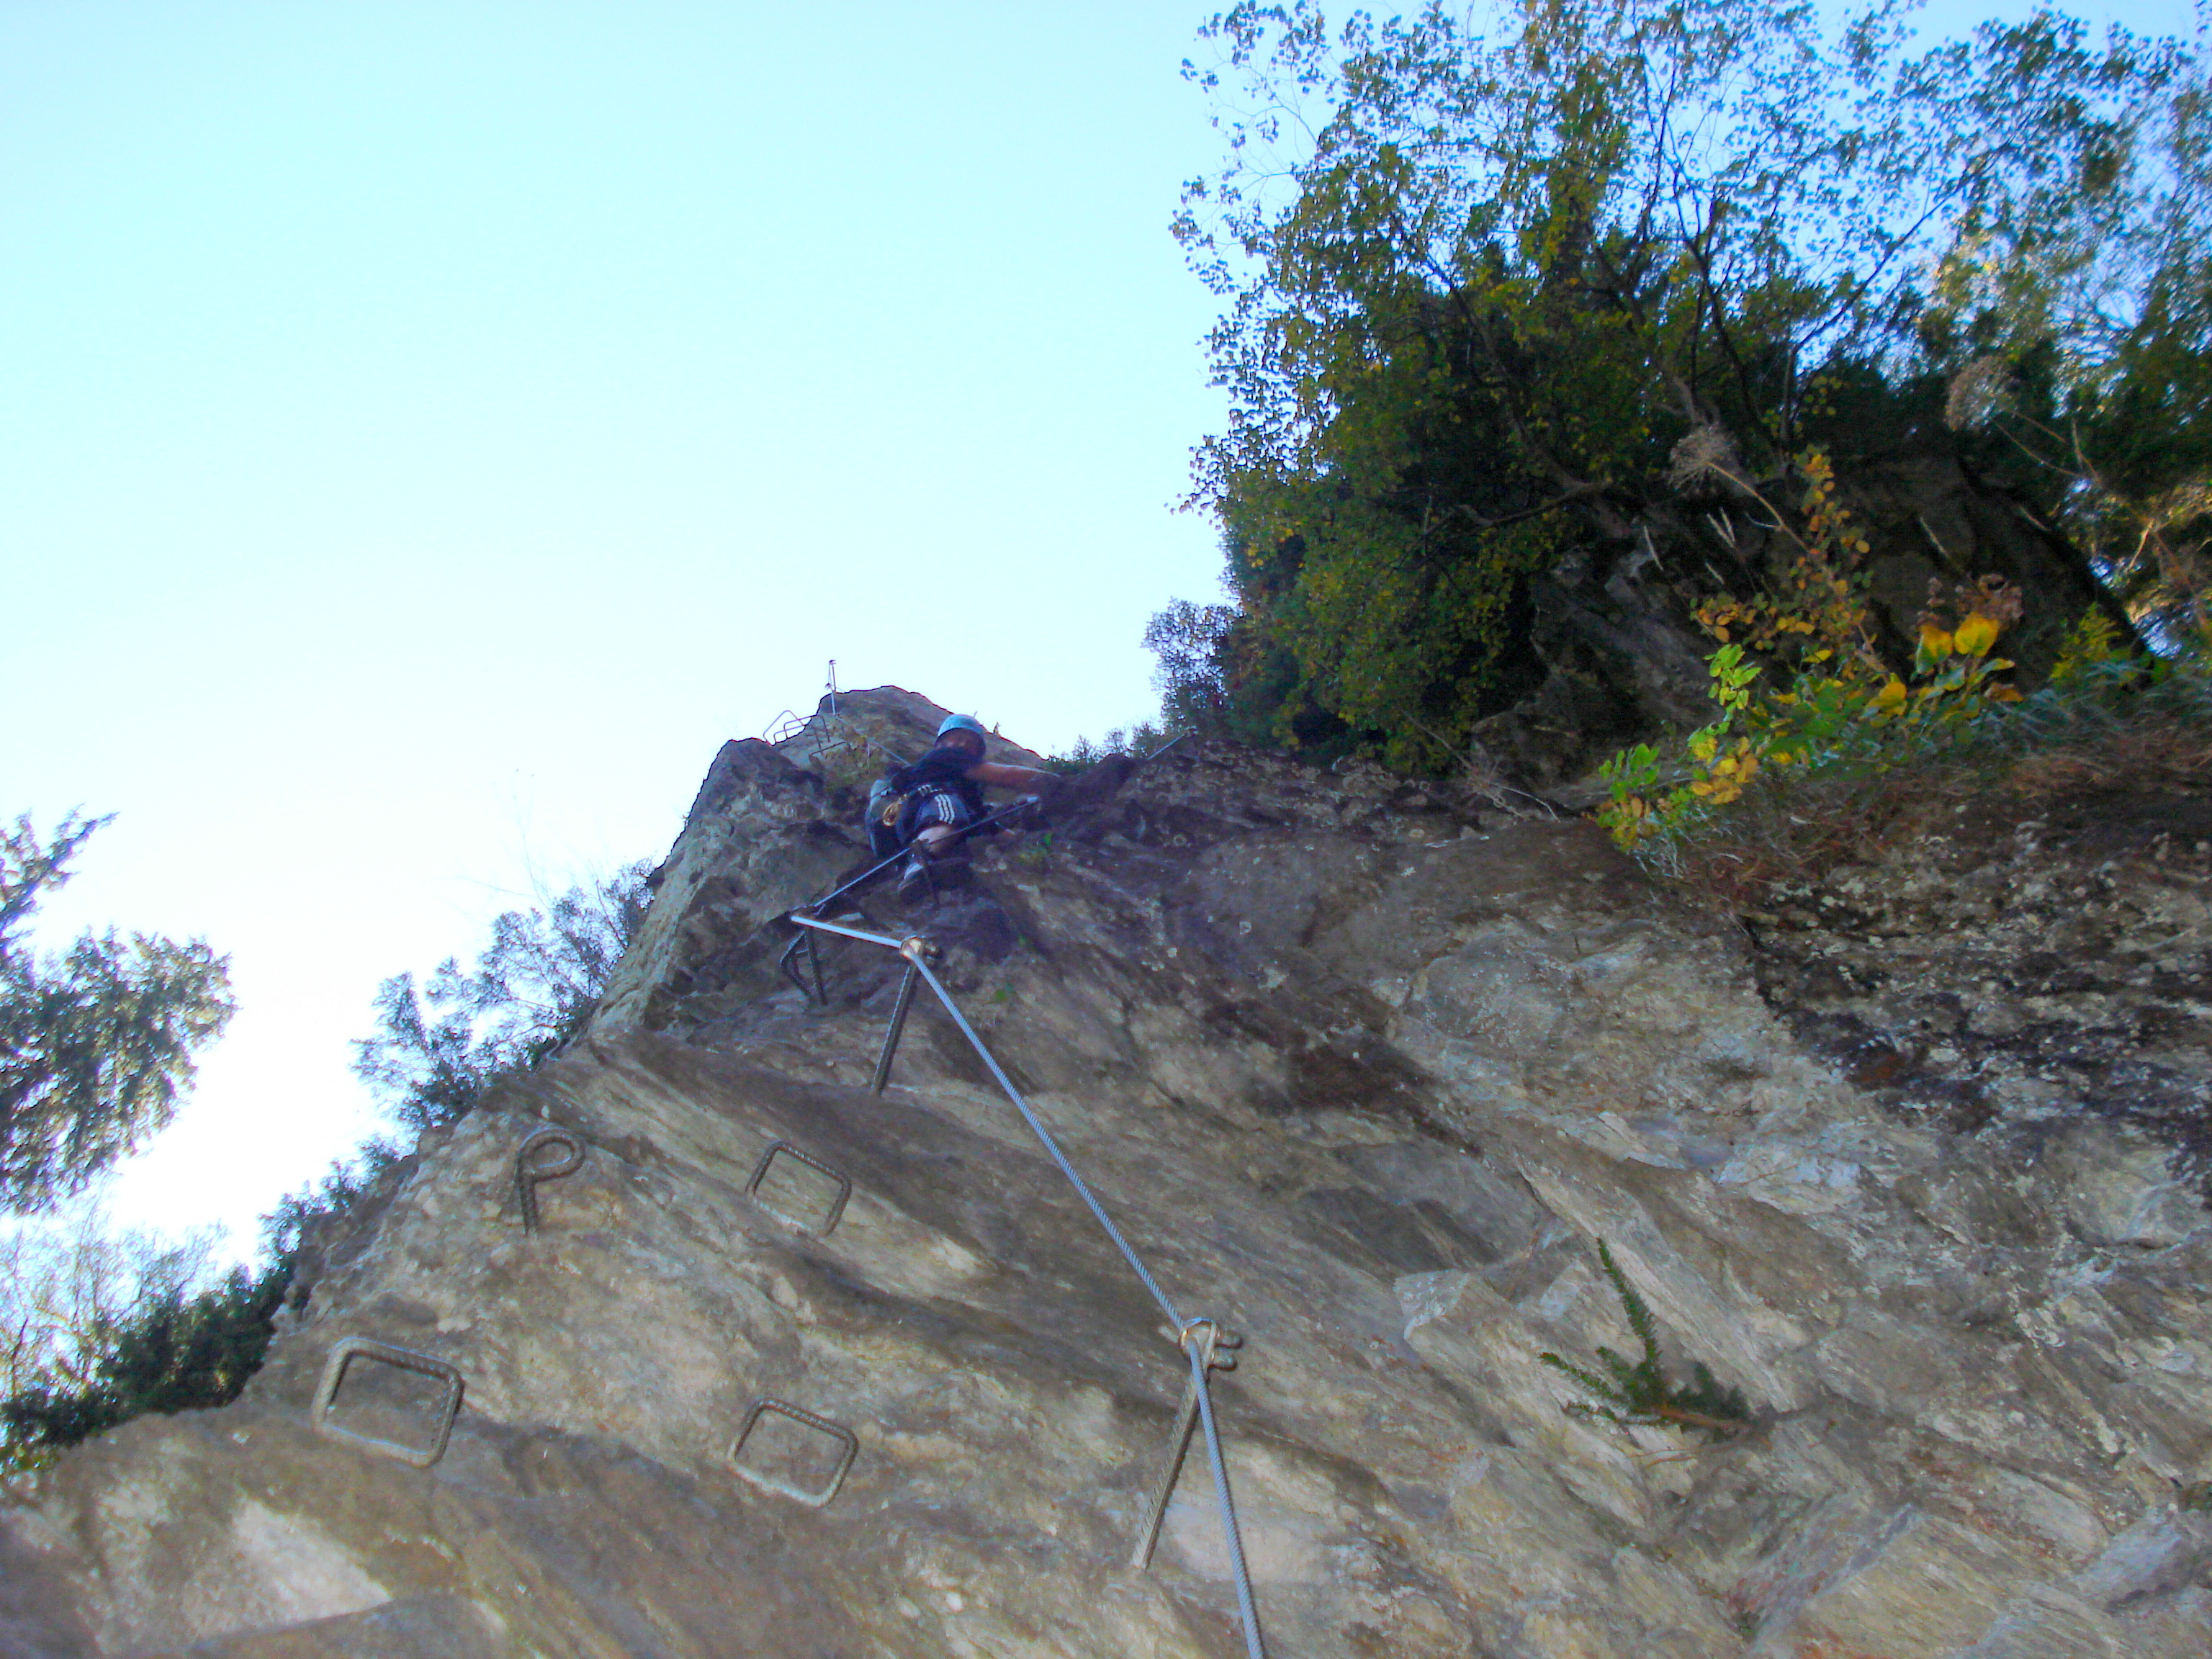
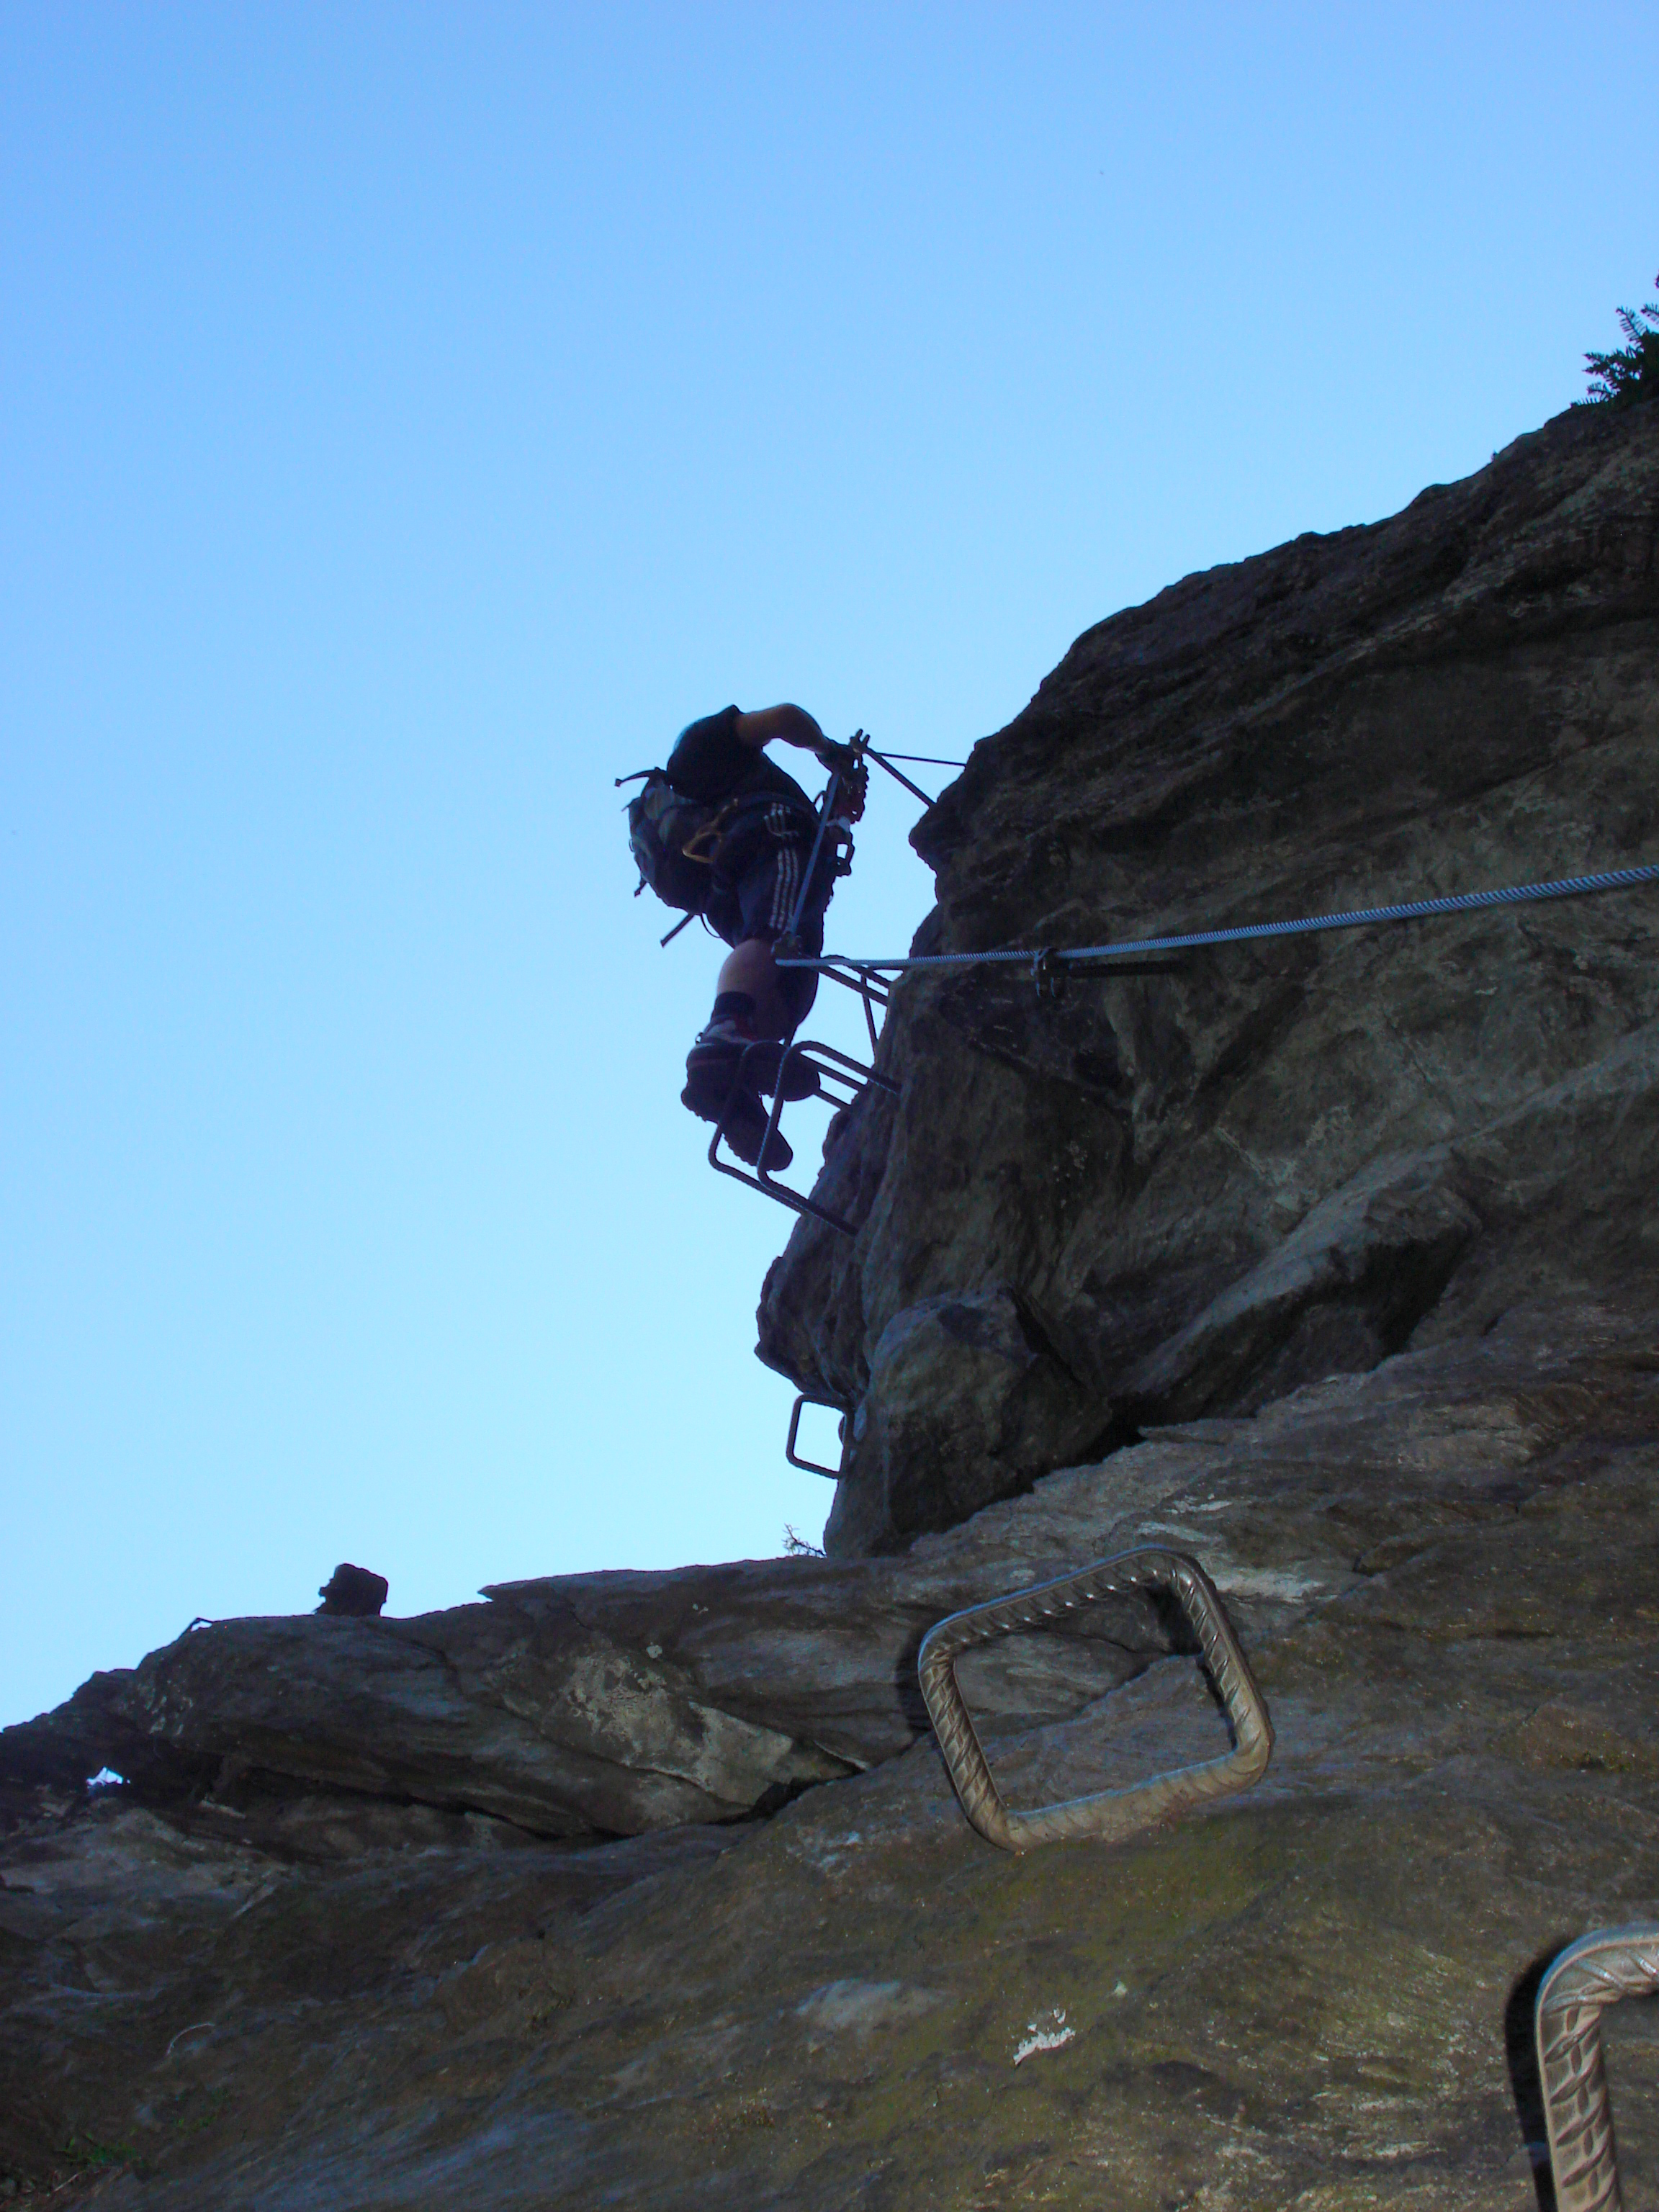
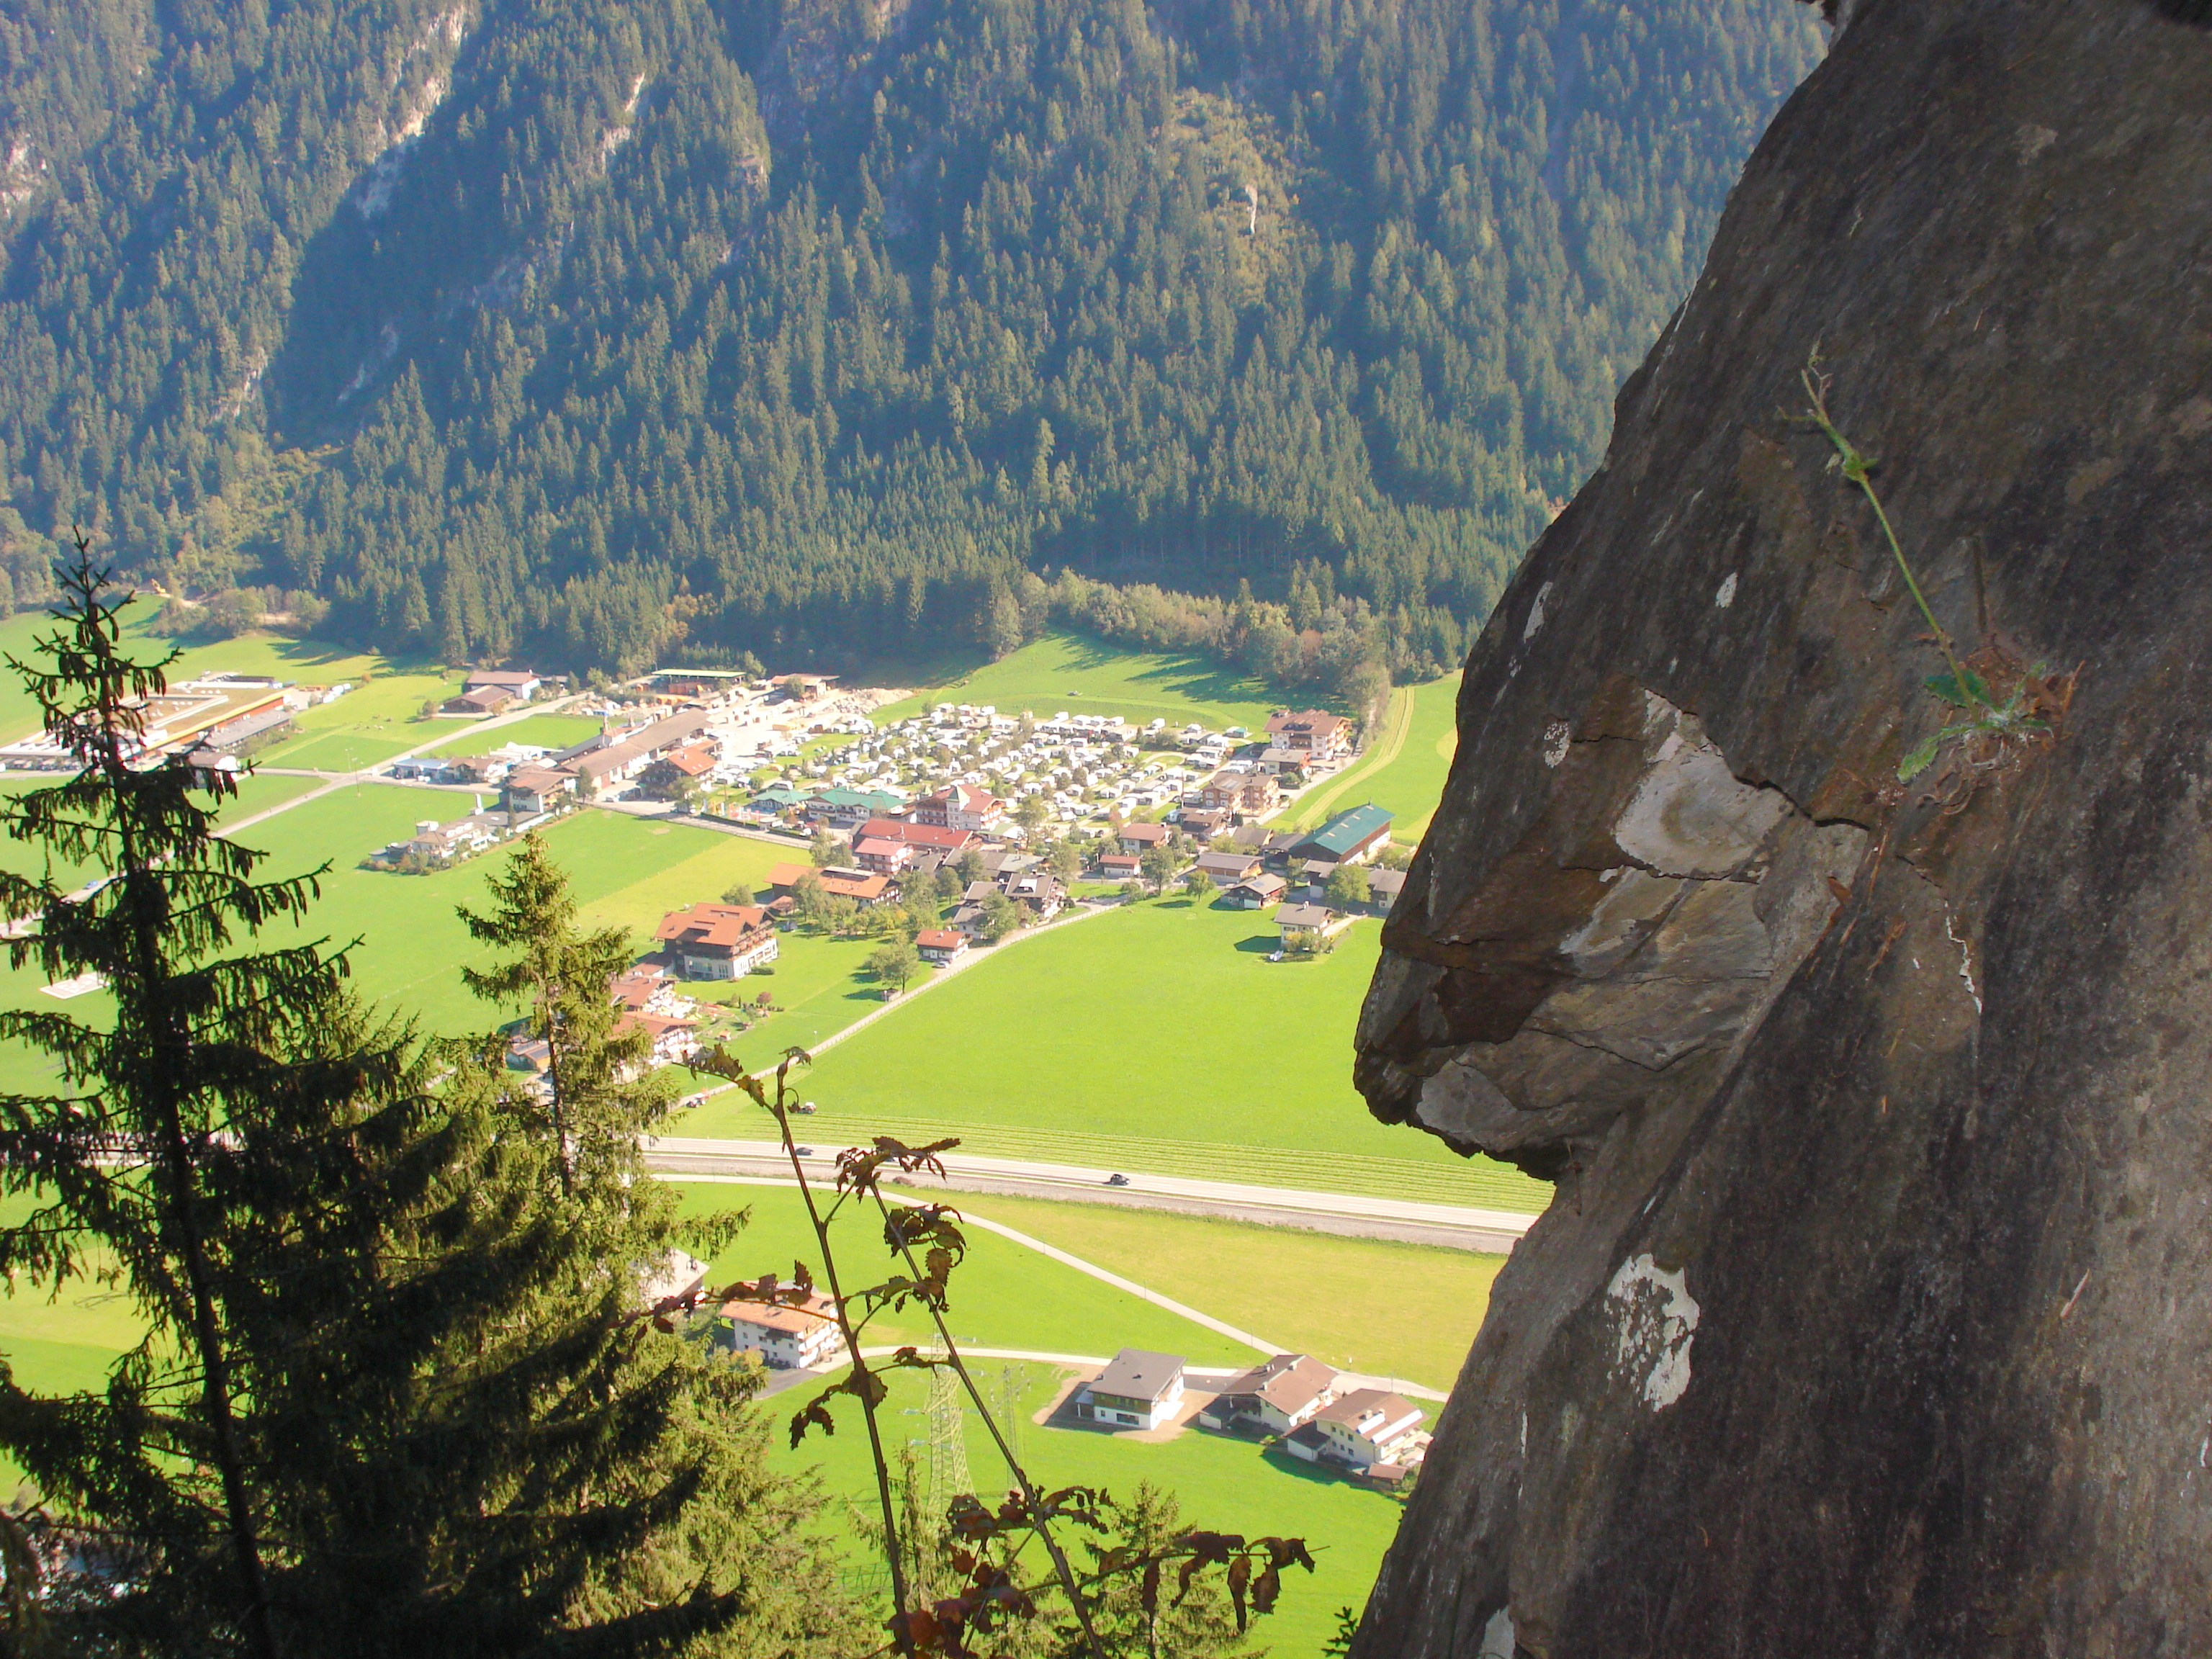
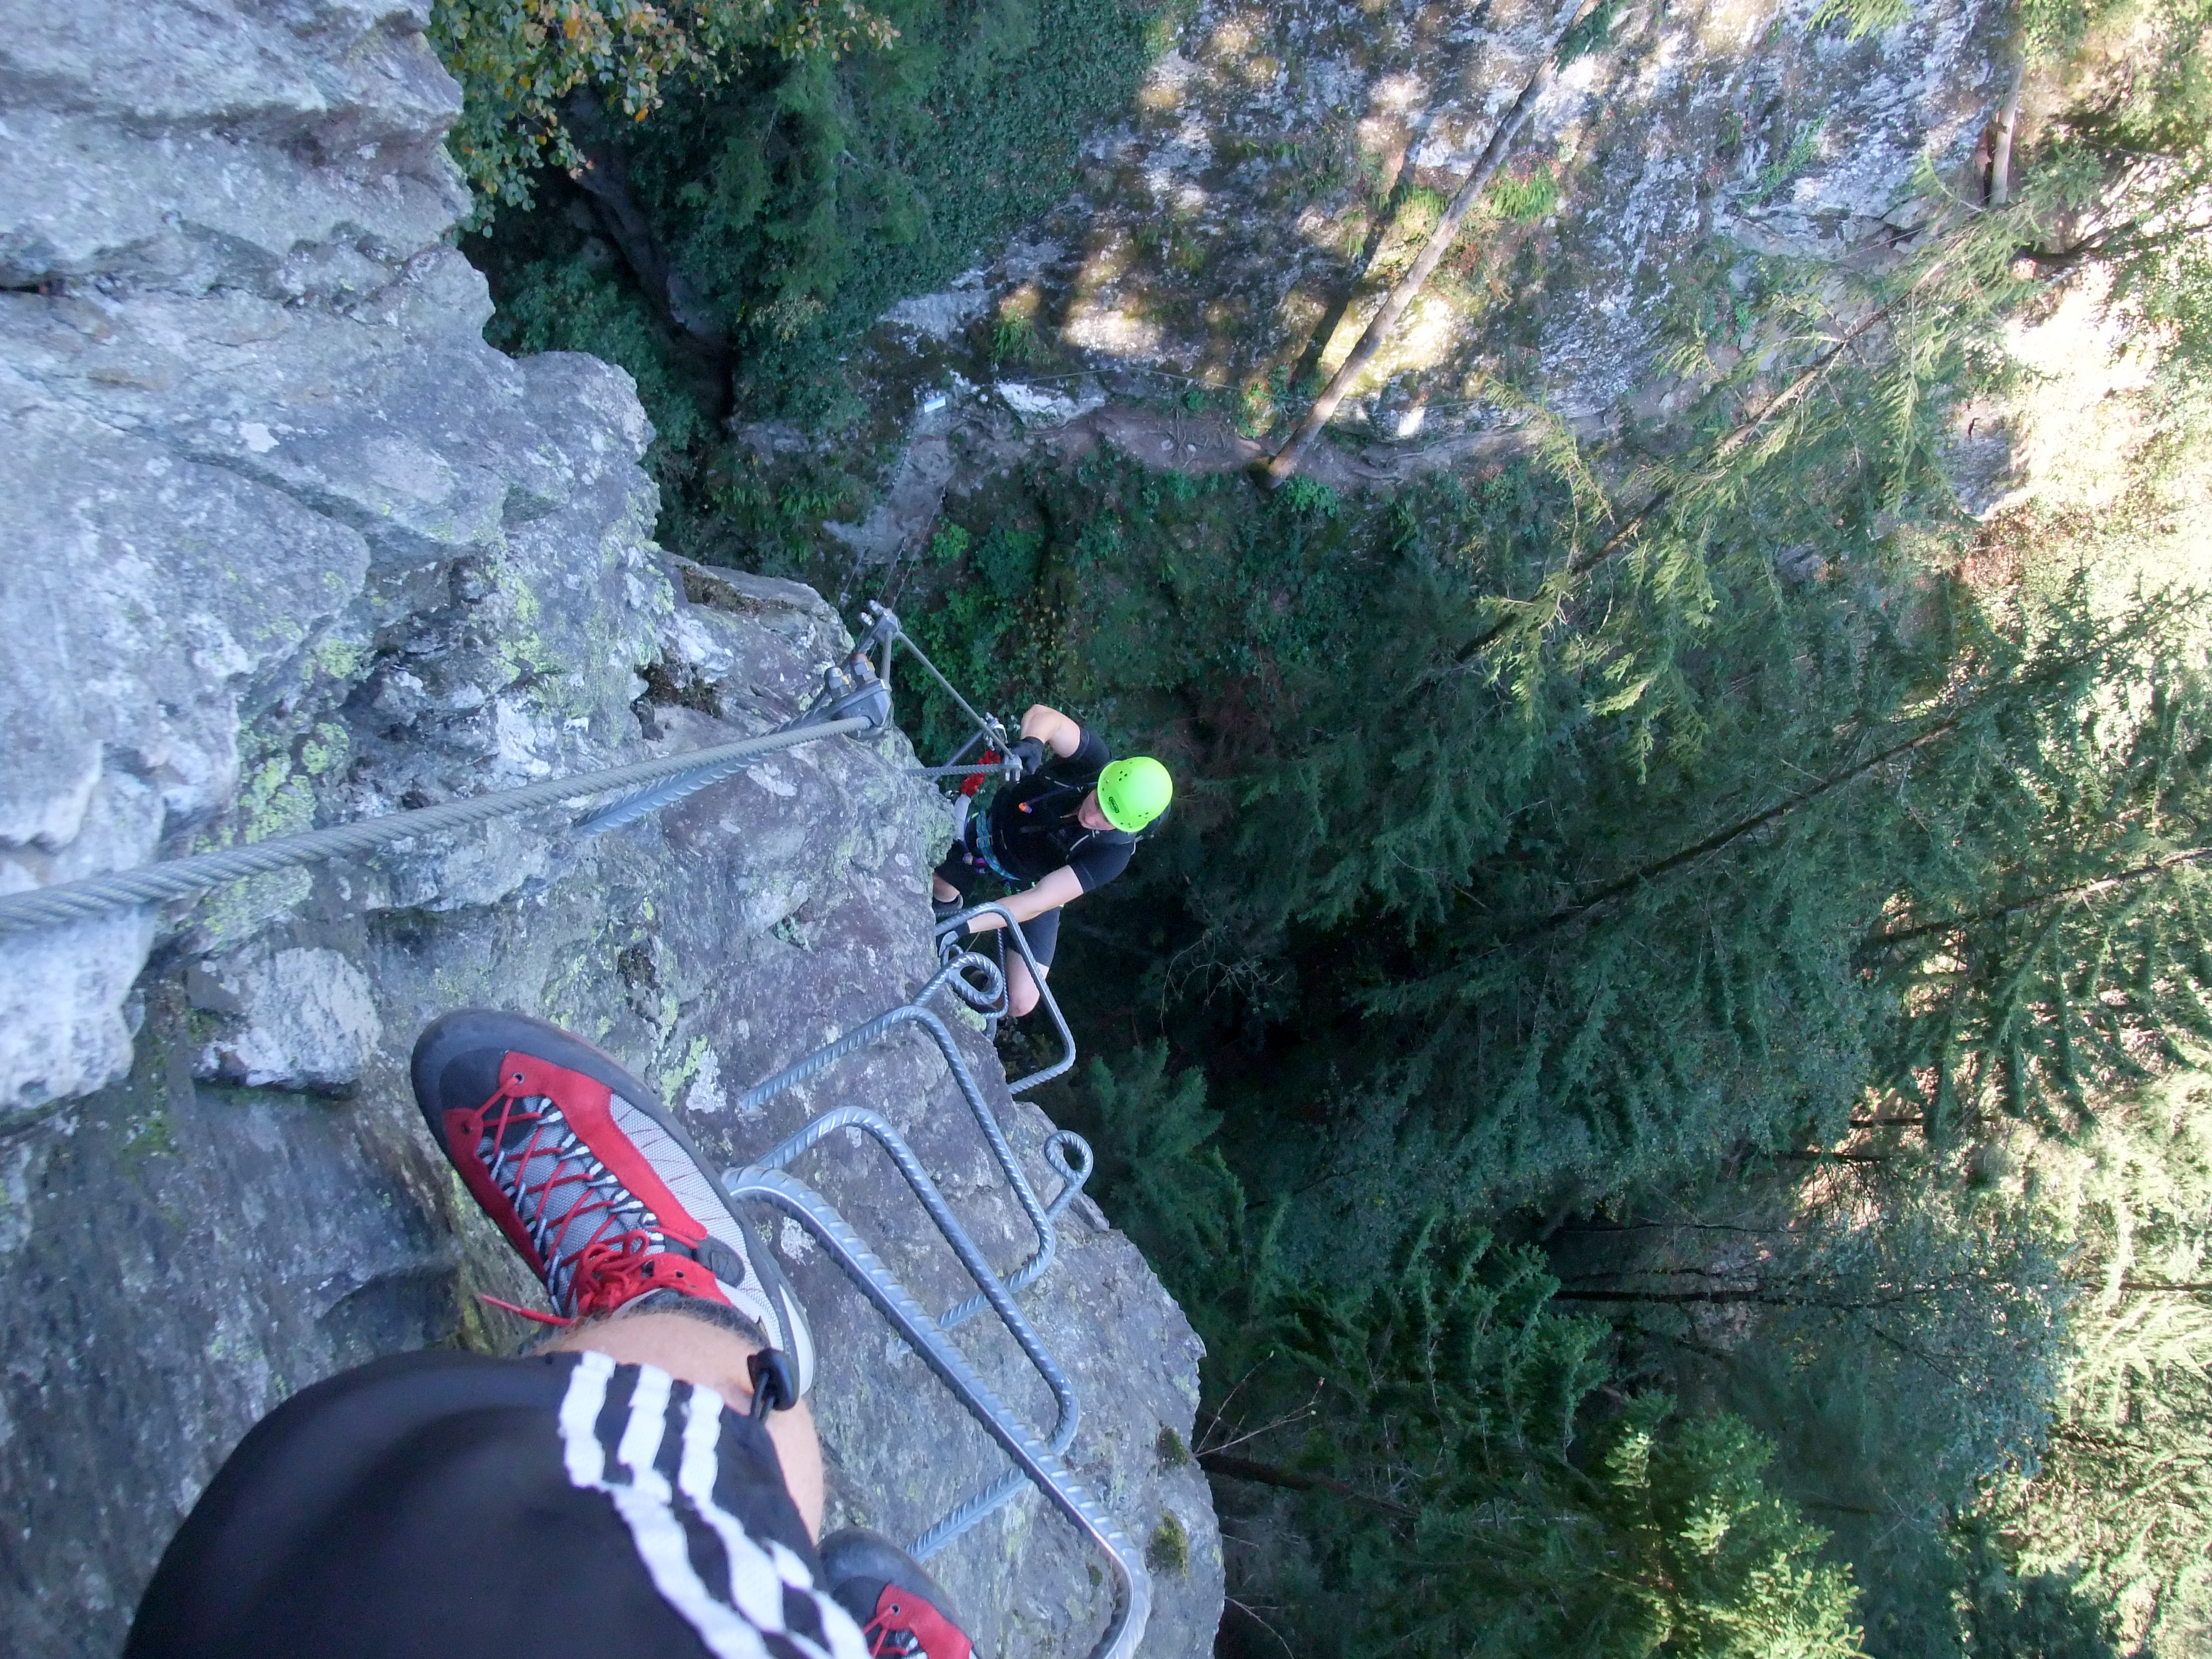
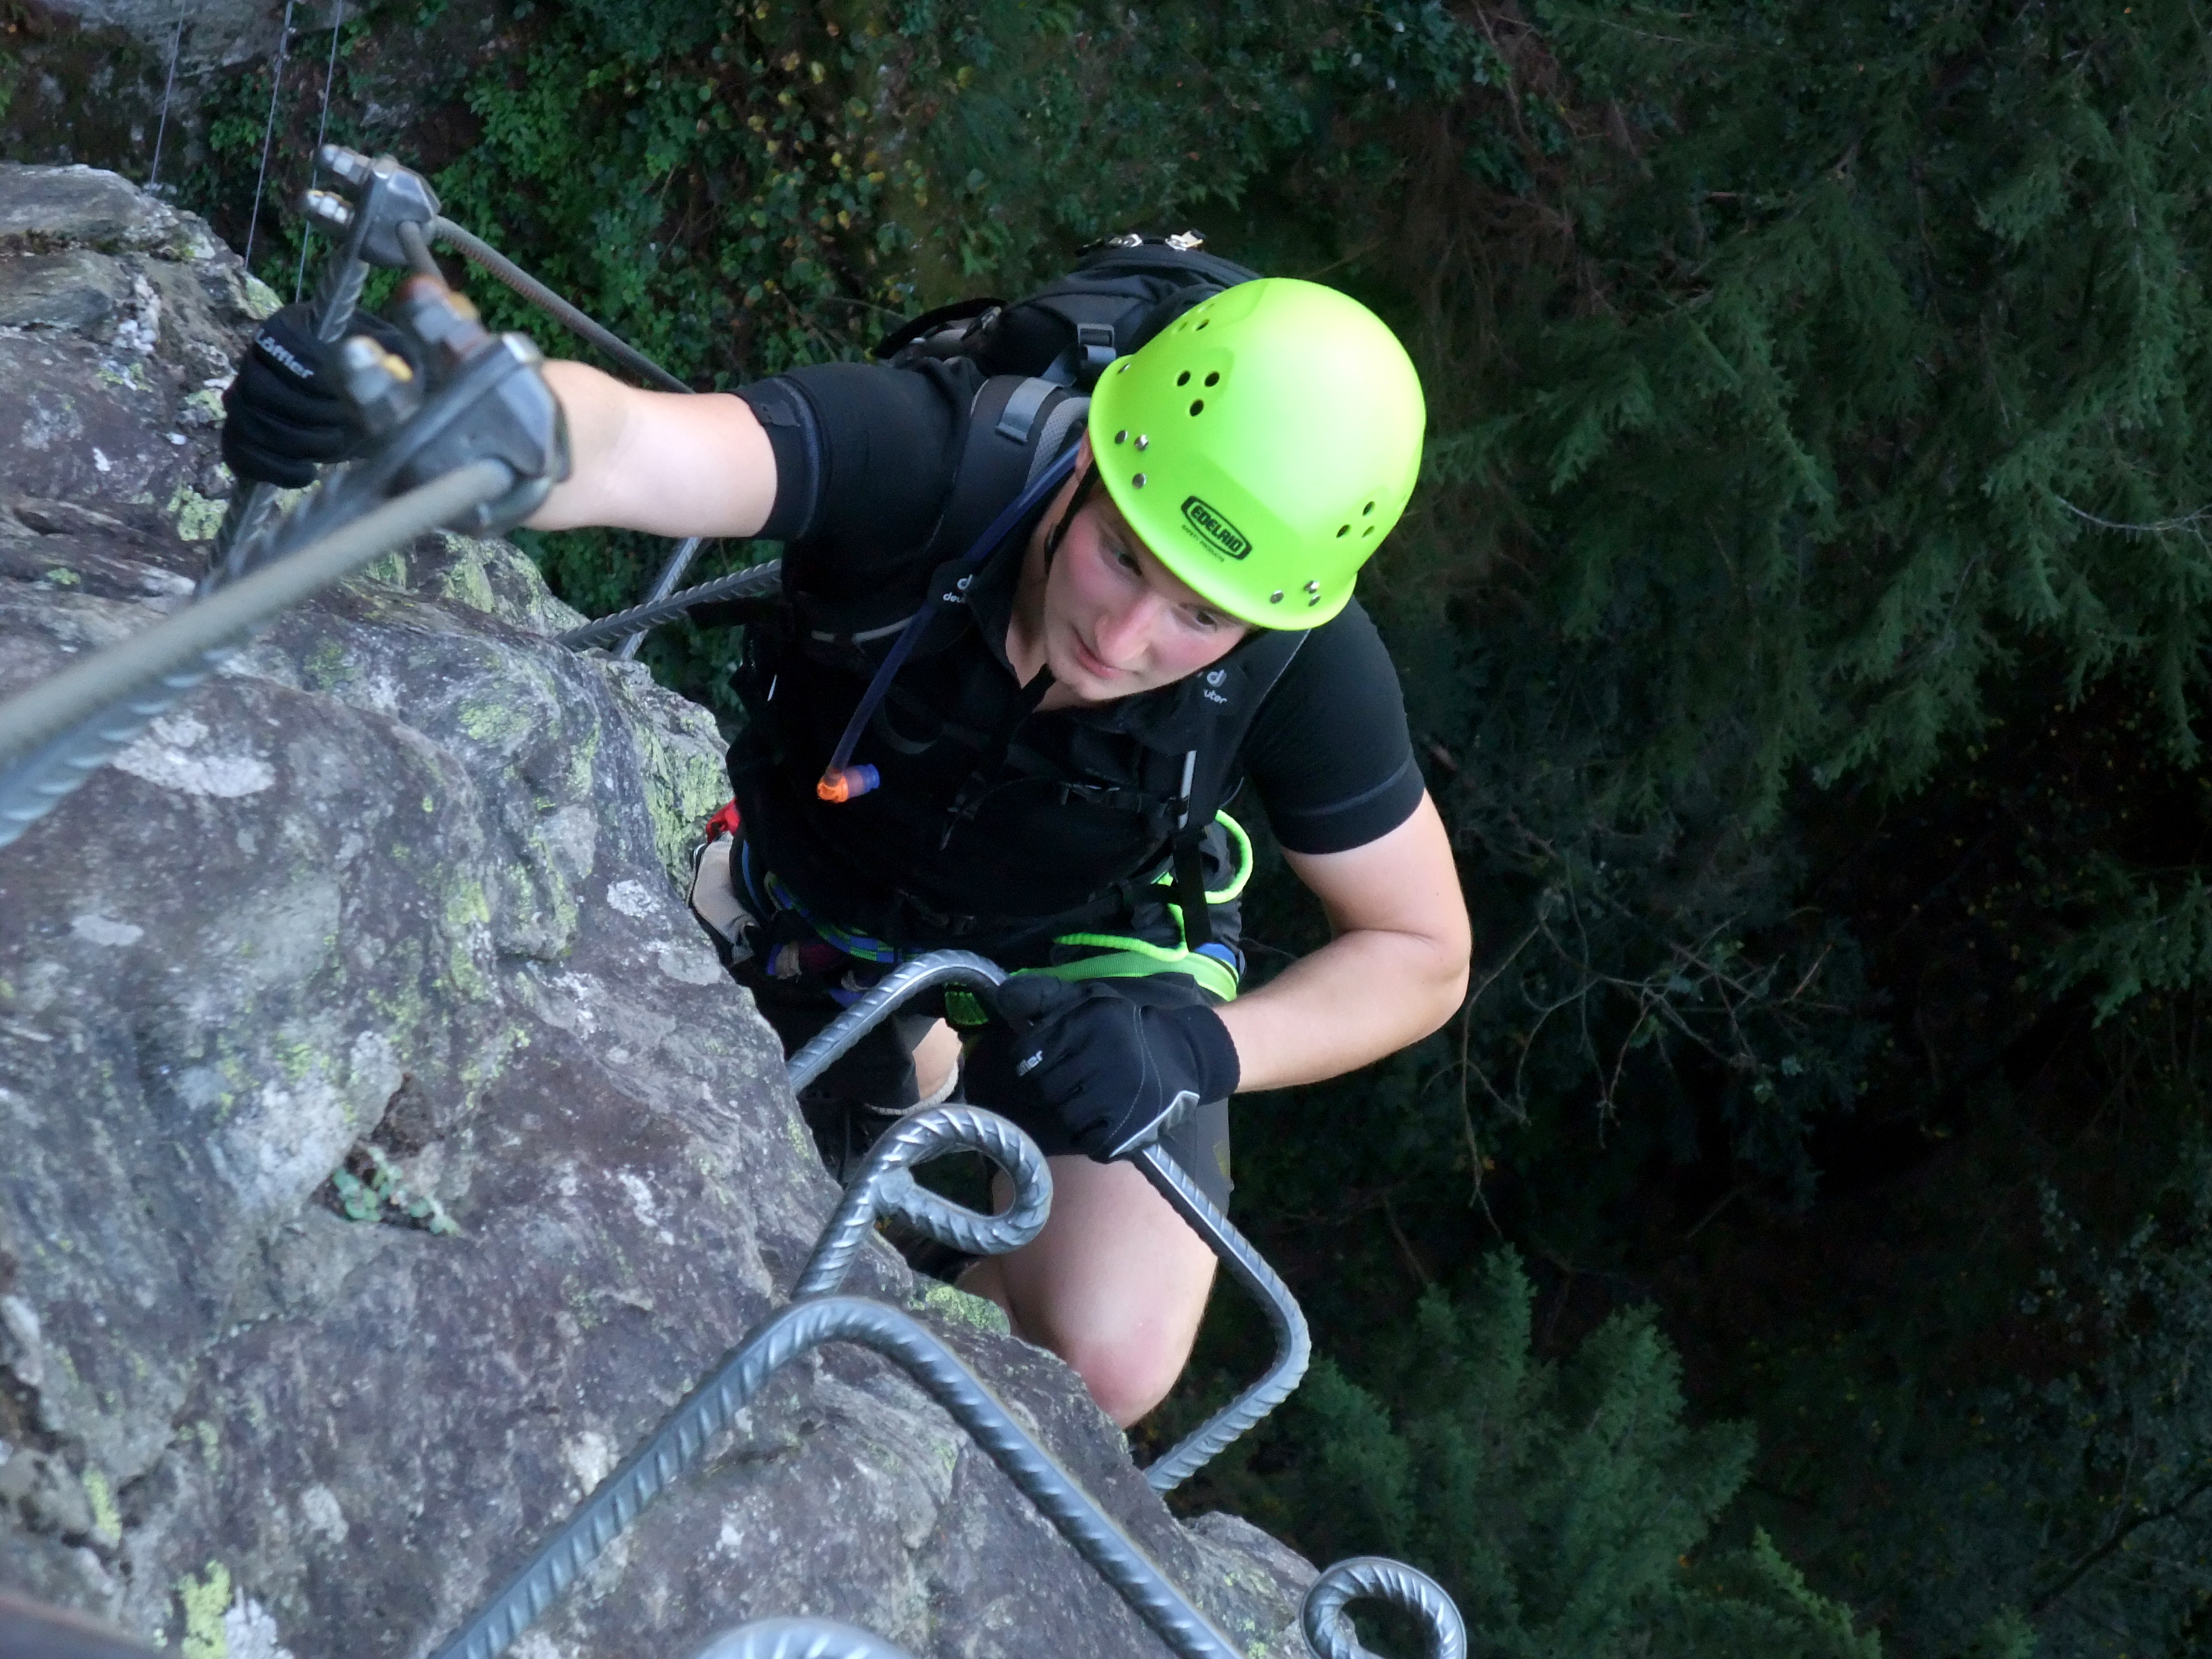
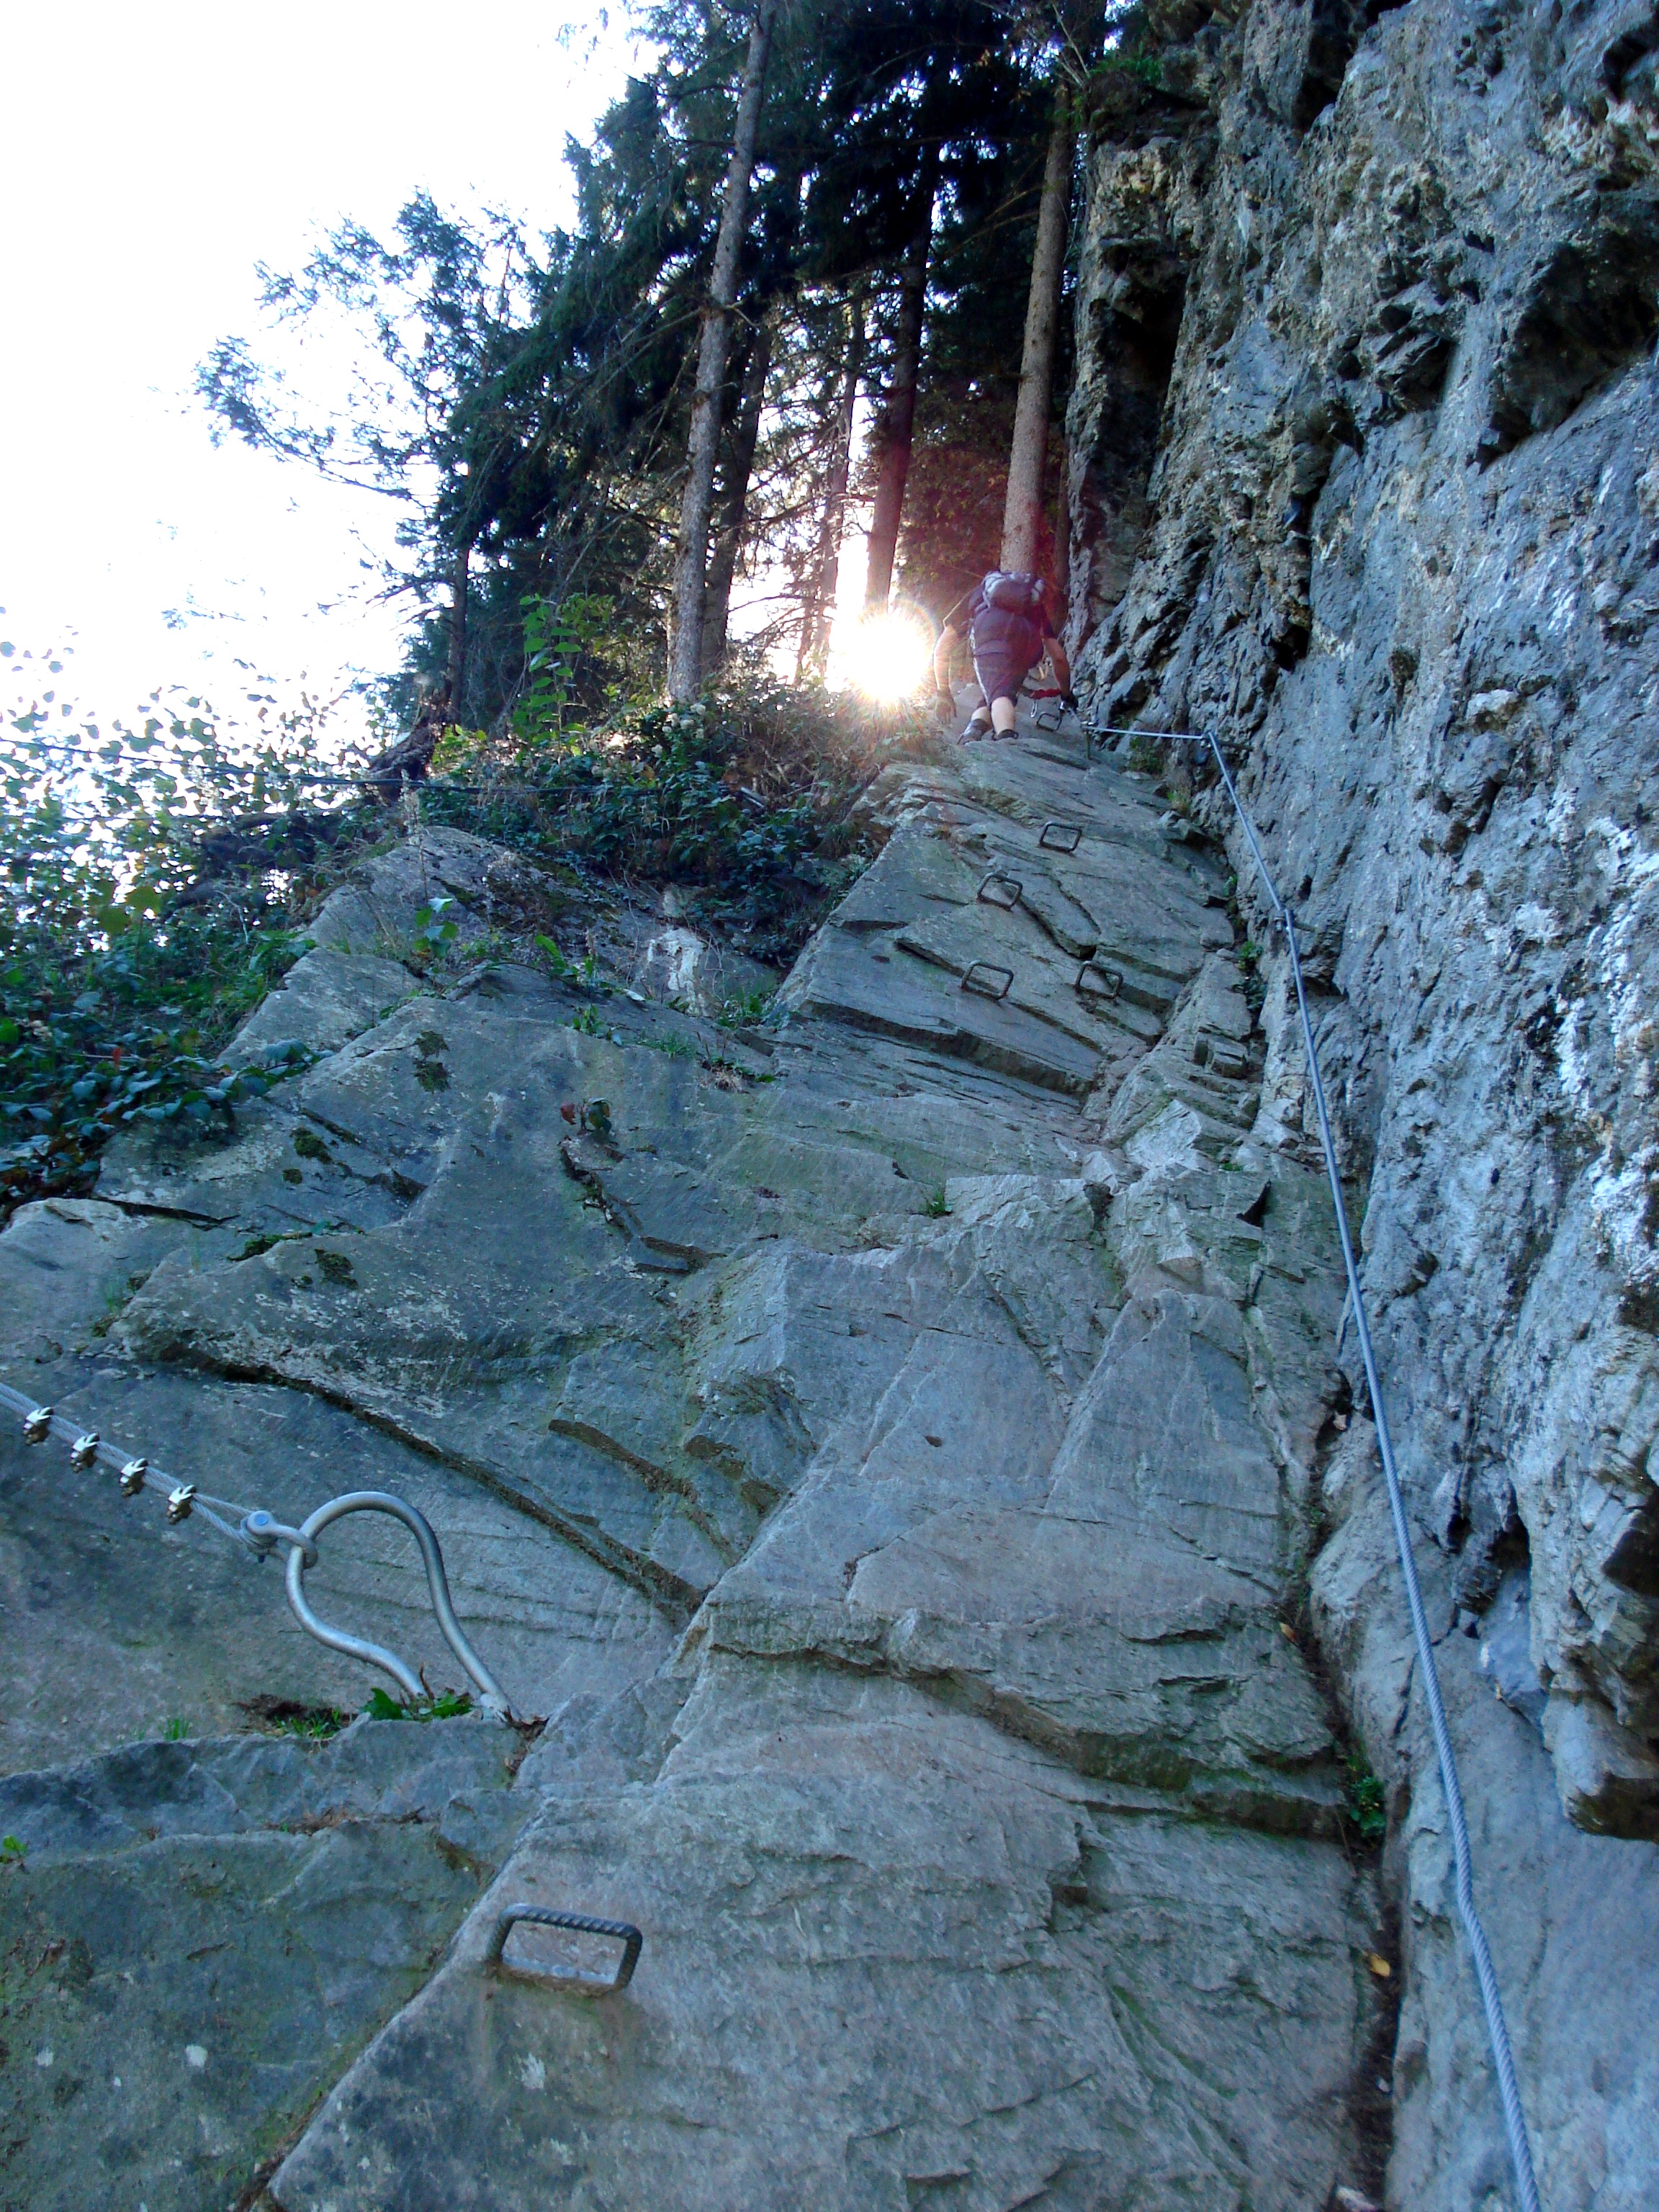
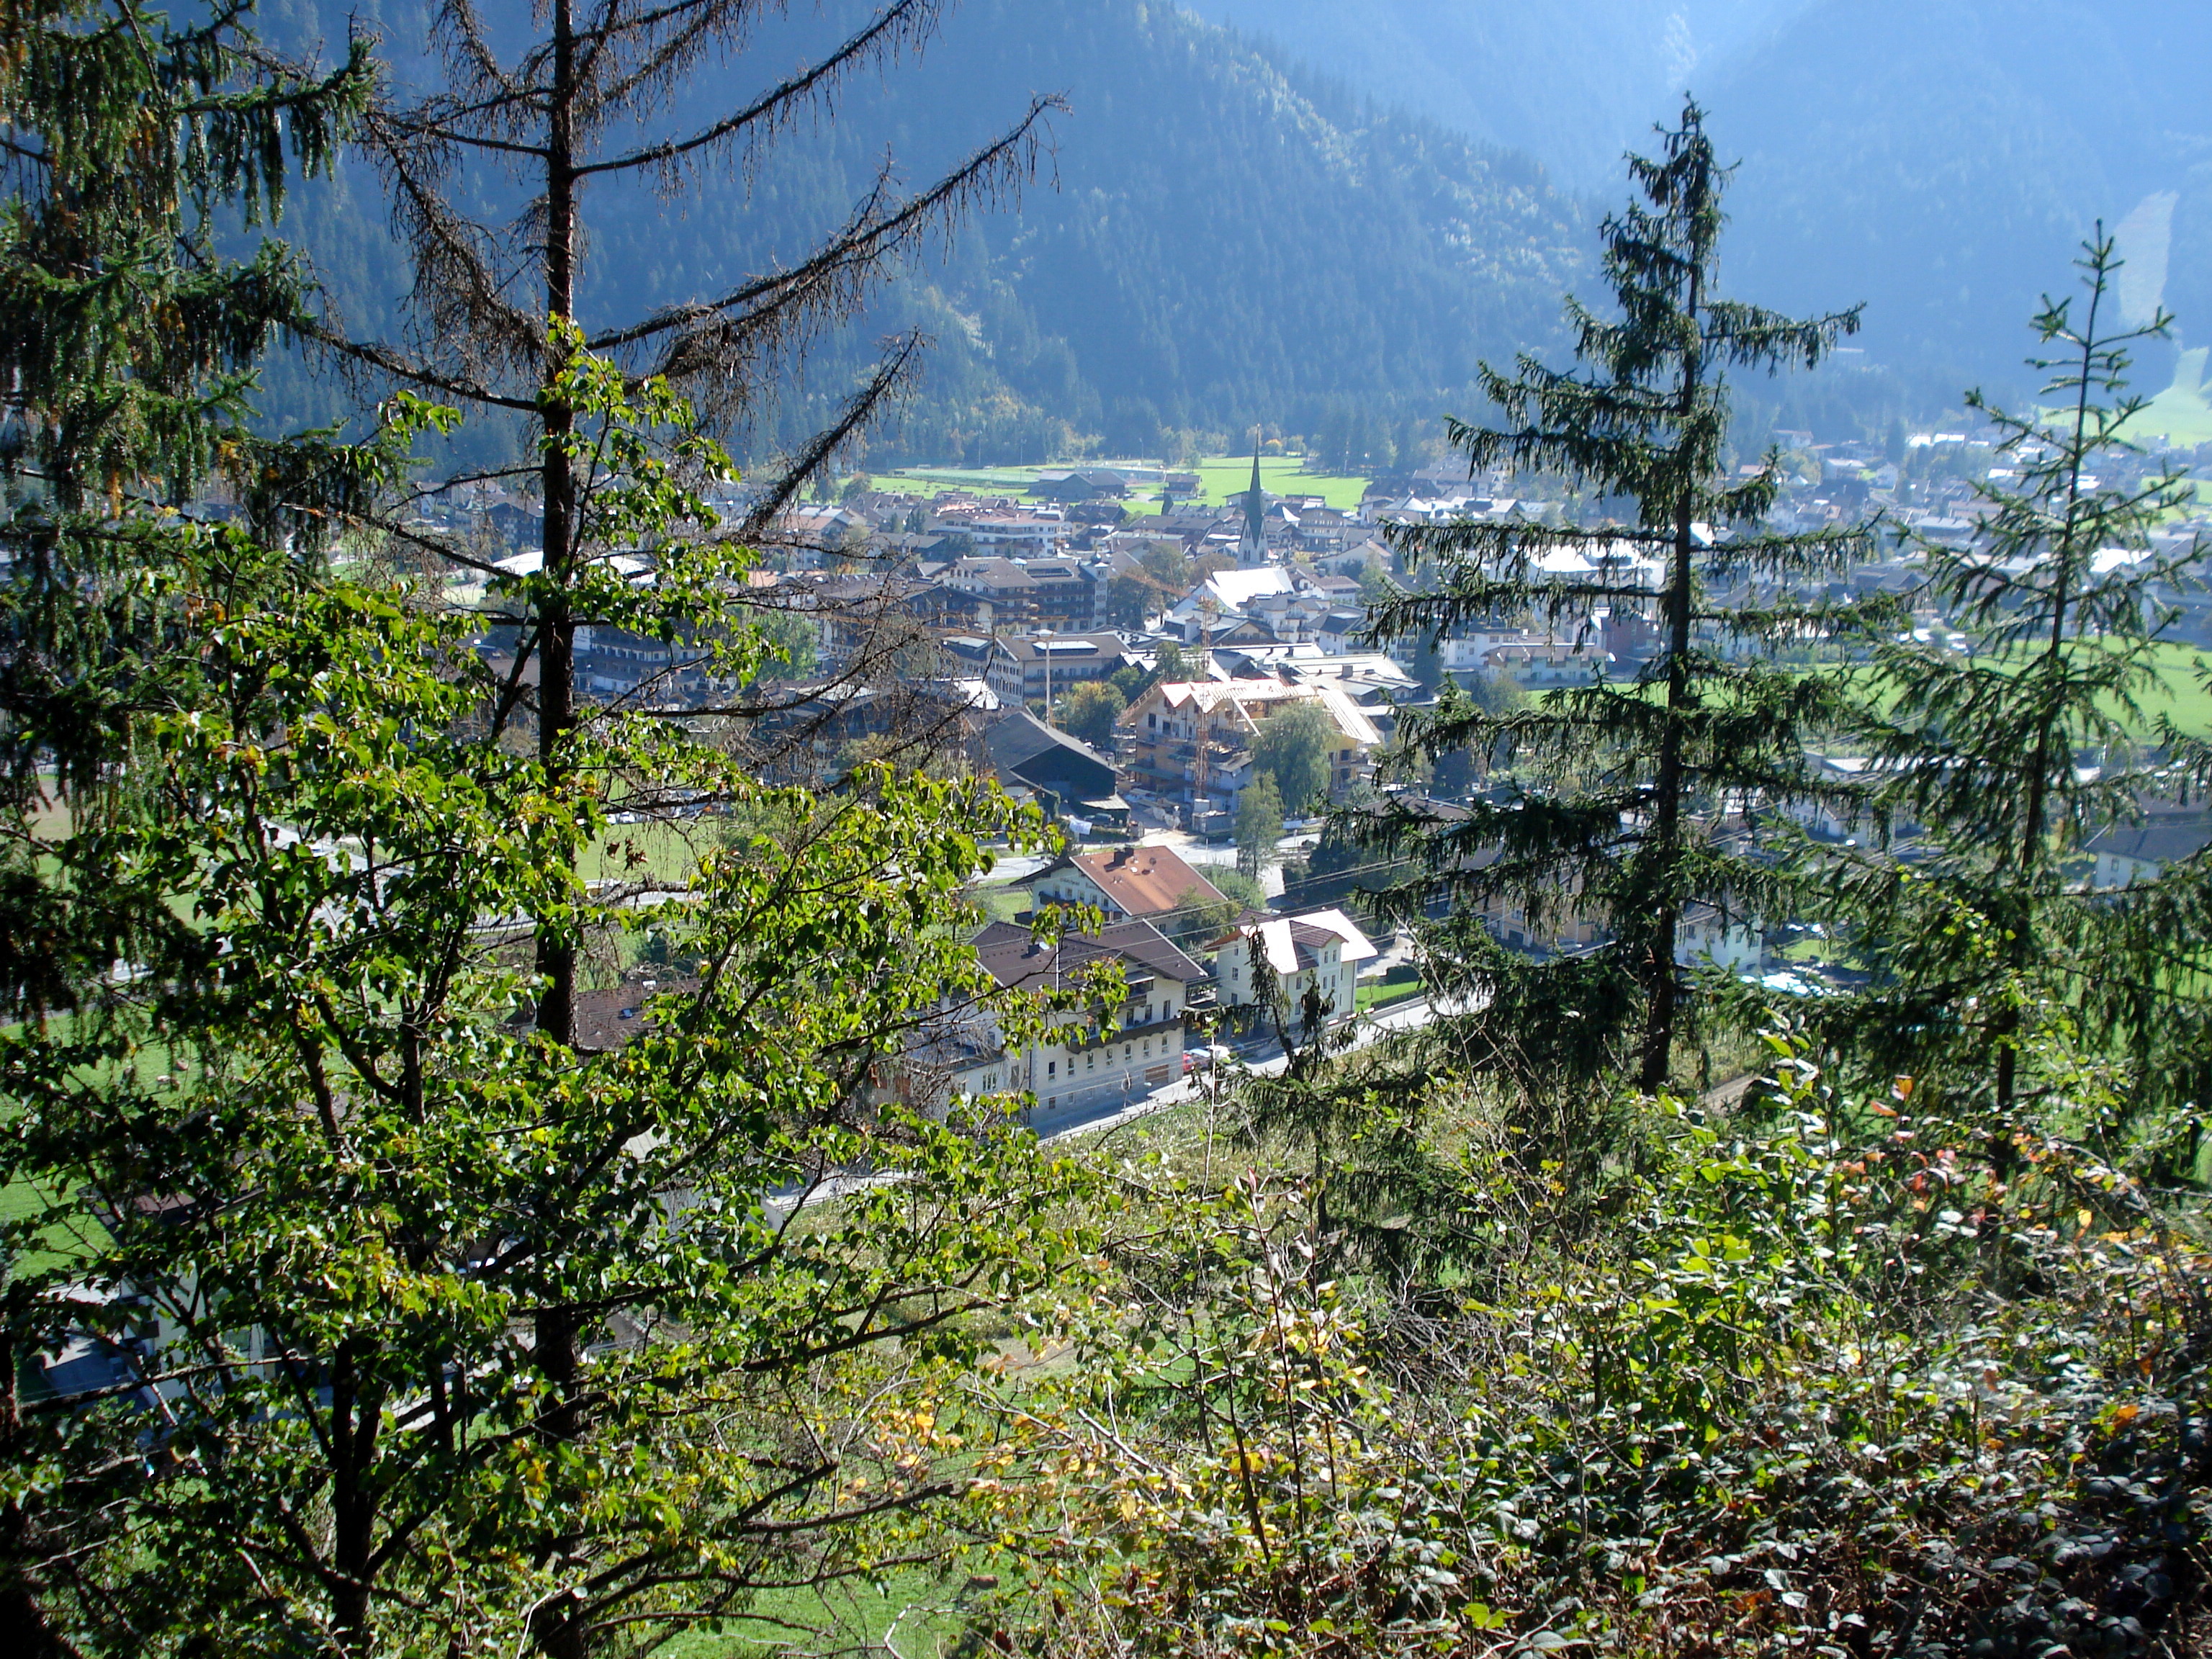
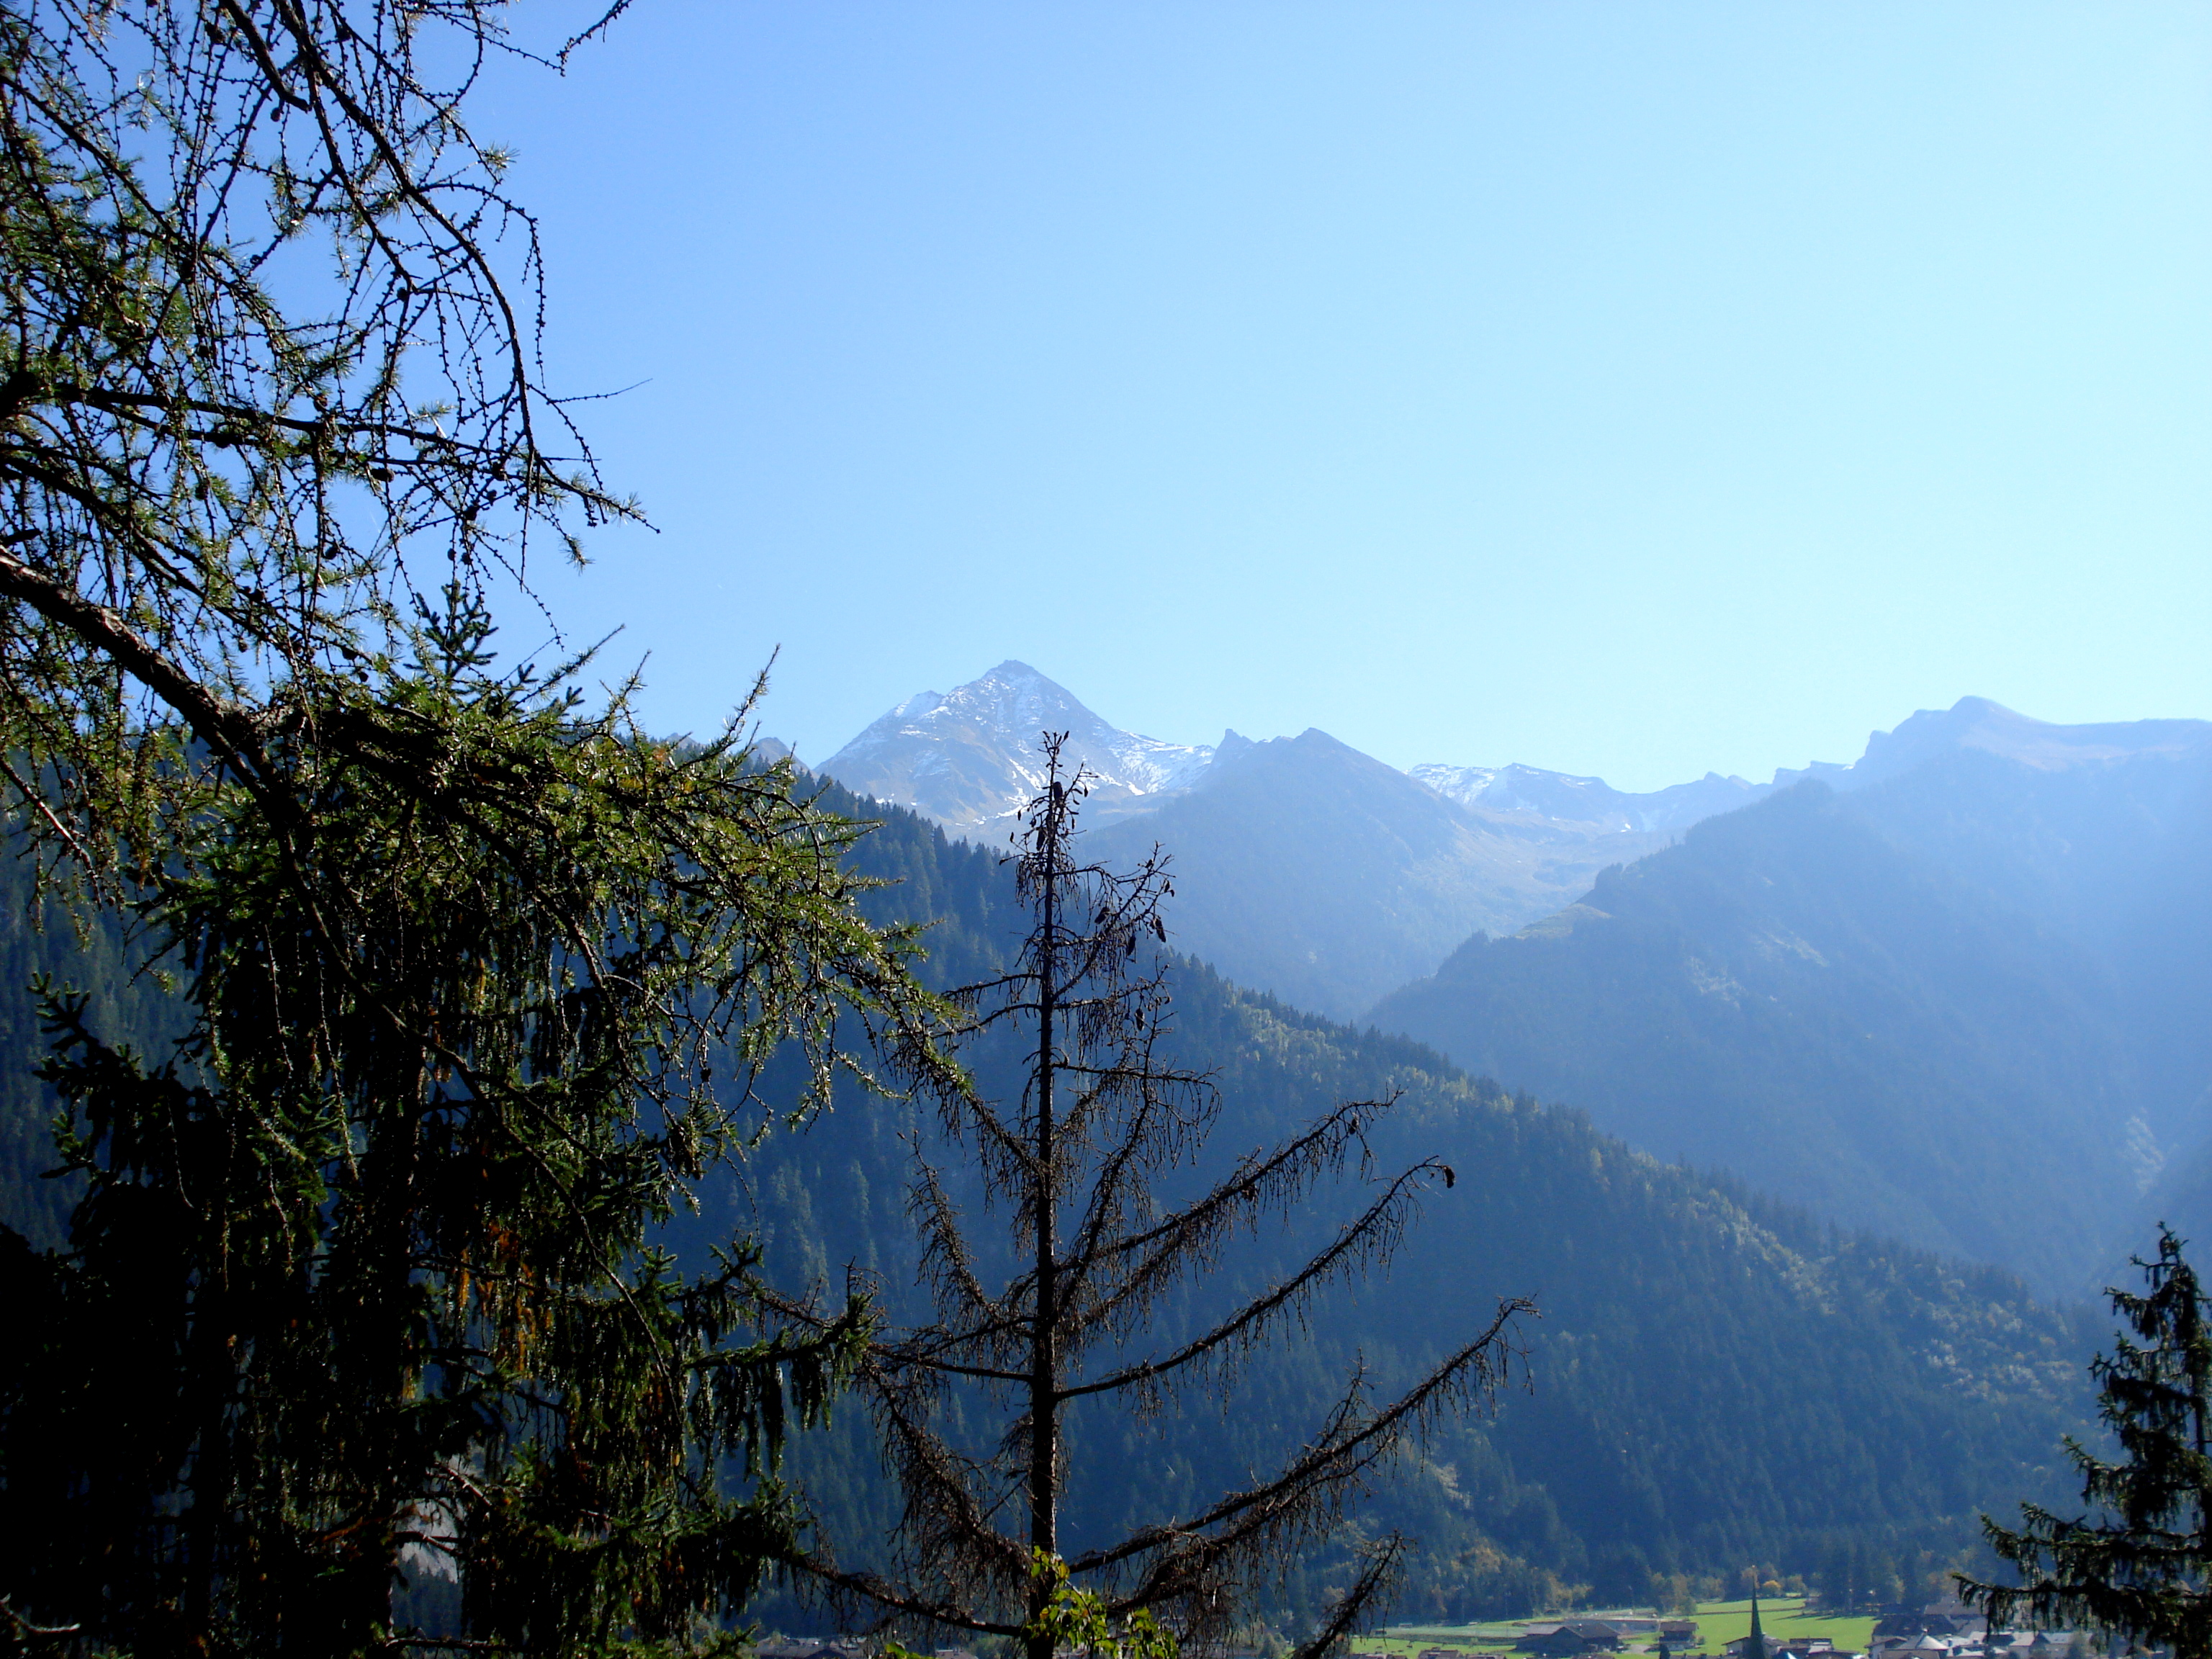
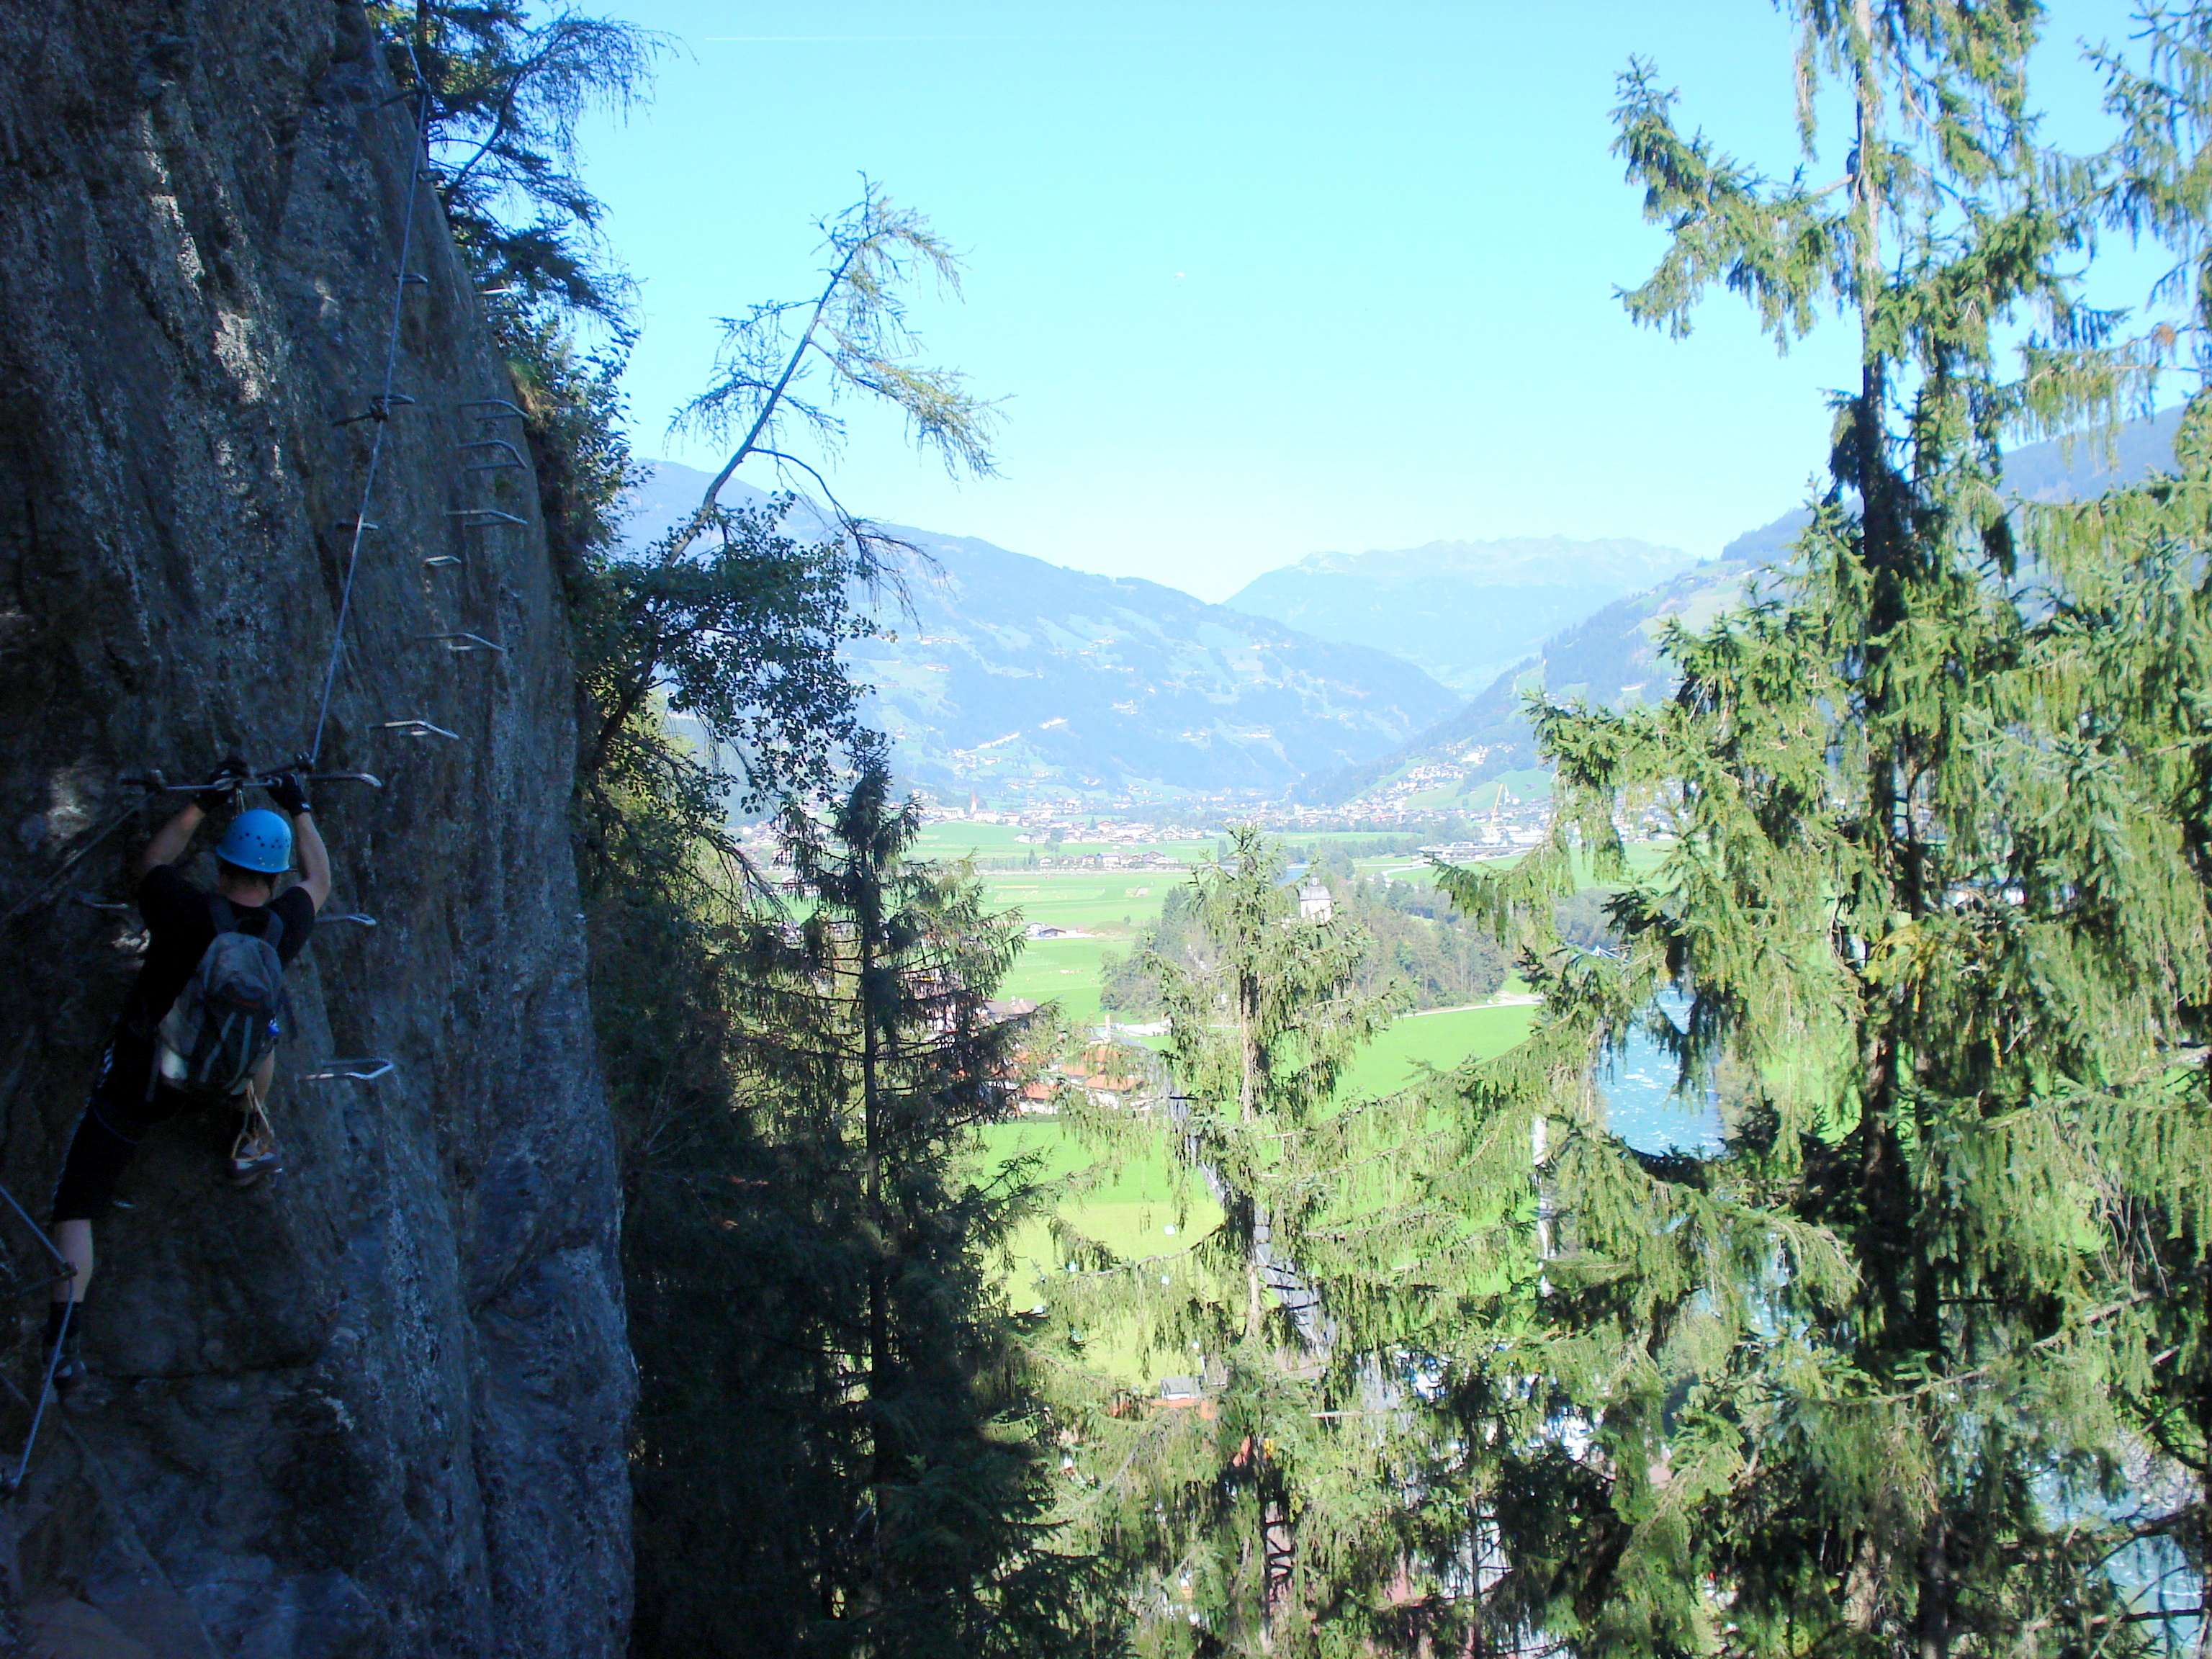
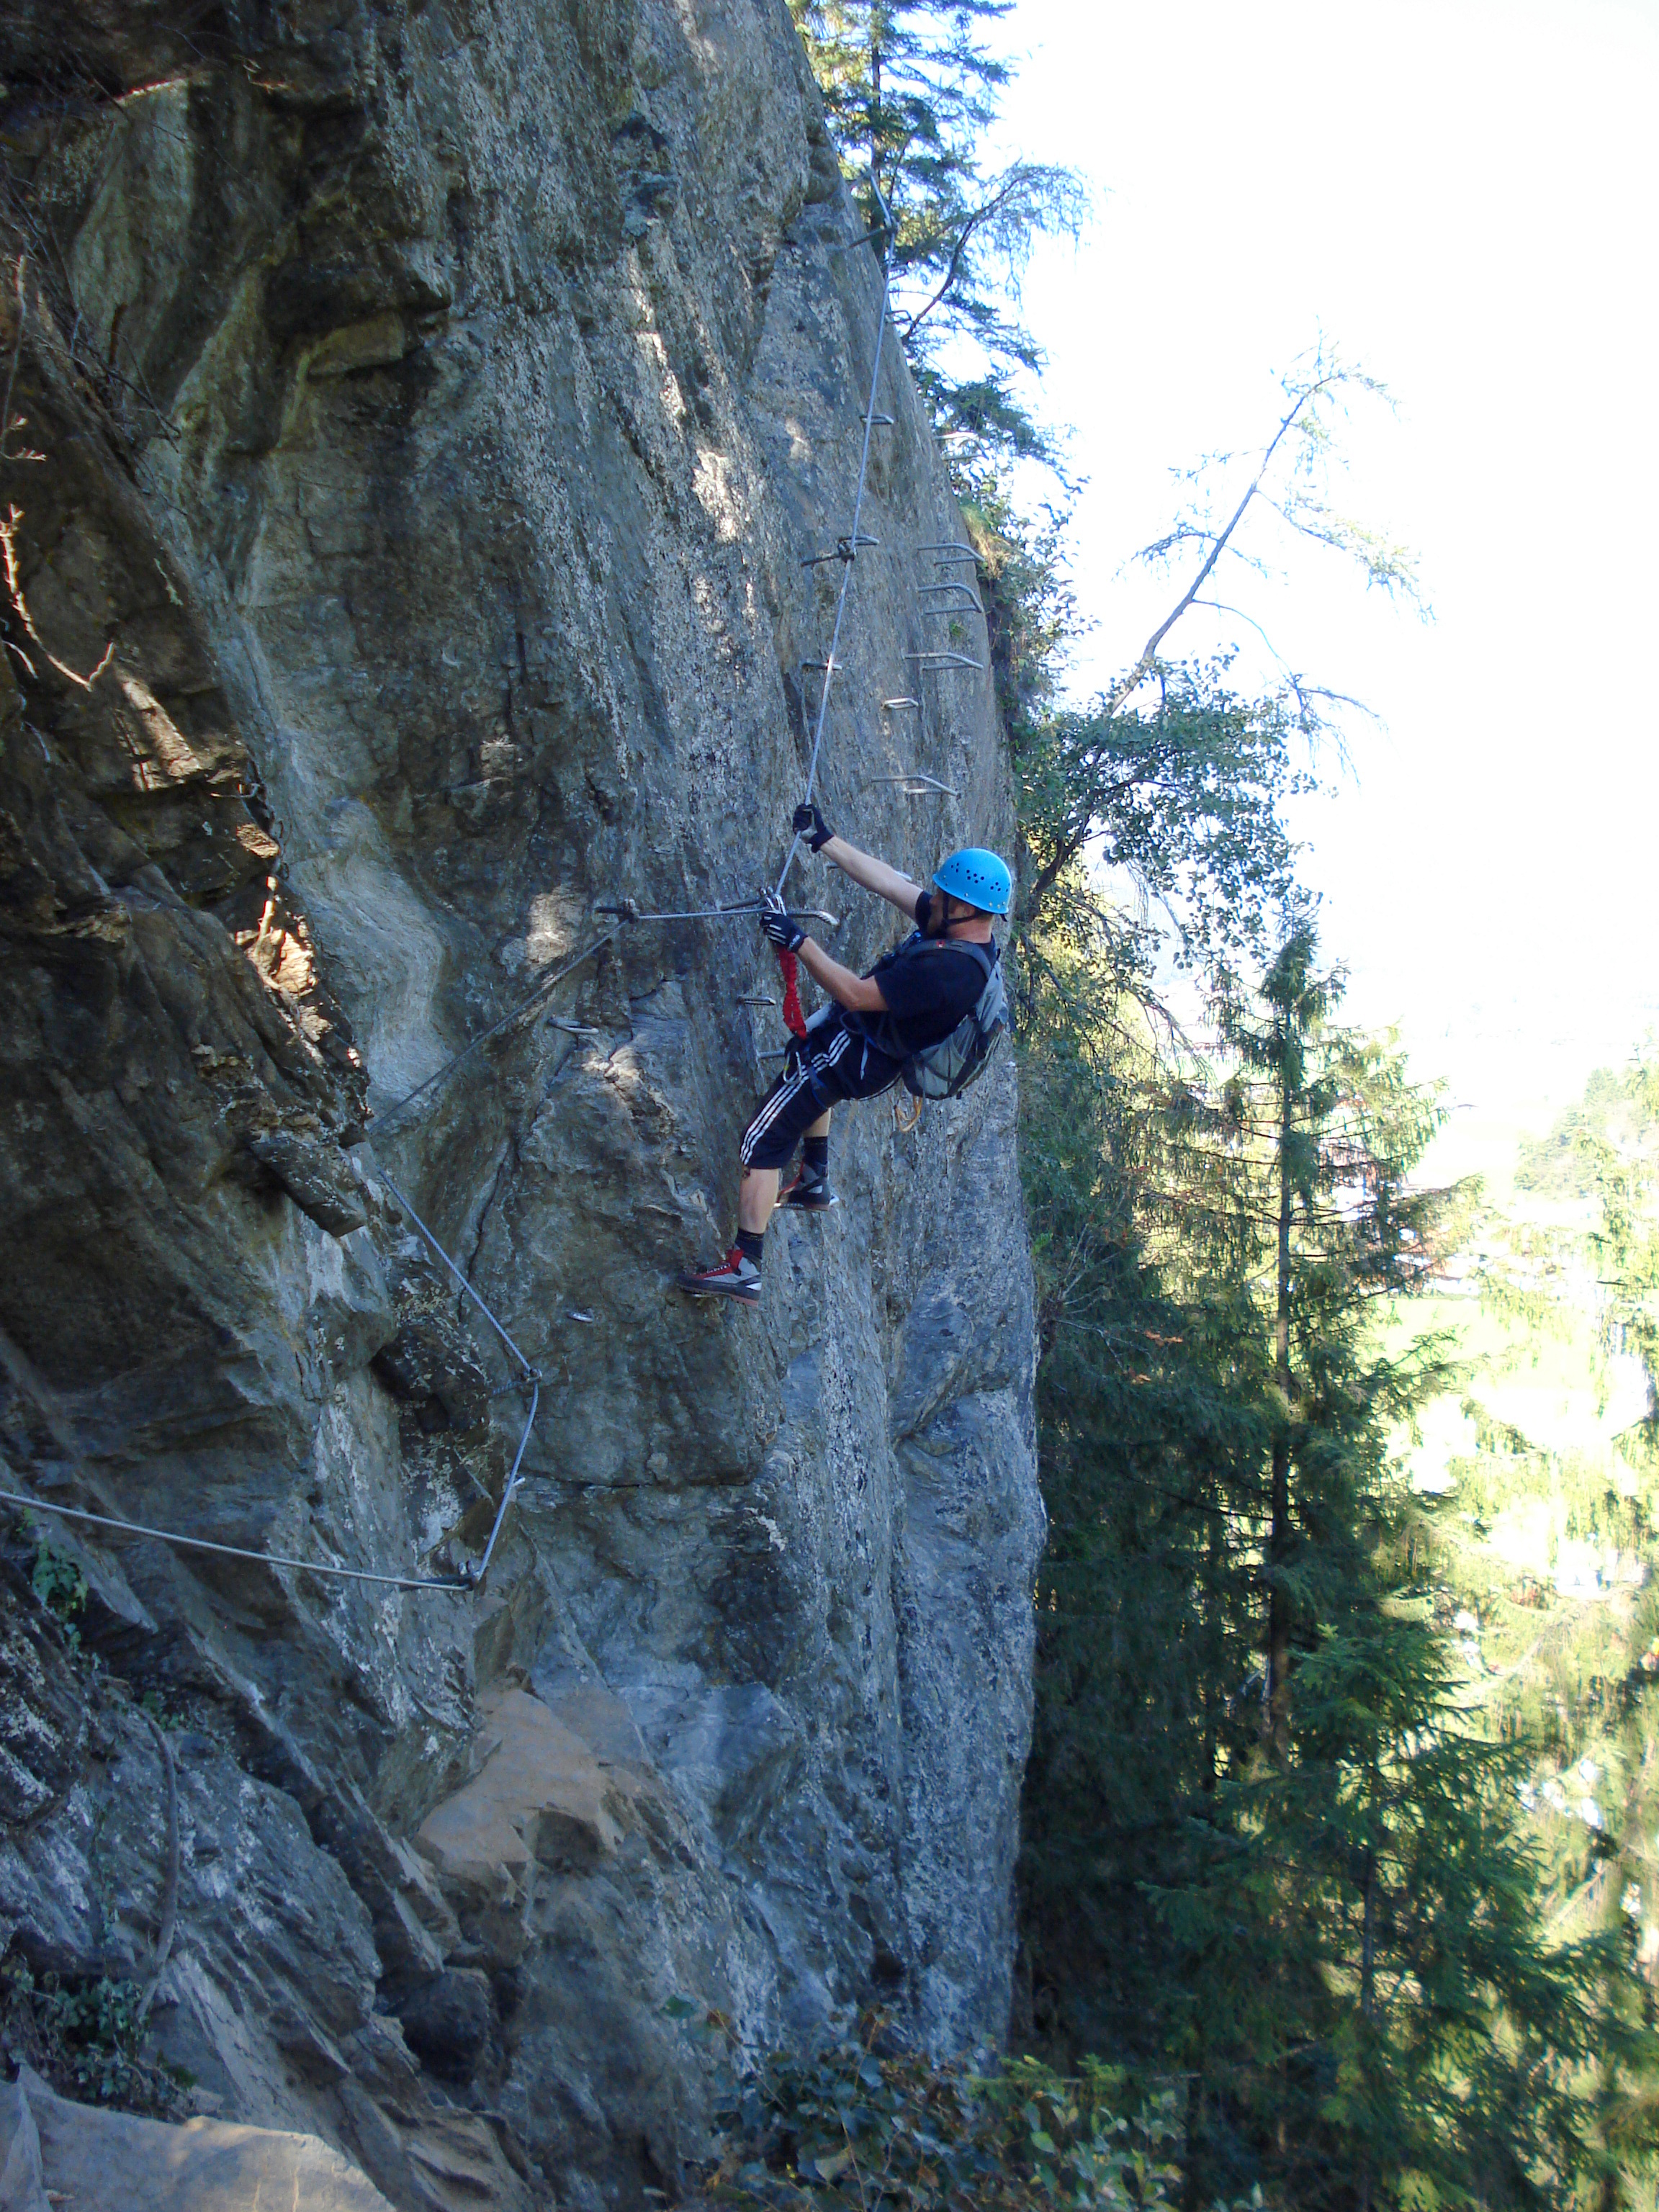
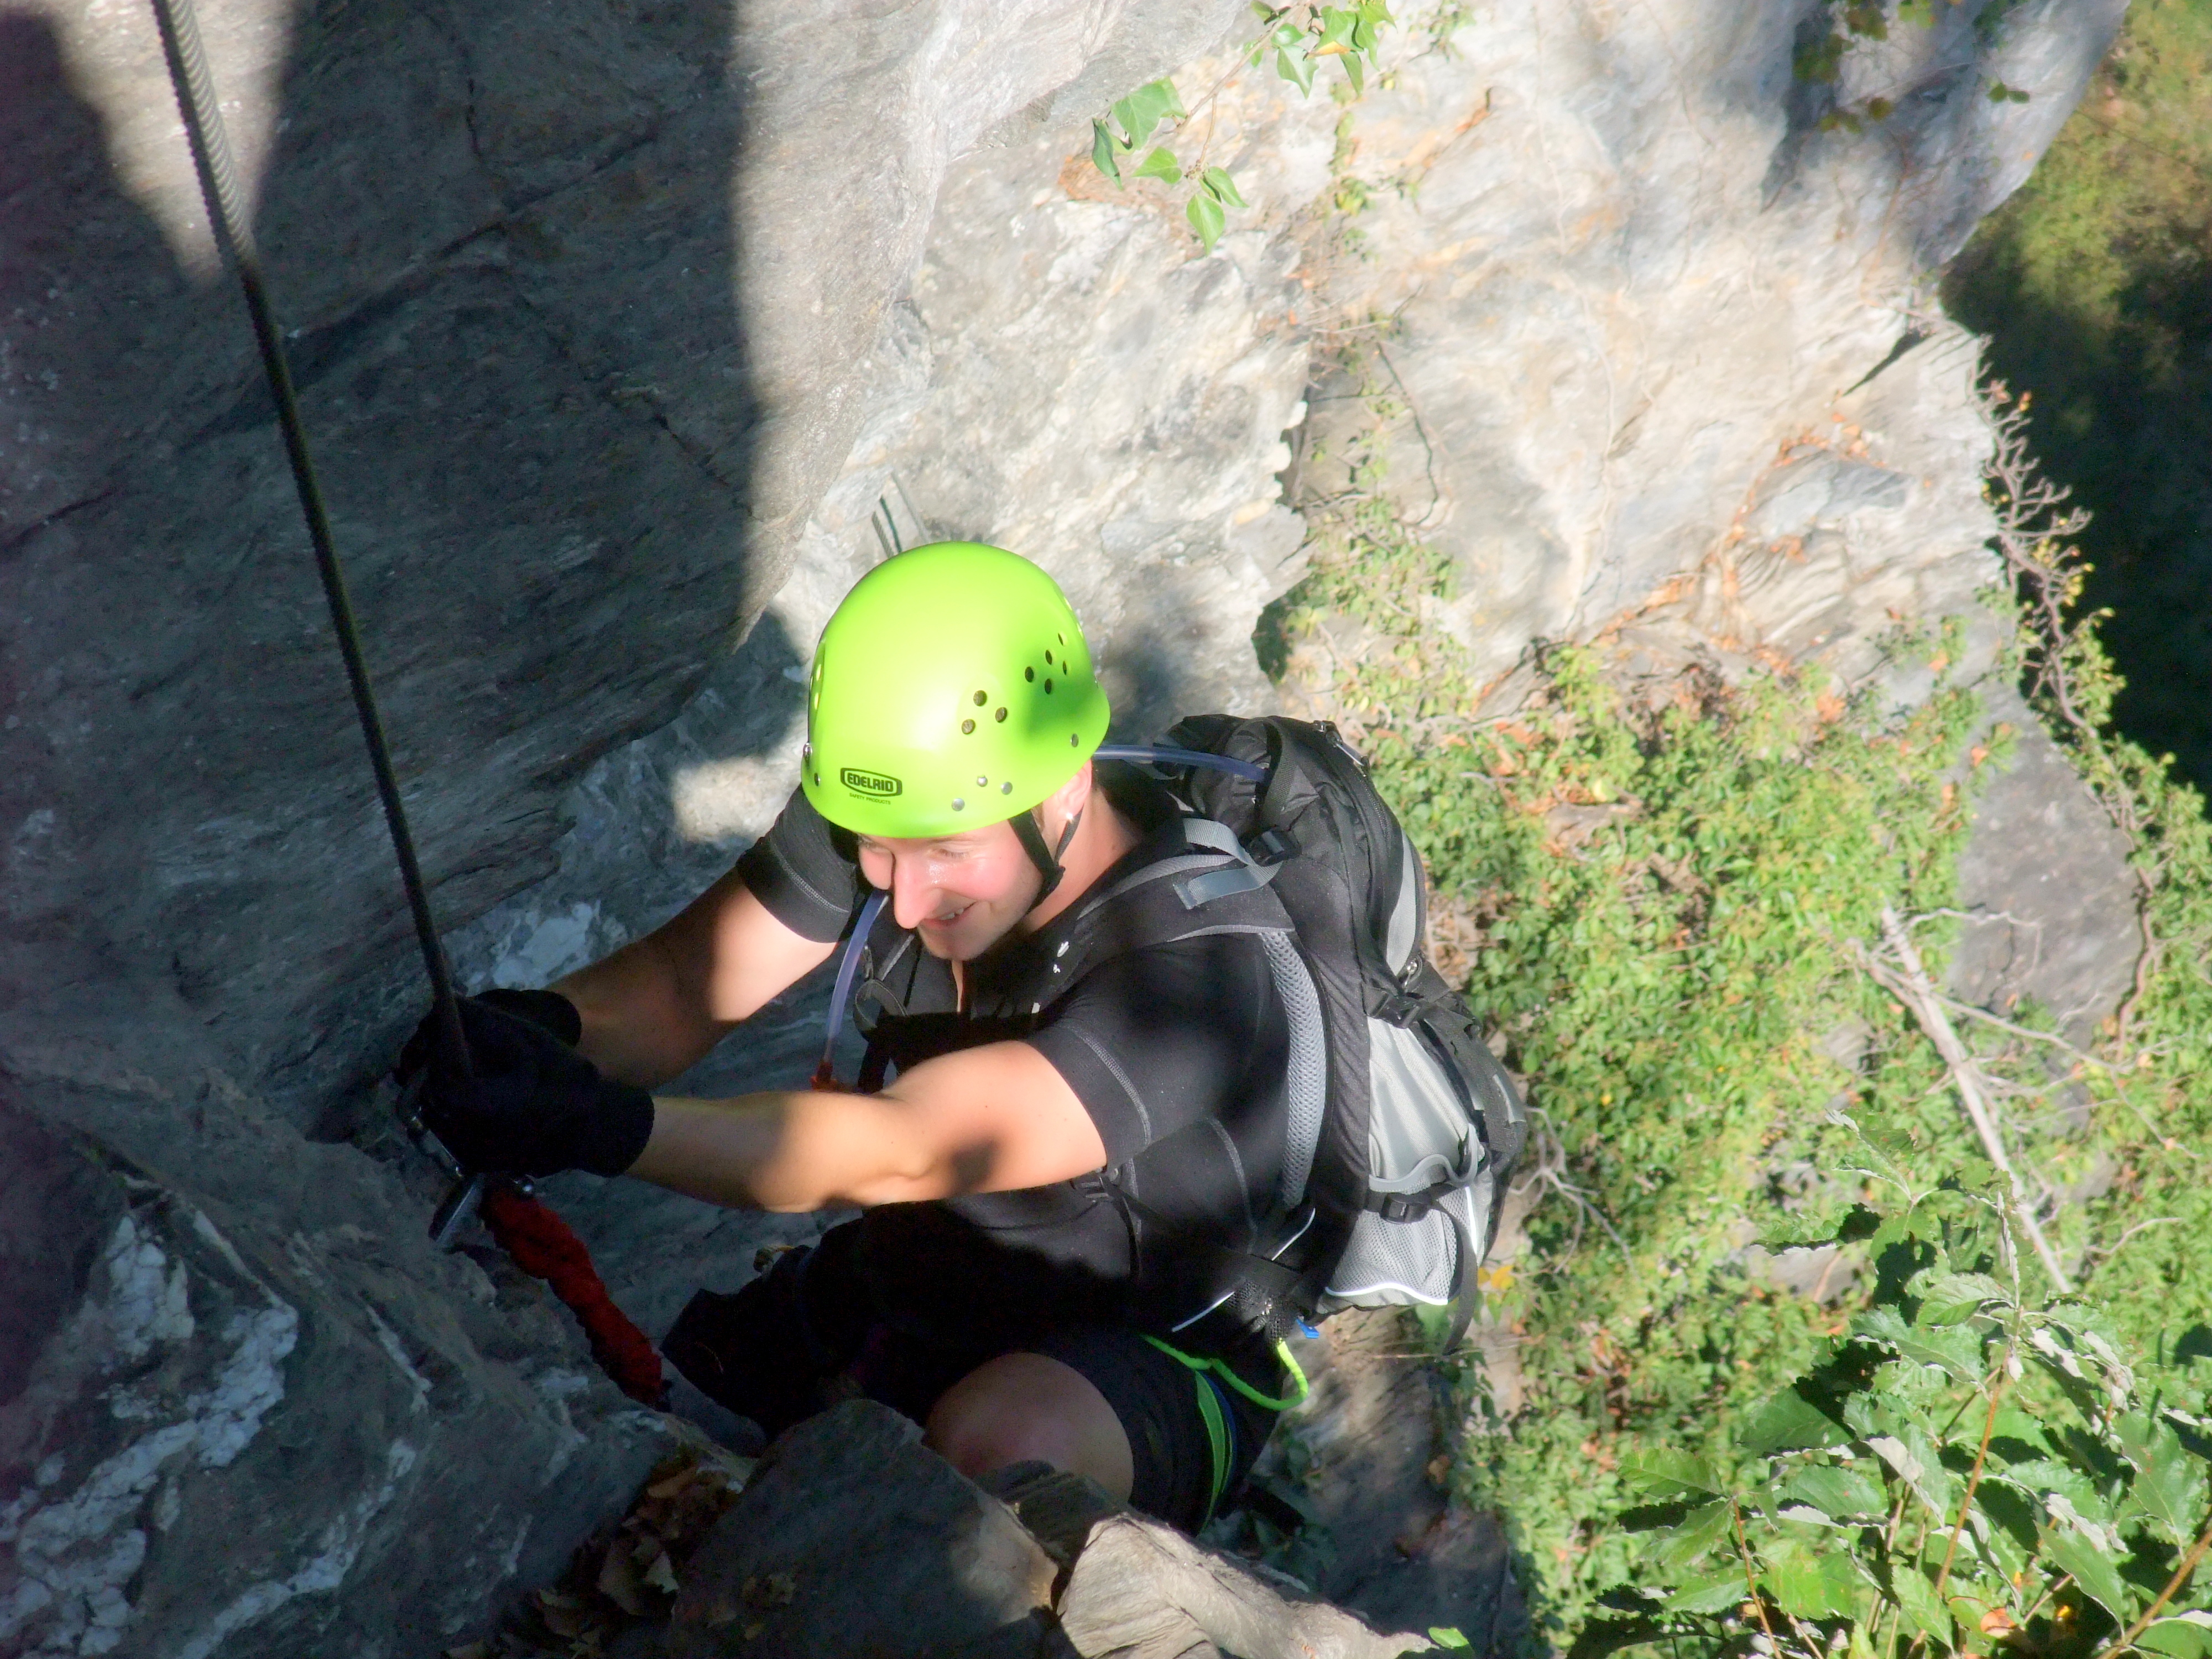
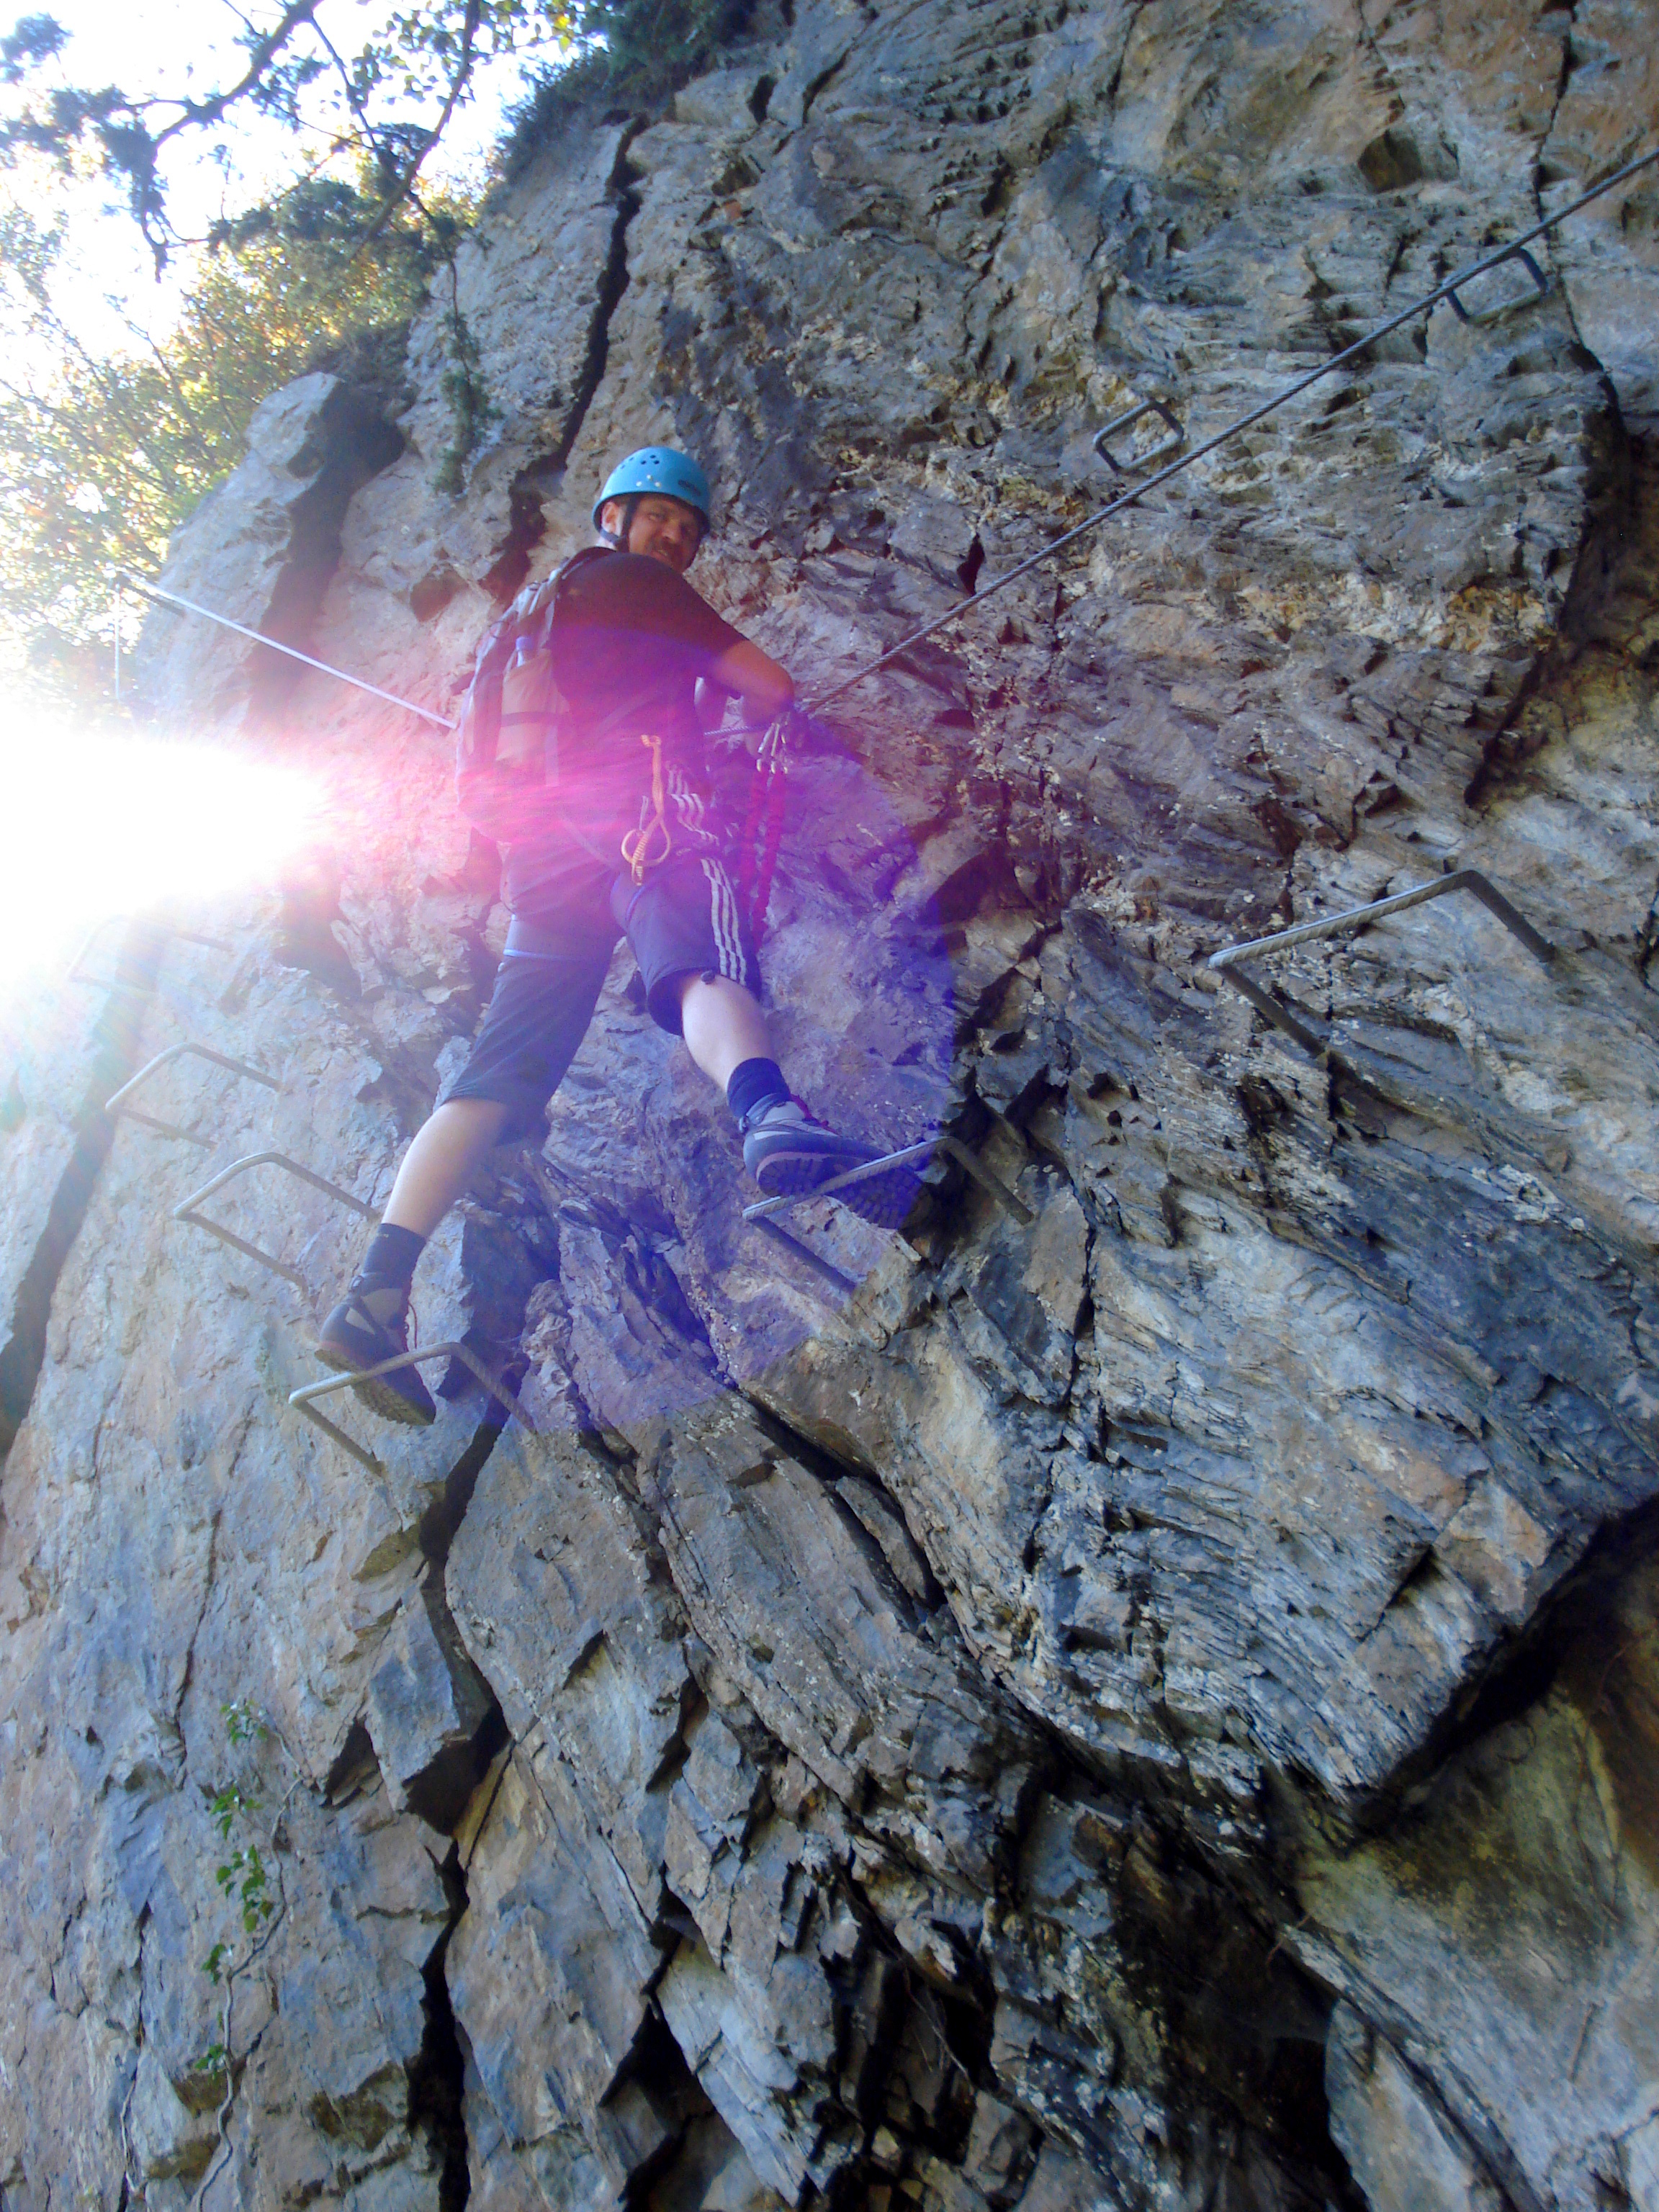
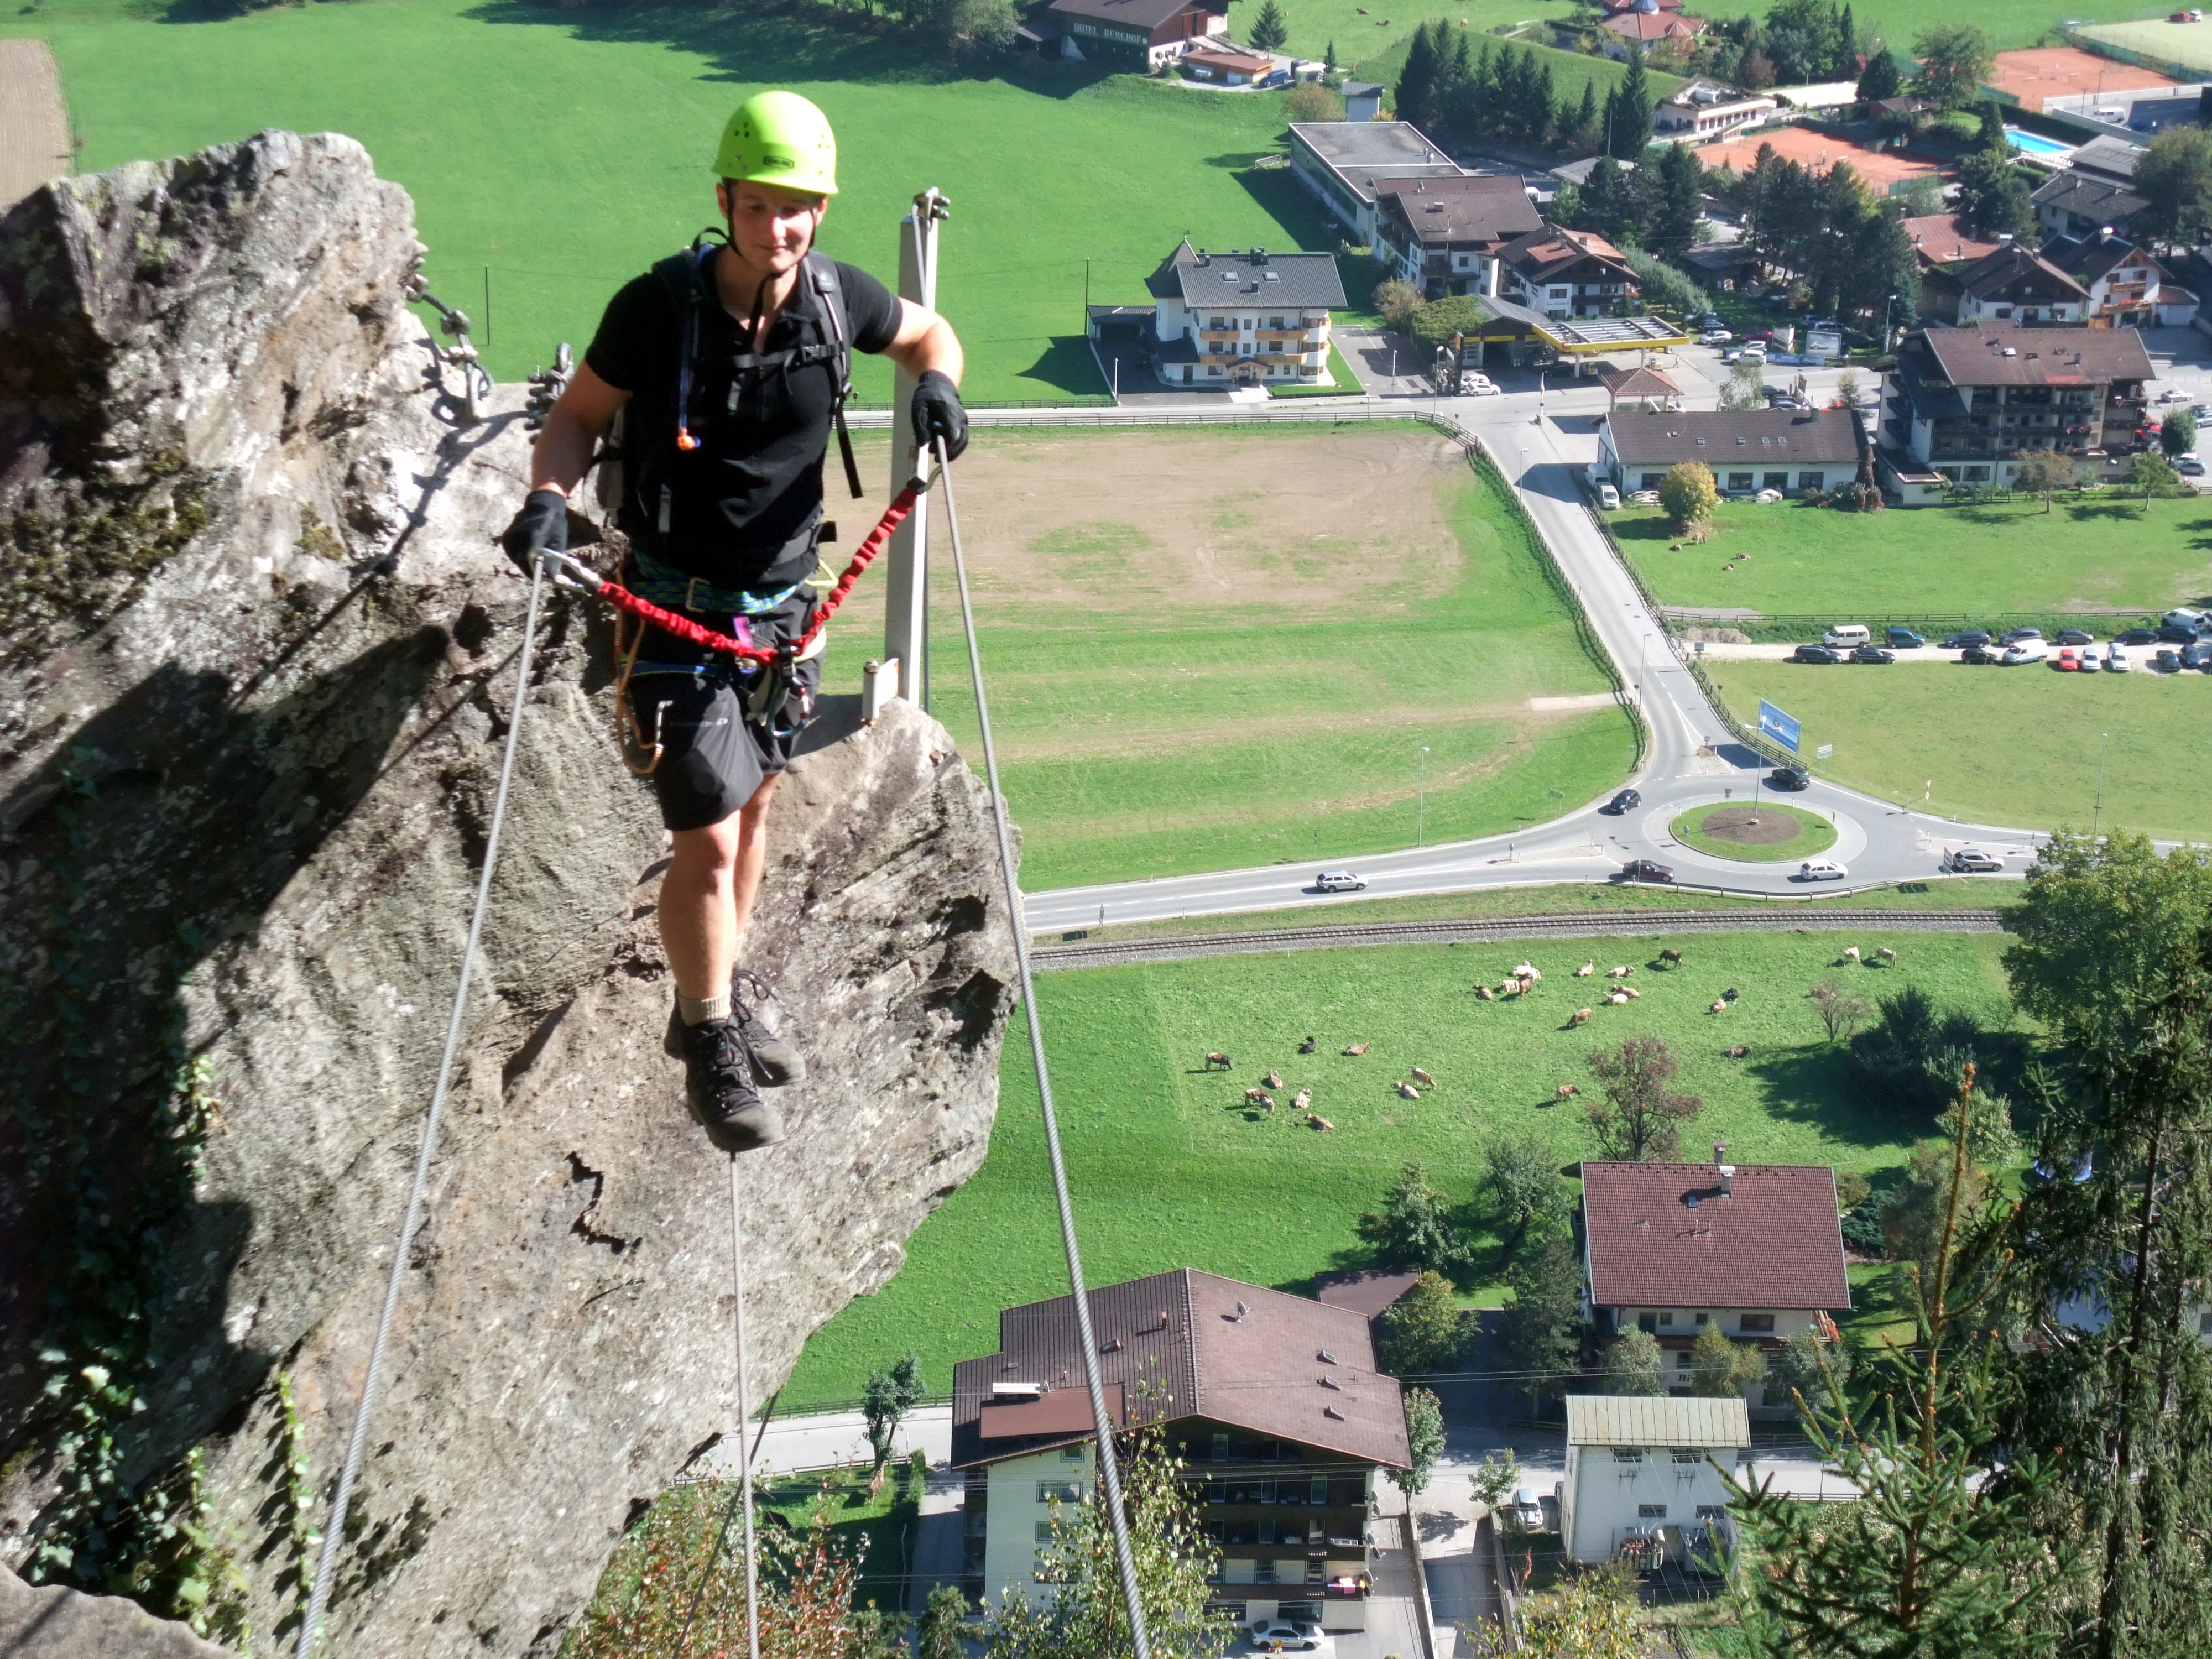
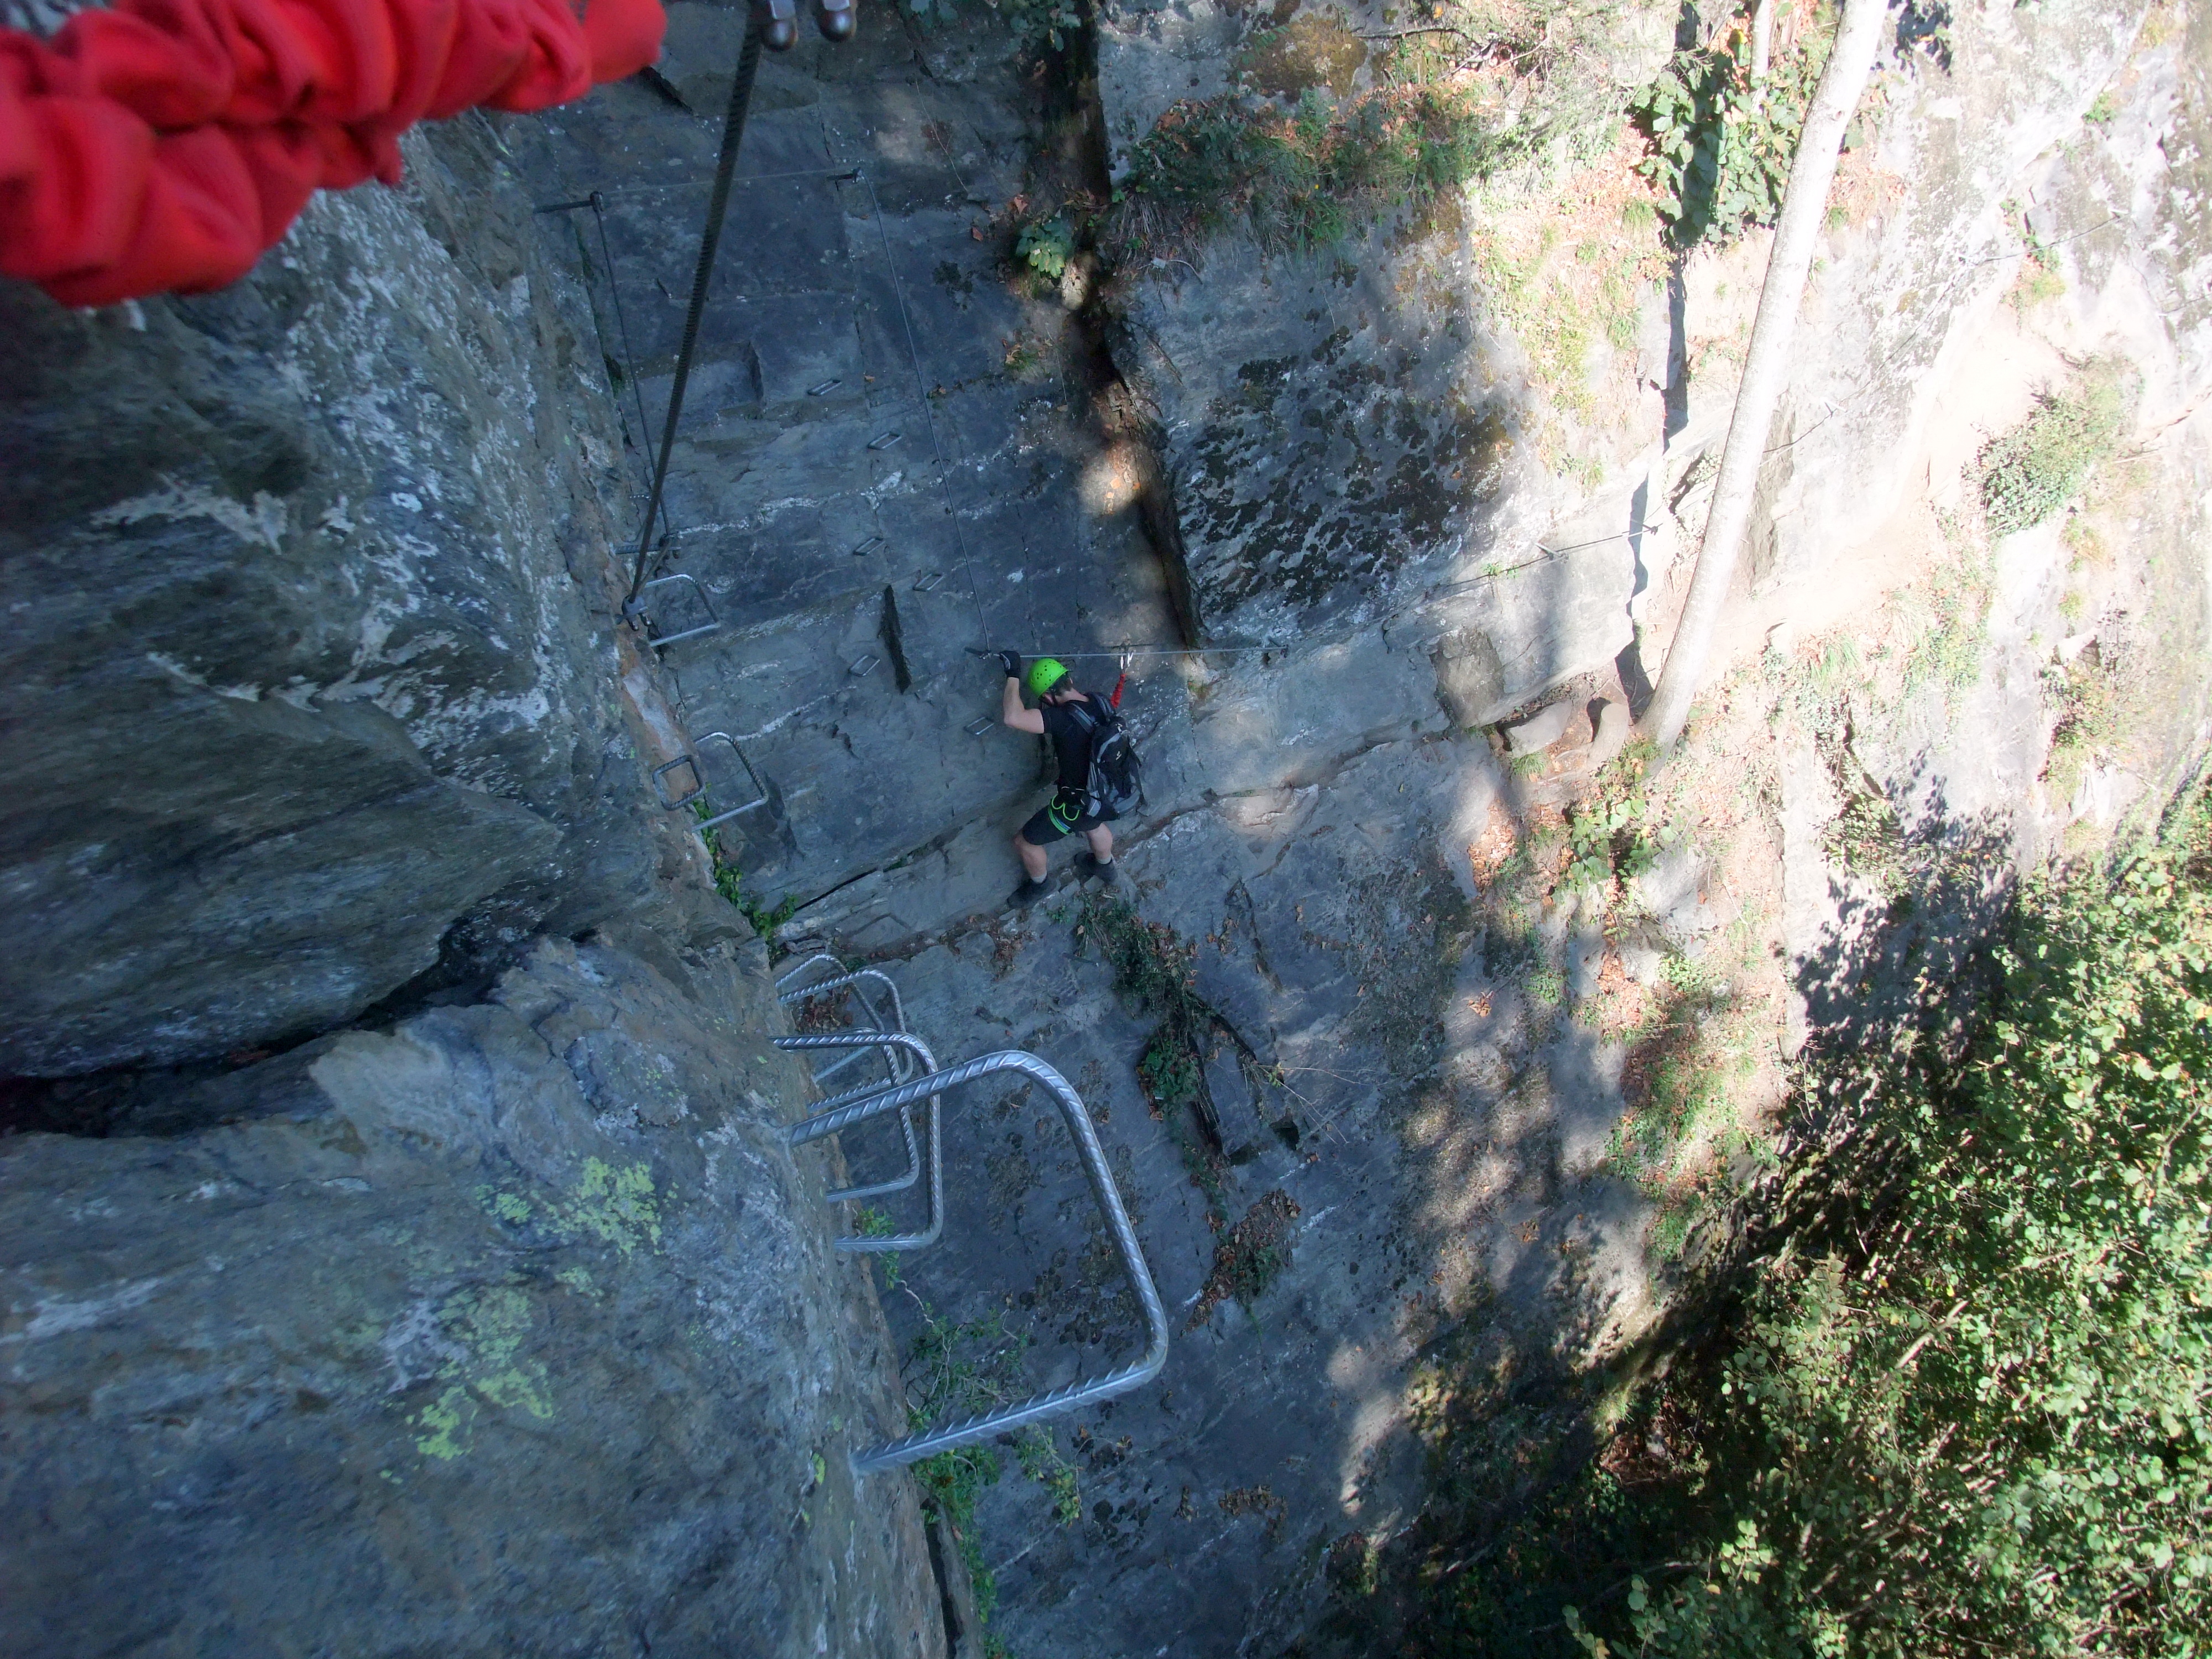
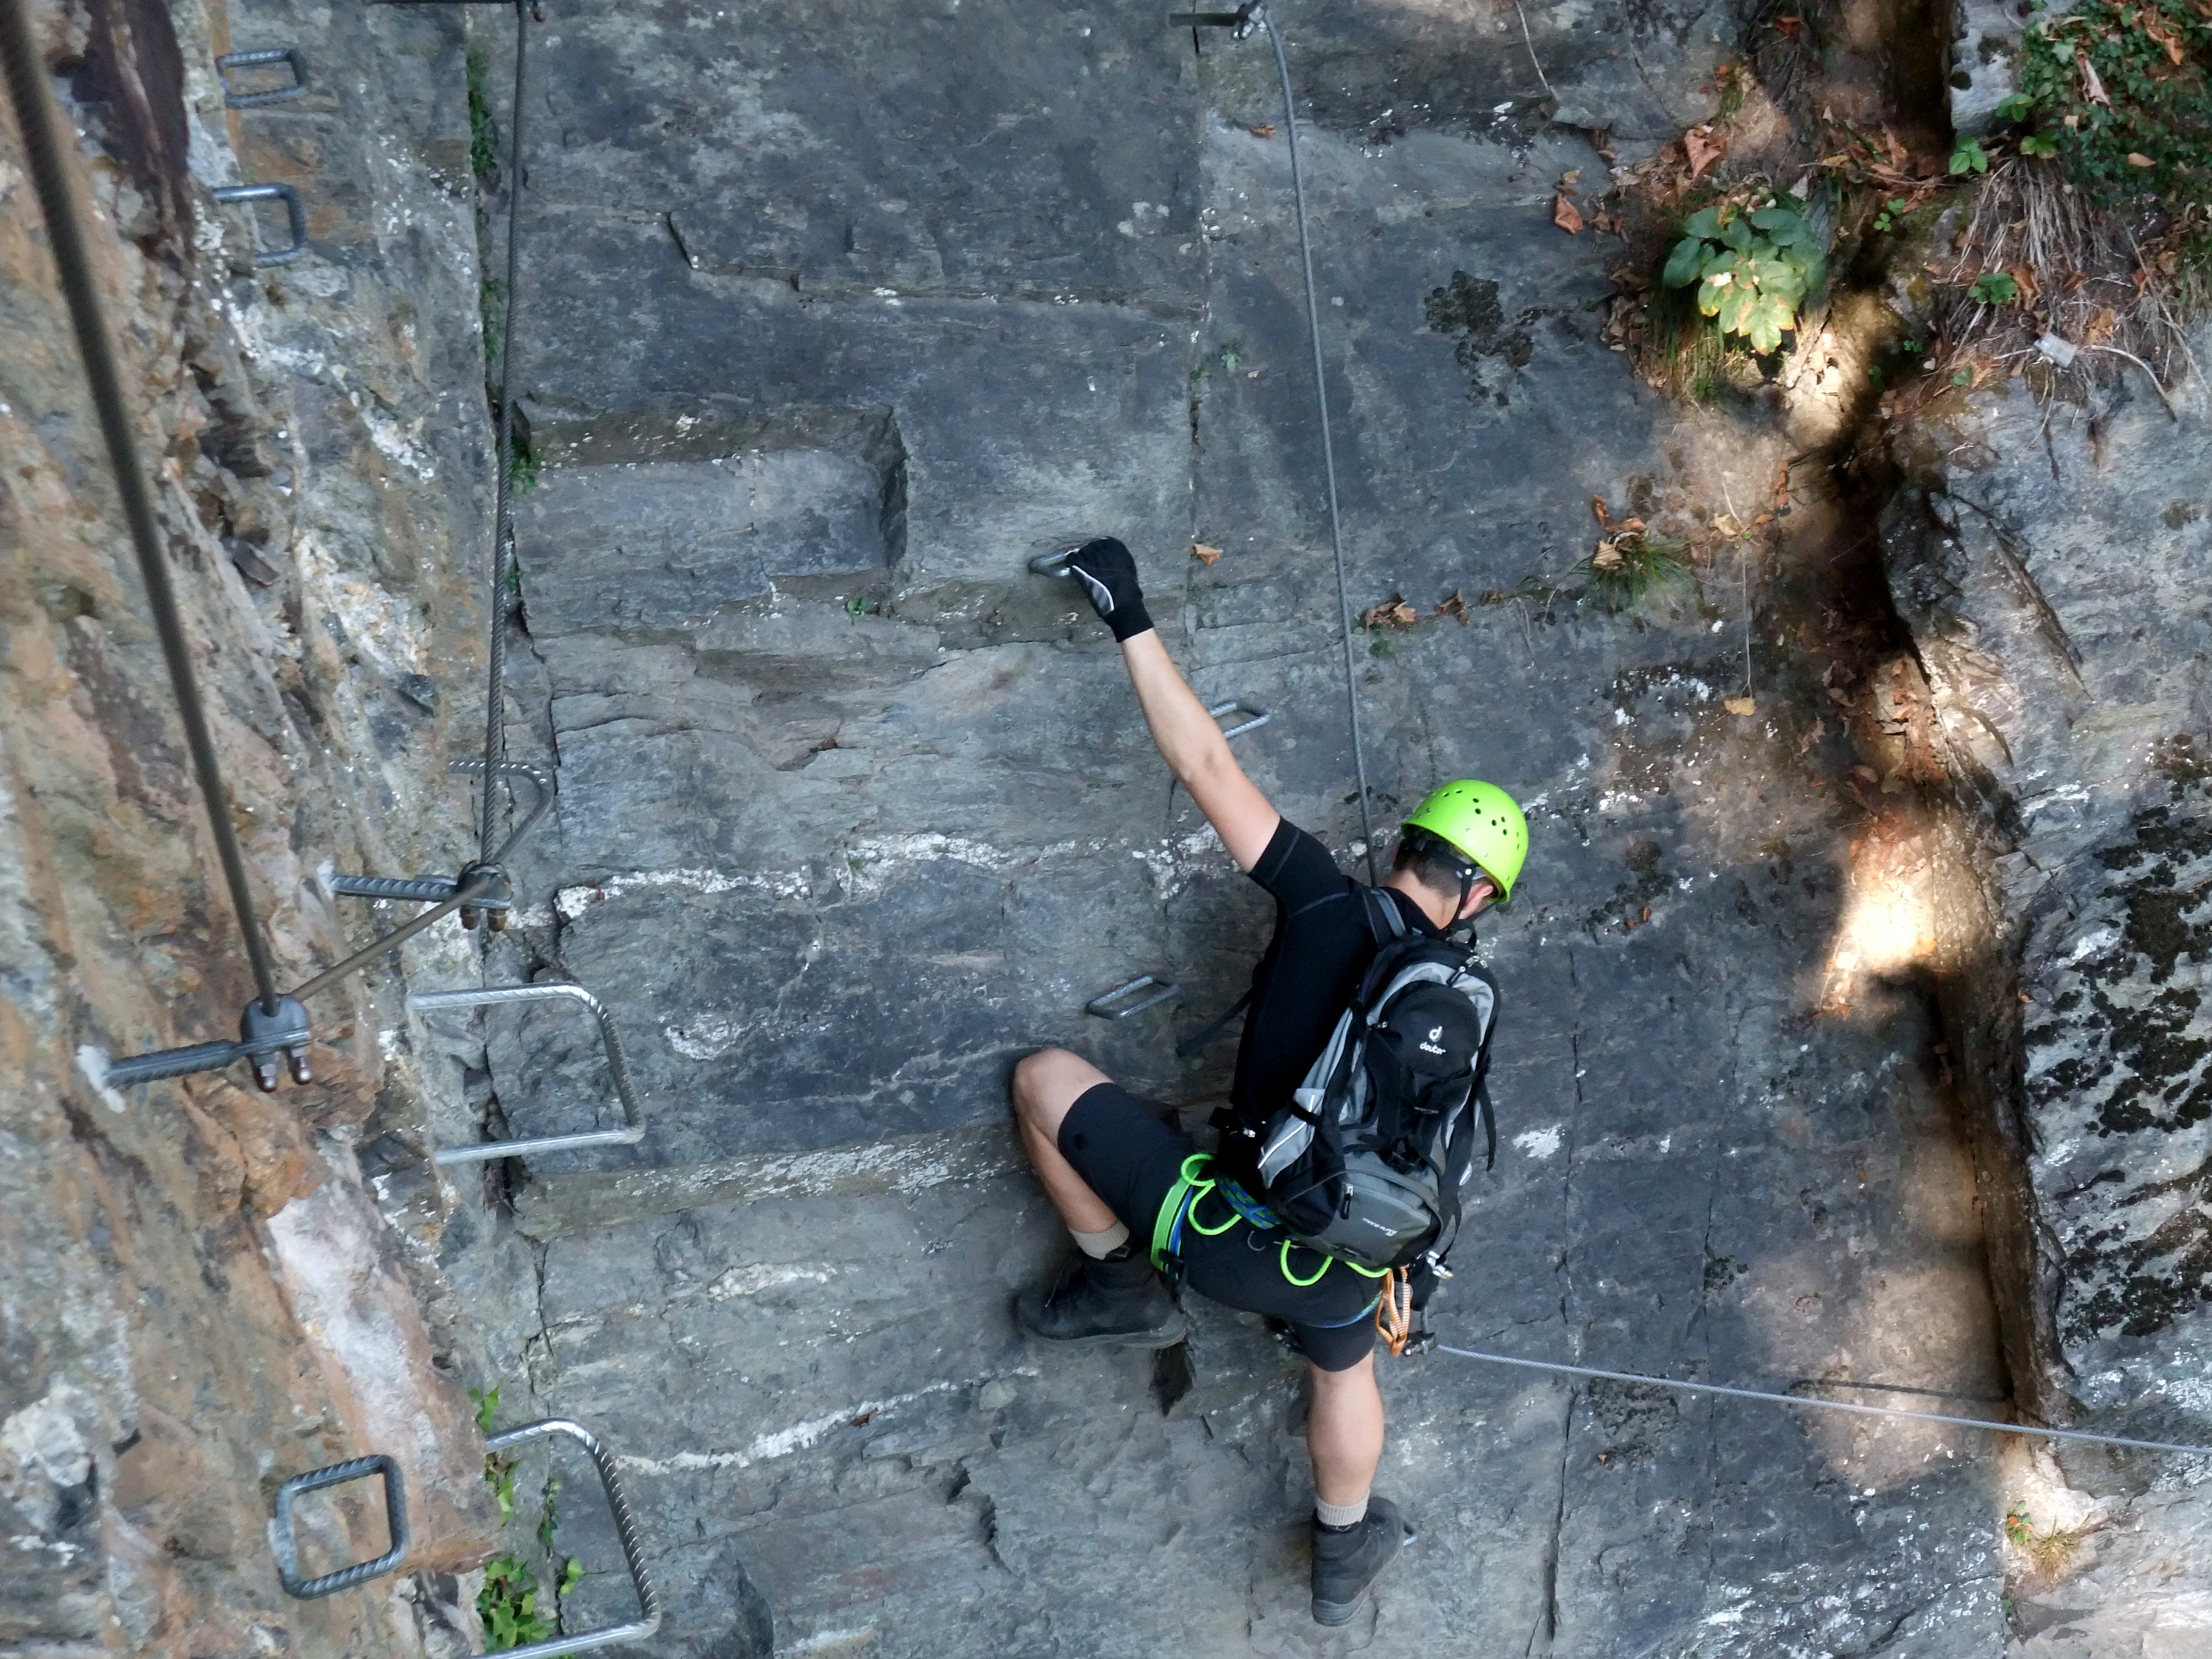
The weather gods decided to make up for a rainy summer with a beautiful autumn. We seized the opportunity and spontaneously headed to the Zillertal. Our goal was the Mayrhofen via ferratas – first the Zimmereben, then the easier Huterlaner. At the car park by Gasthof Zillertal, you can practically jump straight into your harness since the entry to the Zimmereben via ferrata is only 10 minutes away. Barely warmed up, things got tough right away. The sun was beating down like midsummer, and the entry section (C/D) had us sweating immediately. What followed was very varied – easier stretches, harder stretches, grades from A to D, everything included. The route-finding is, in our opinion, excellently done. Upon reaching the Hollywood swing, the temptation for a longer break is strong – from here there’s a lovely view over Mayrhofen and the Ziller valley, and the Ahornspitze presents itself at its best.
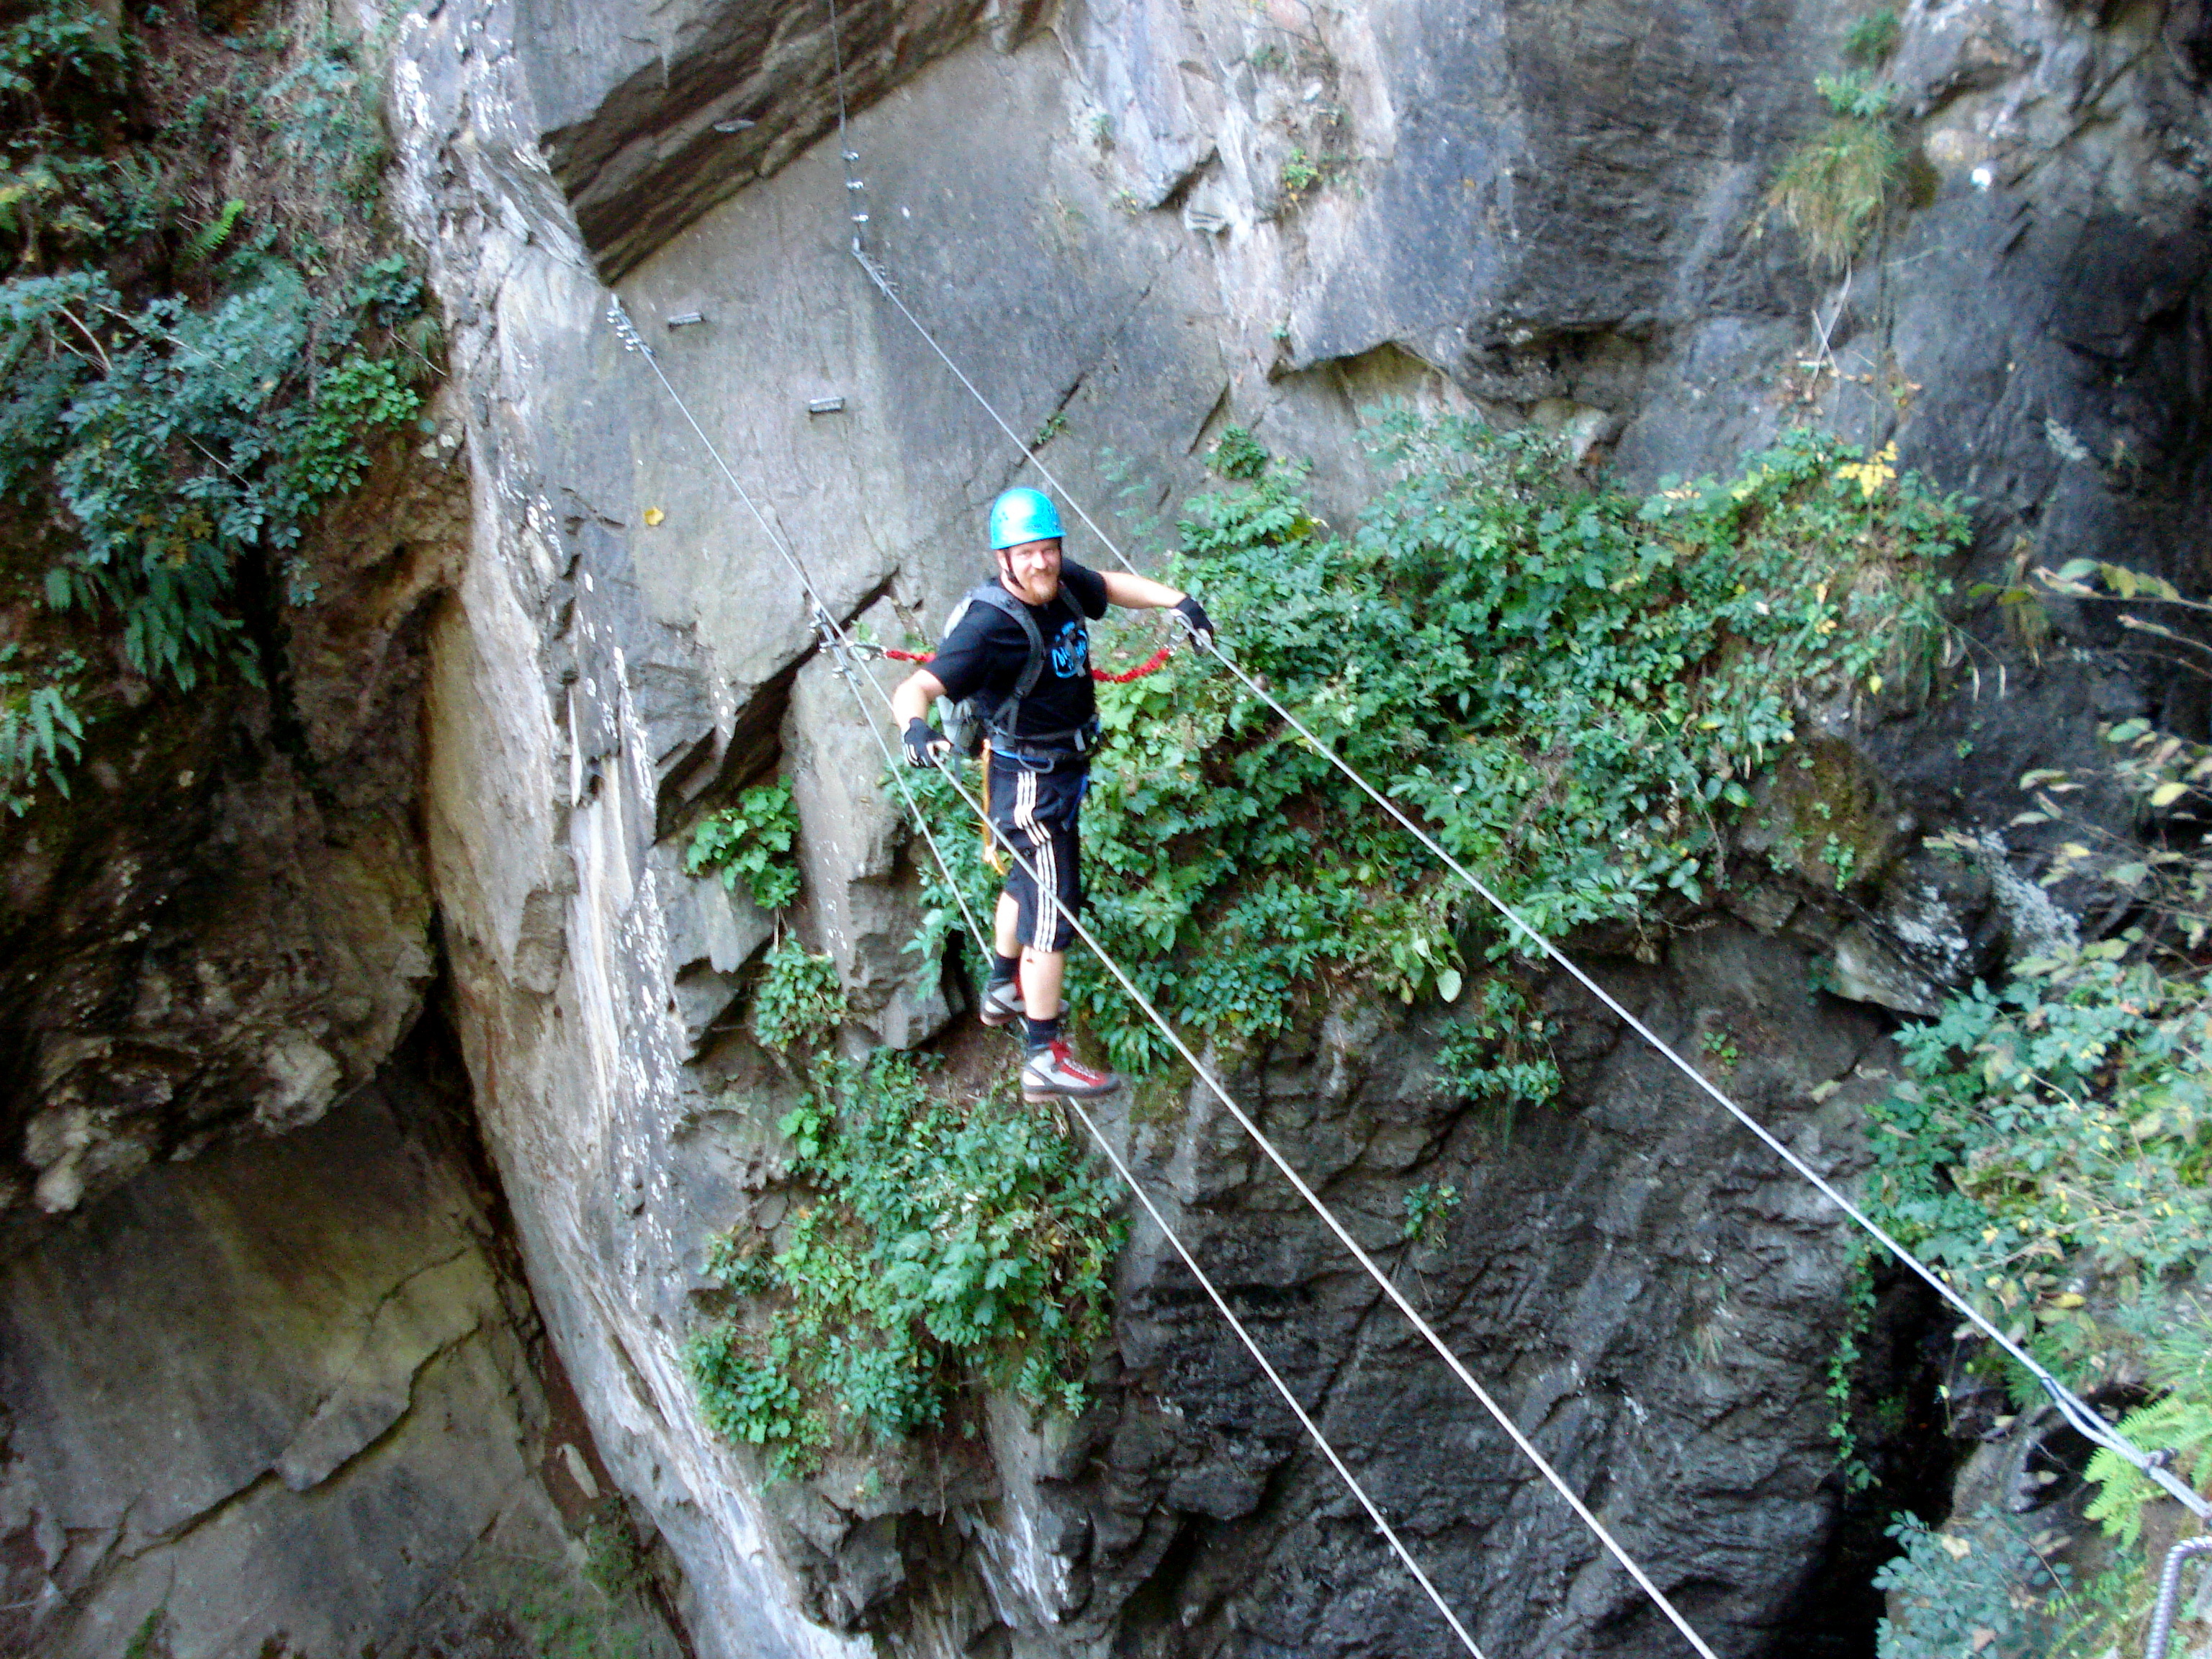
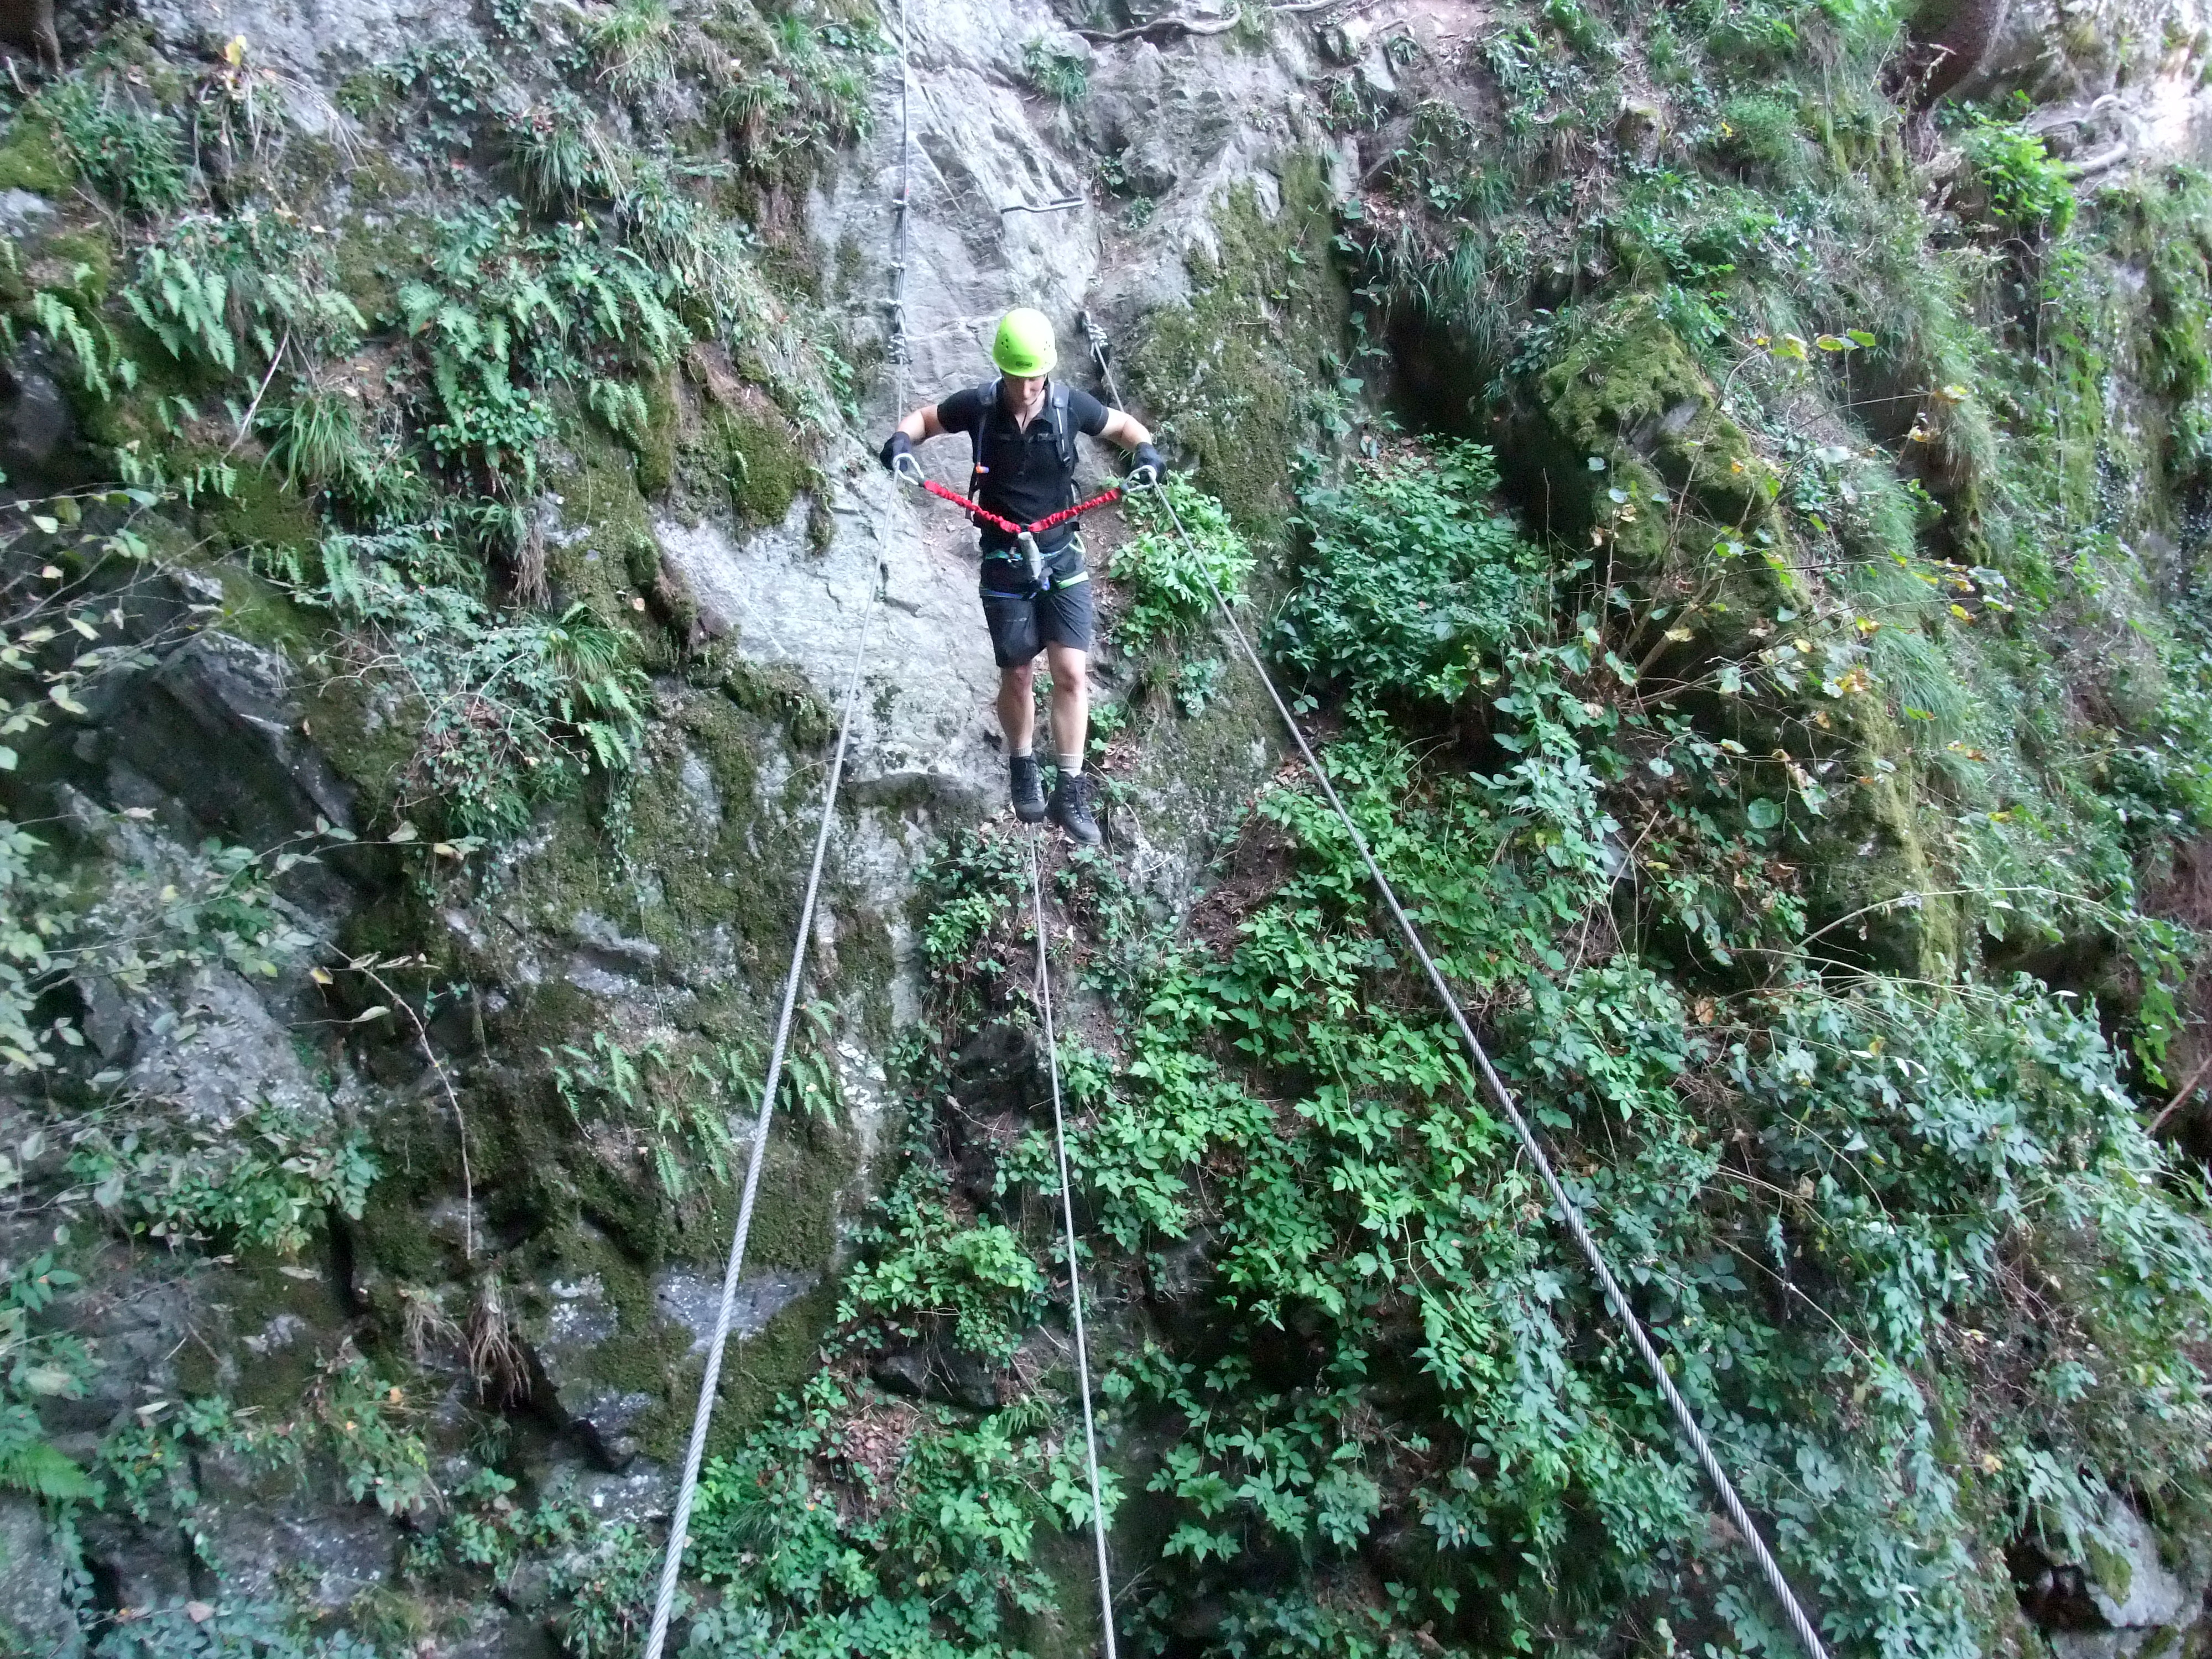
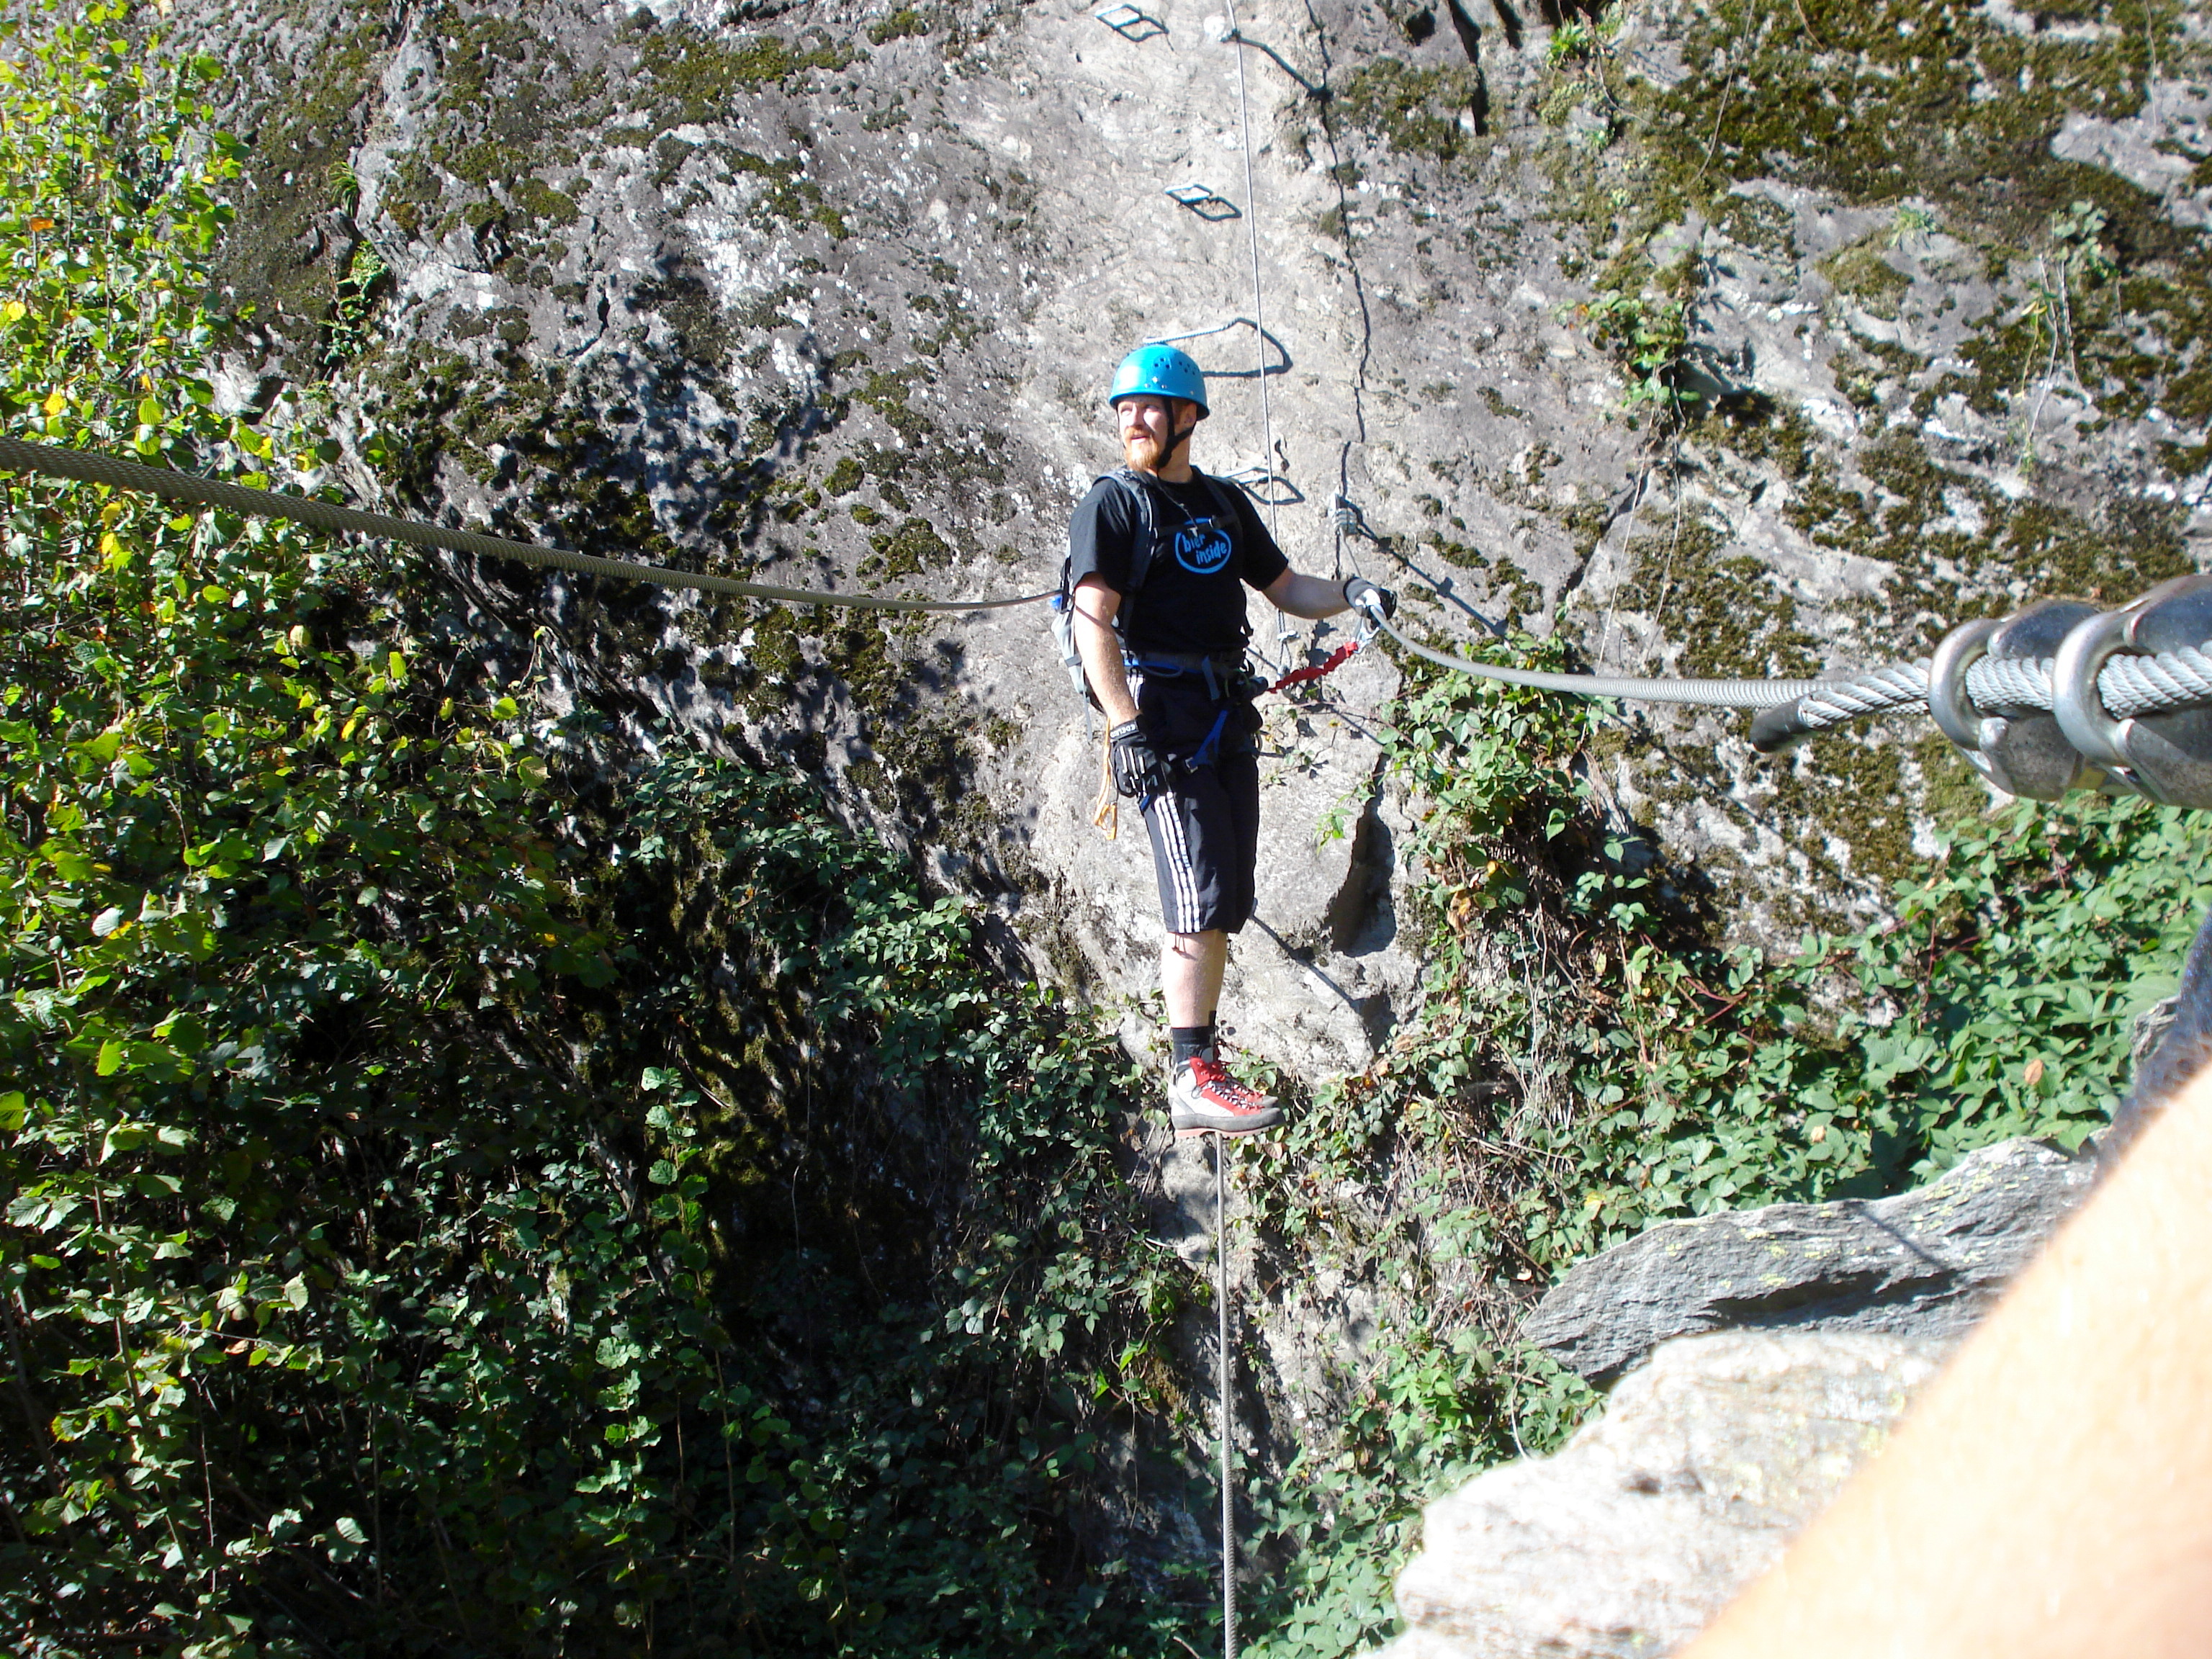
After a walking section and a smooth ramp came what felt to us like the hardest move on the Zimmereben: a roughly 20-metre overhanging traverse that demands real arm strength. But you can rest immediately on another hanging bench called the Ahornblick. As with all modern sport via ferratas, the obligatory rope bridge is of course not missing here. The section after it was my personal favourite – genuinely aesthetically laid out. As soon as we reached the exit, we descended the Huterlanerstieg (hiking trail) and entered the Huterlaner via ferrata.
Photos