Donnerkogel Klettersteig (C/D, 600 m), 2011
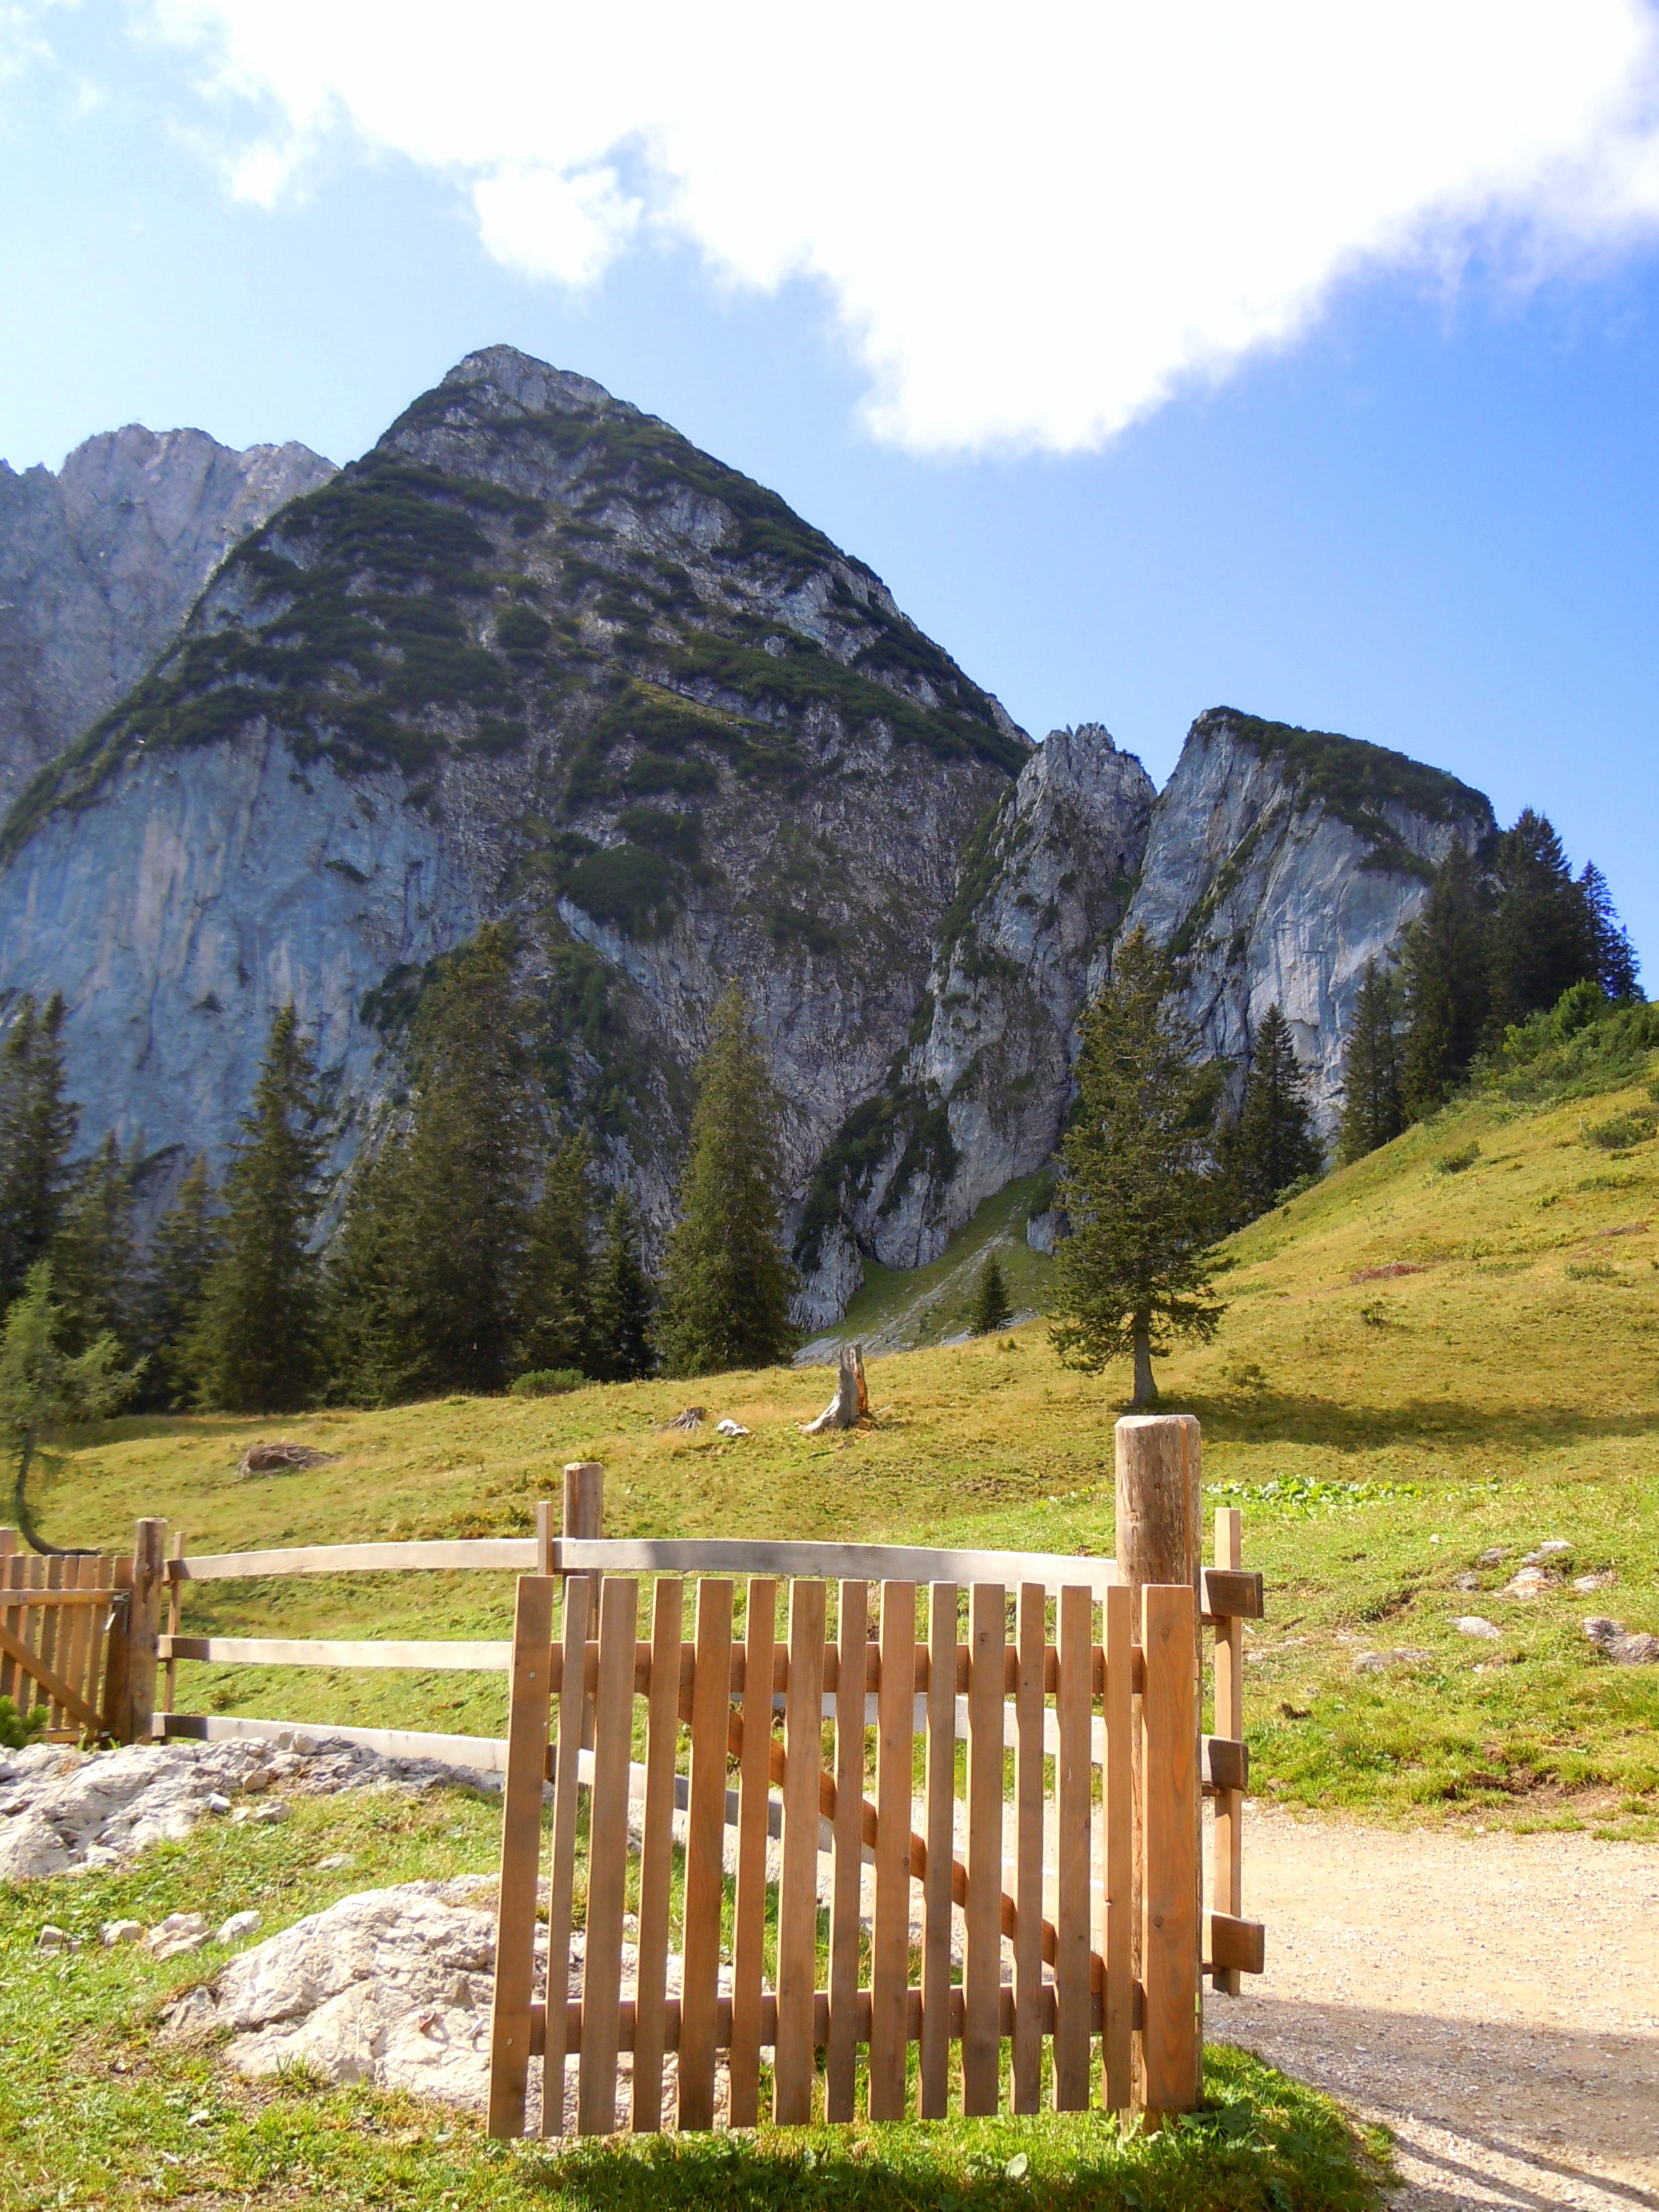
Start at the Gablonzer Hütte. Well-marked trails lead to the entry point. Parking at the Gosaukamm cable car valley station.
Key Facts
| Location: | Gosau (Dachsteingebirge), Salzkammergut, Austria |
| Difficulty: | C/D |
| Exposure: | Northwest |
| Walking time: | ca. 3 hours, ca. 2 hours |
| Climbing length: | 1100 m |
| Elevation gain: | ca. 470 m (in via ferrata); total ascent ca. 650 m |
| Descent: | Trail 628 from summit to Törleggsattel, then trail 611 back |
| Summit: | Donnerkogel 2.054 m |
Links
bergsteigen.com
via-ferrata.de
klettersteig.de
Report
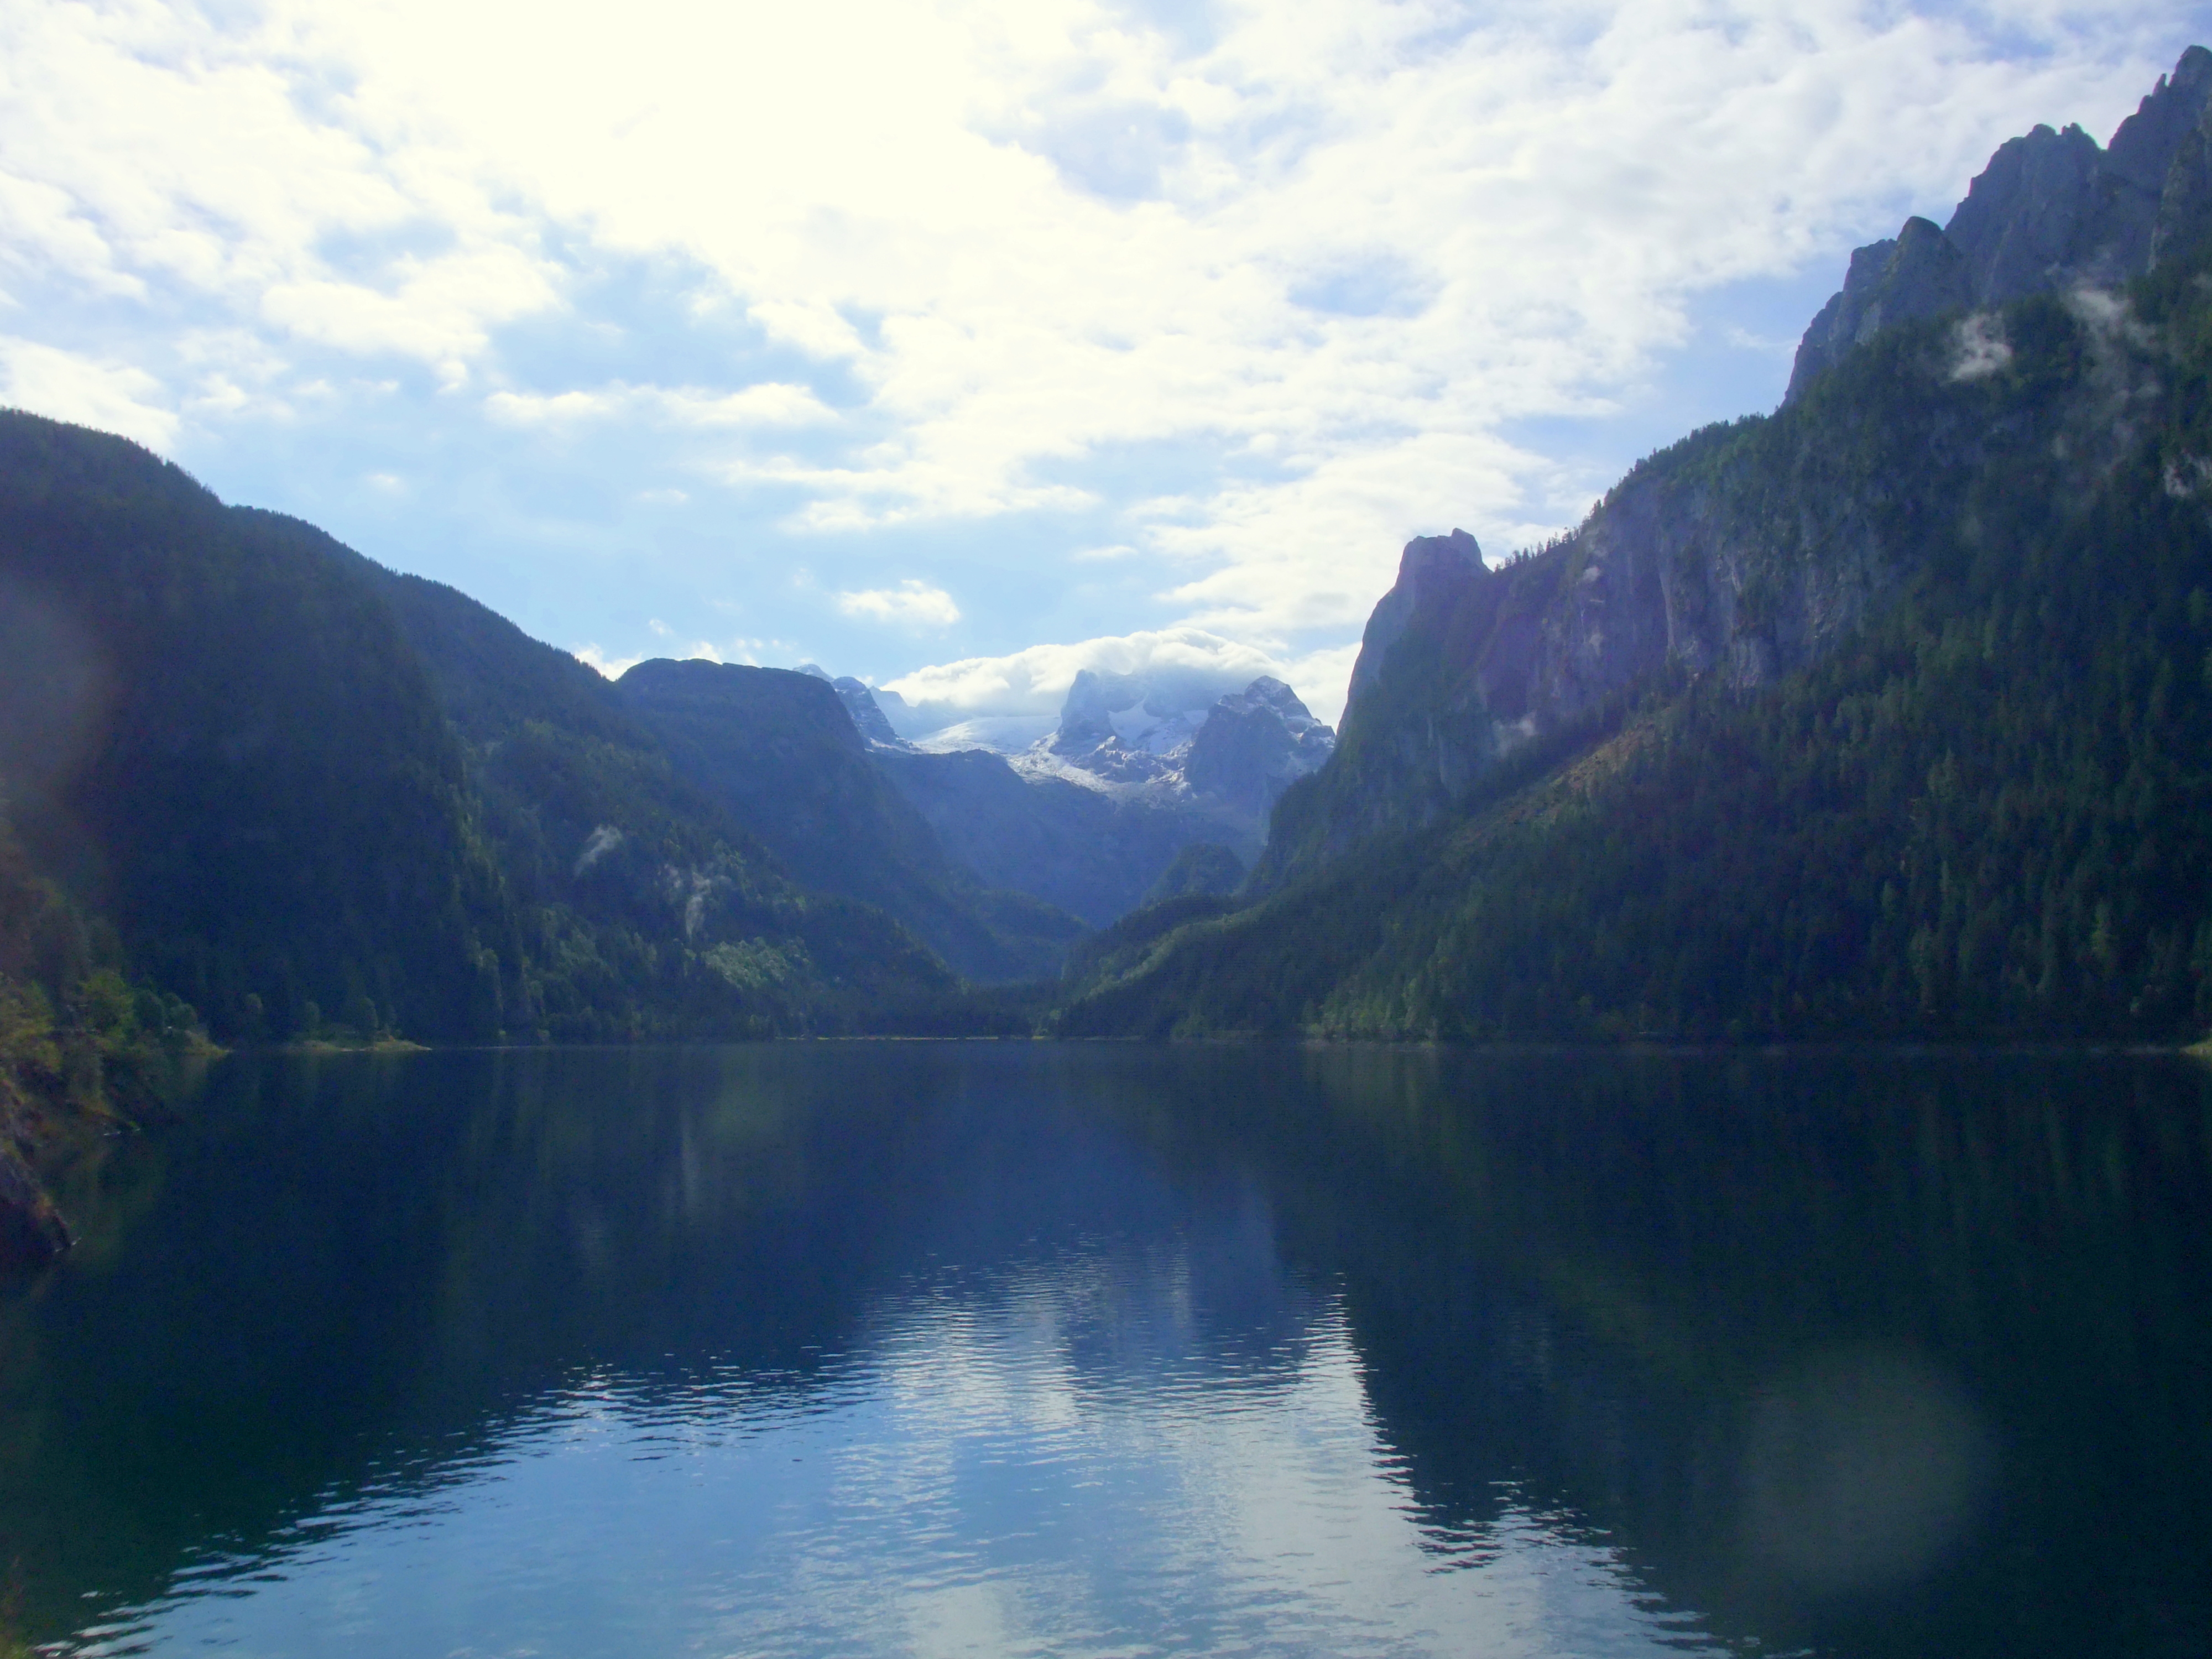
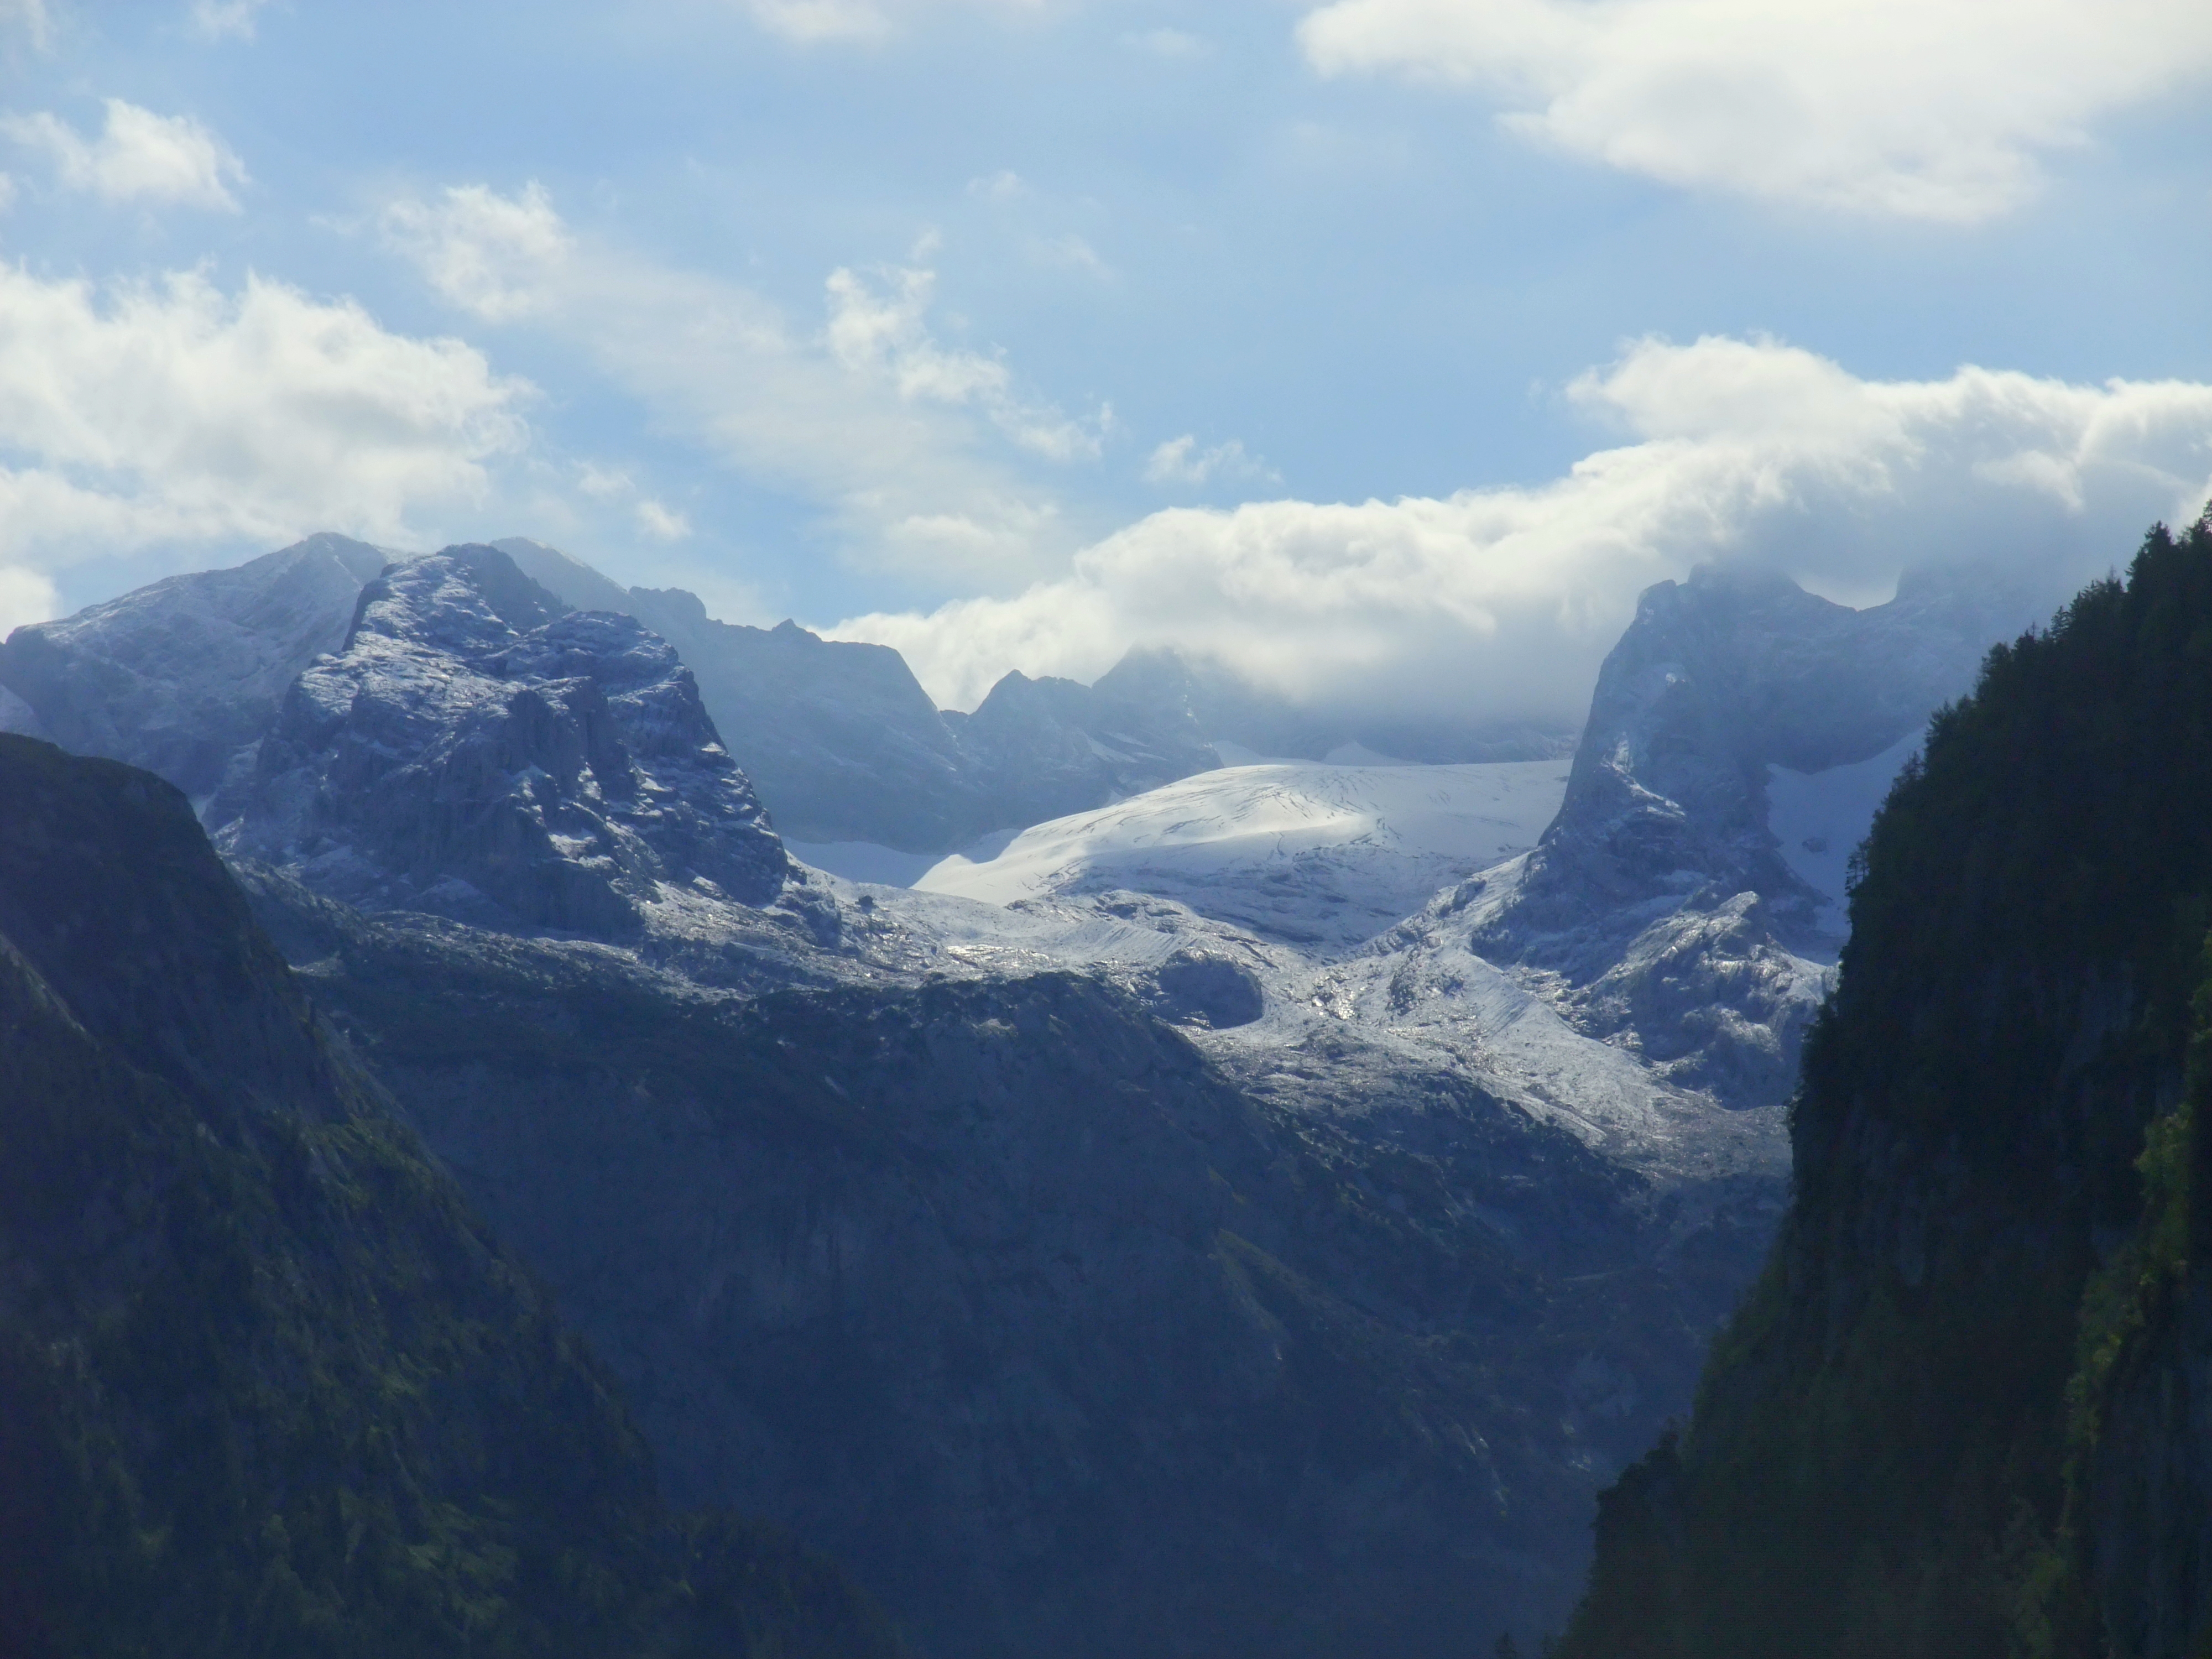
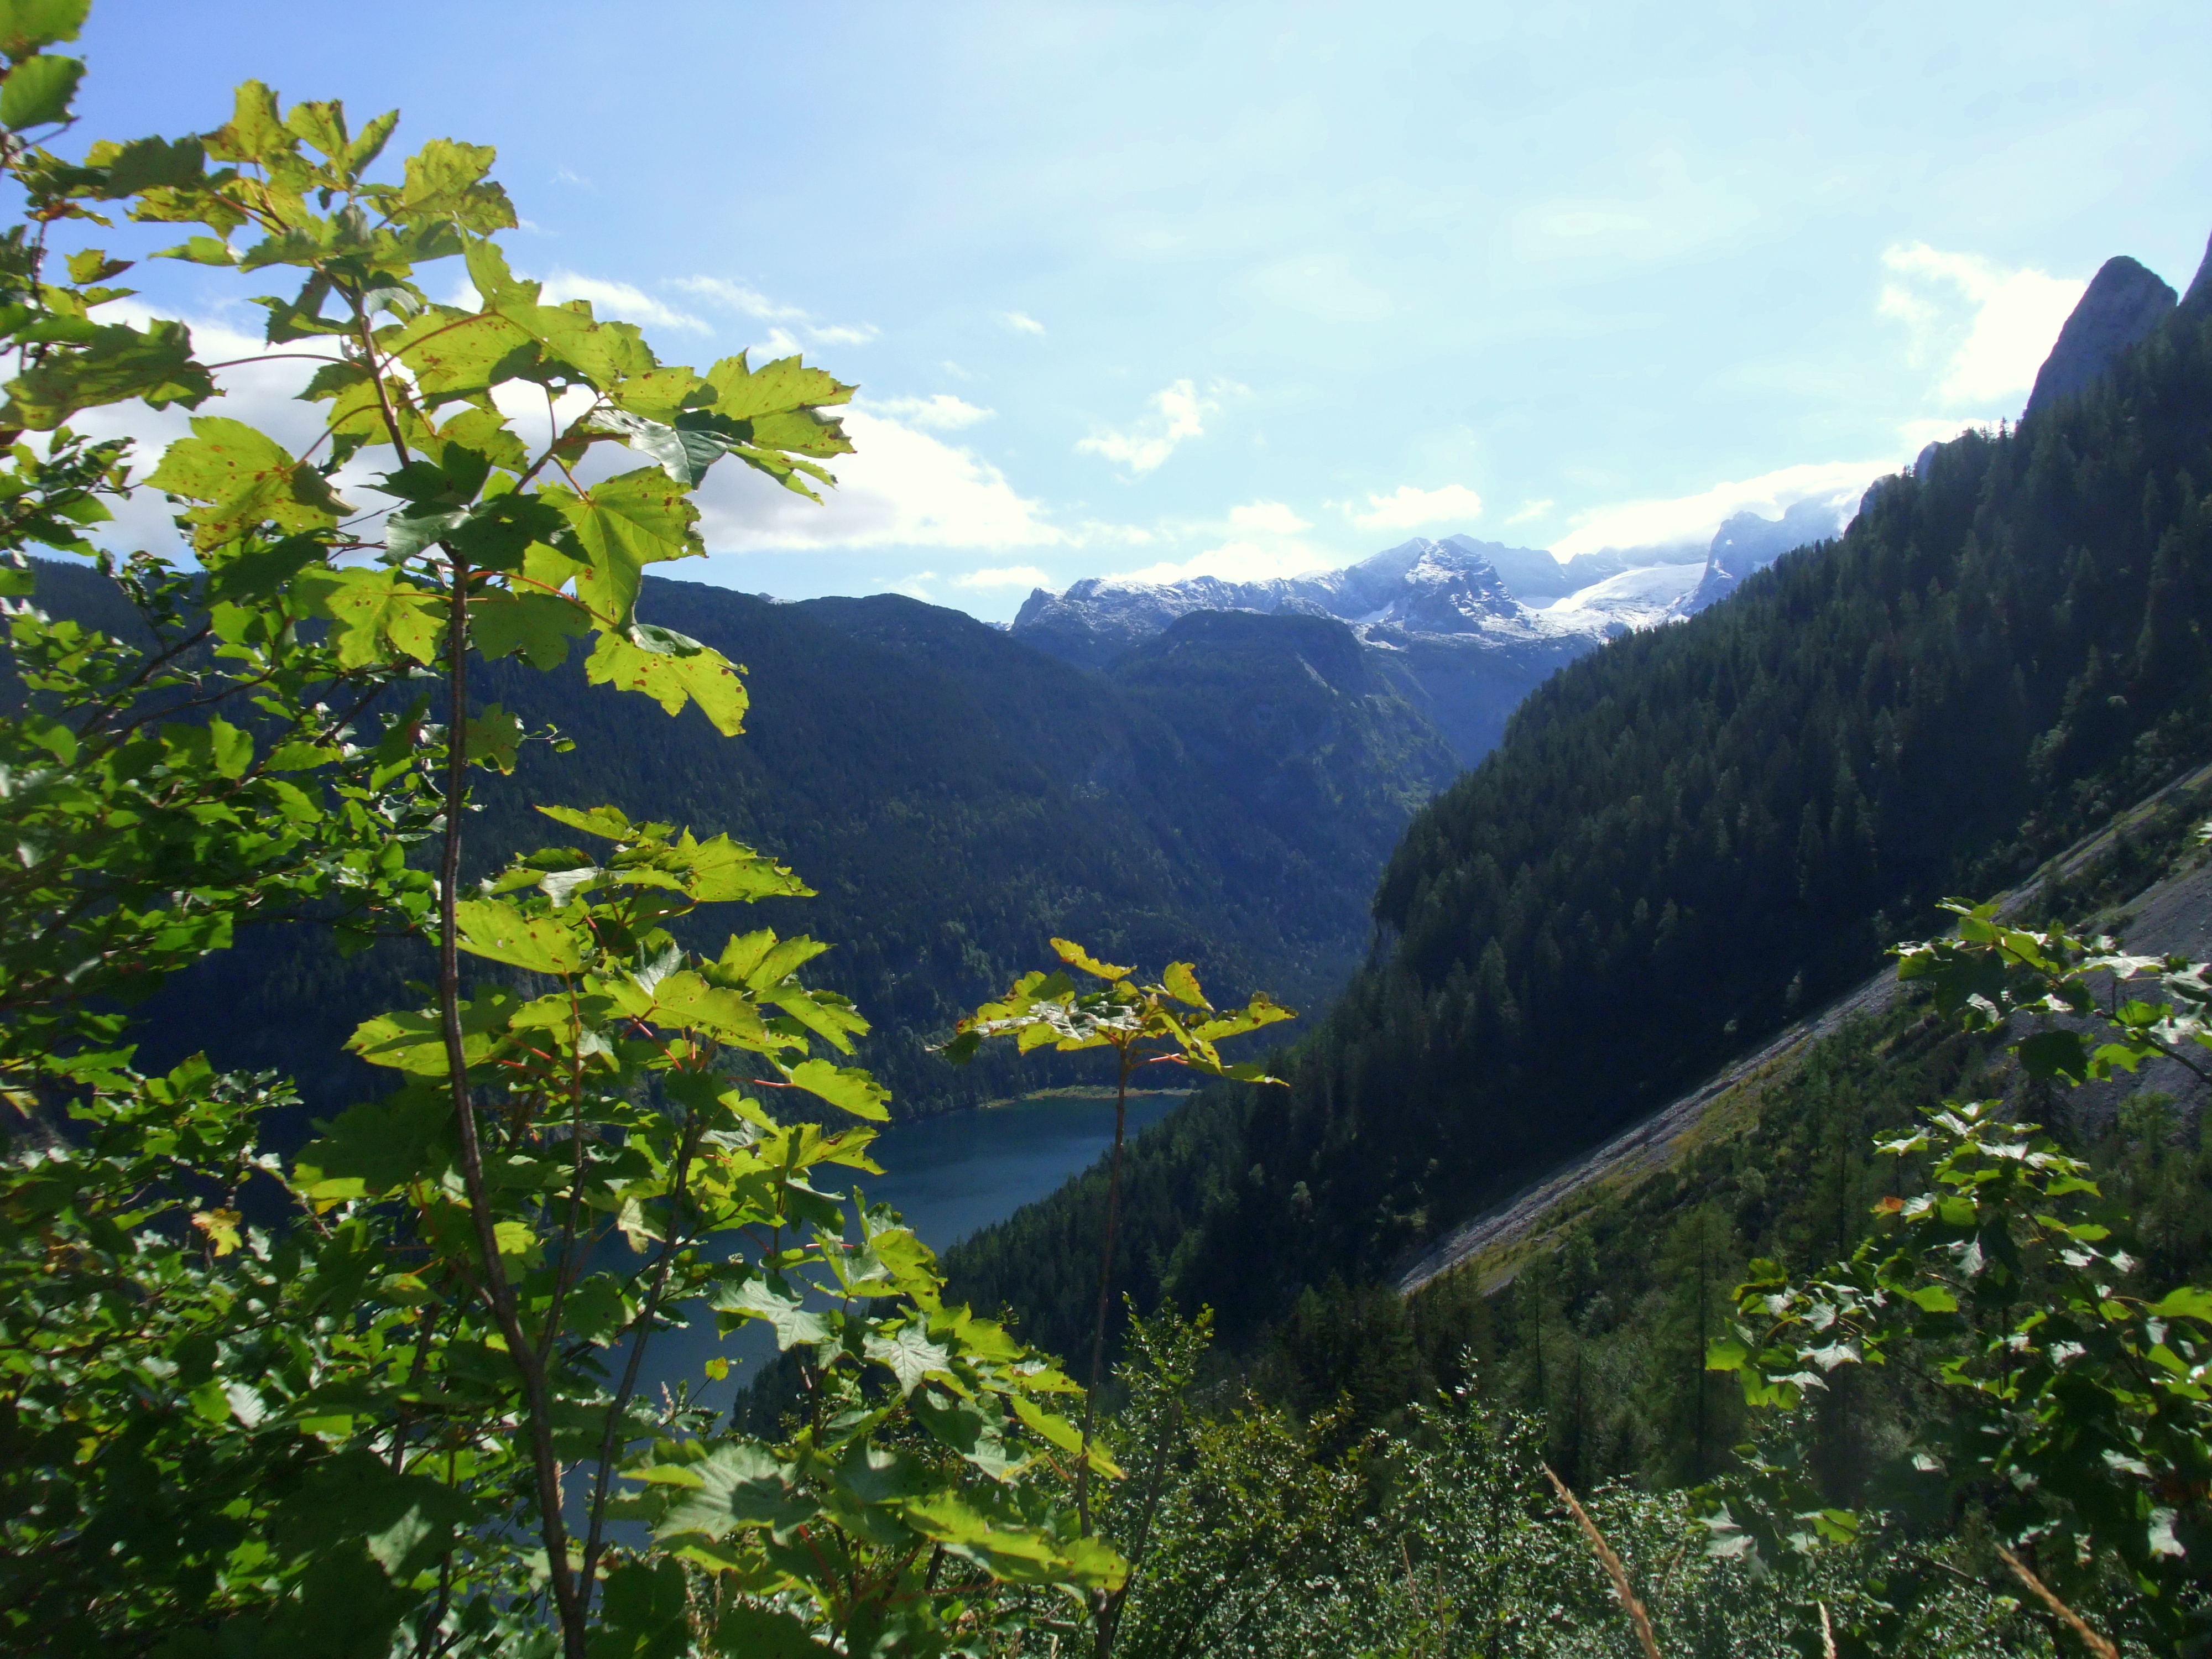
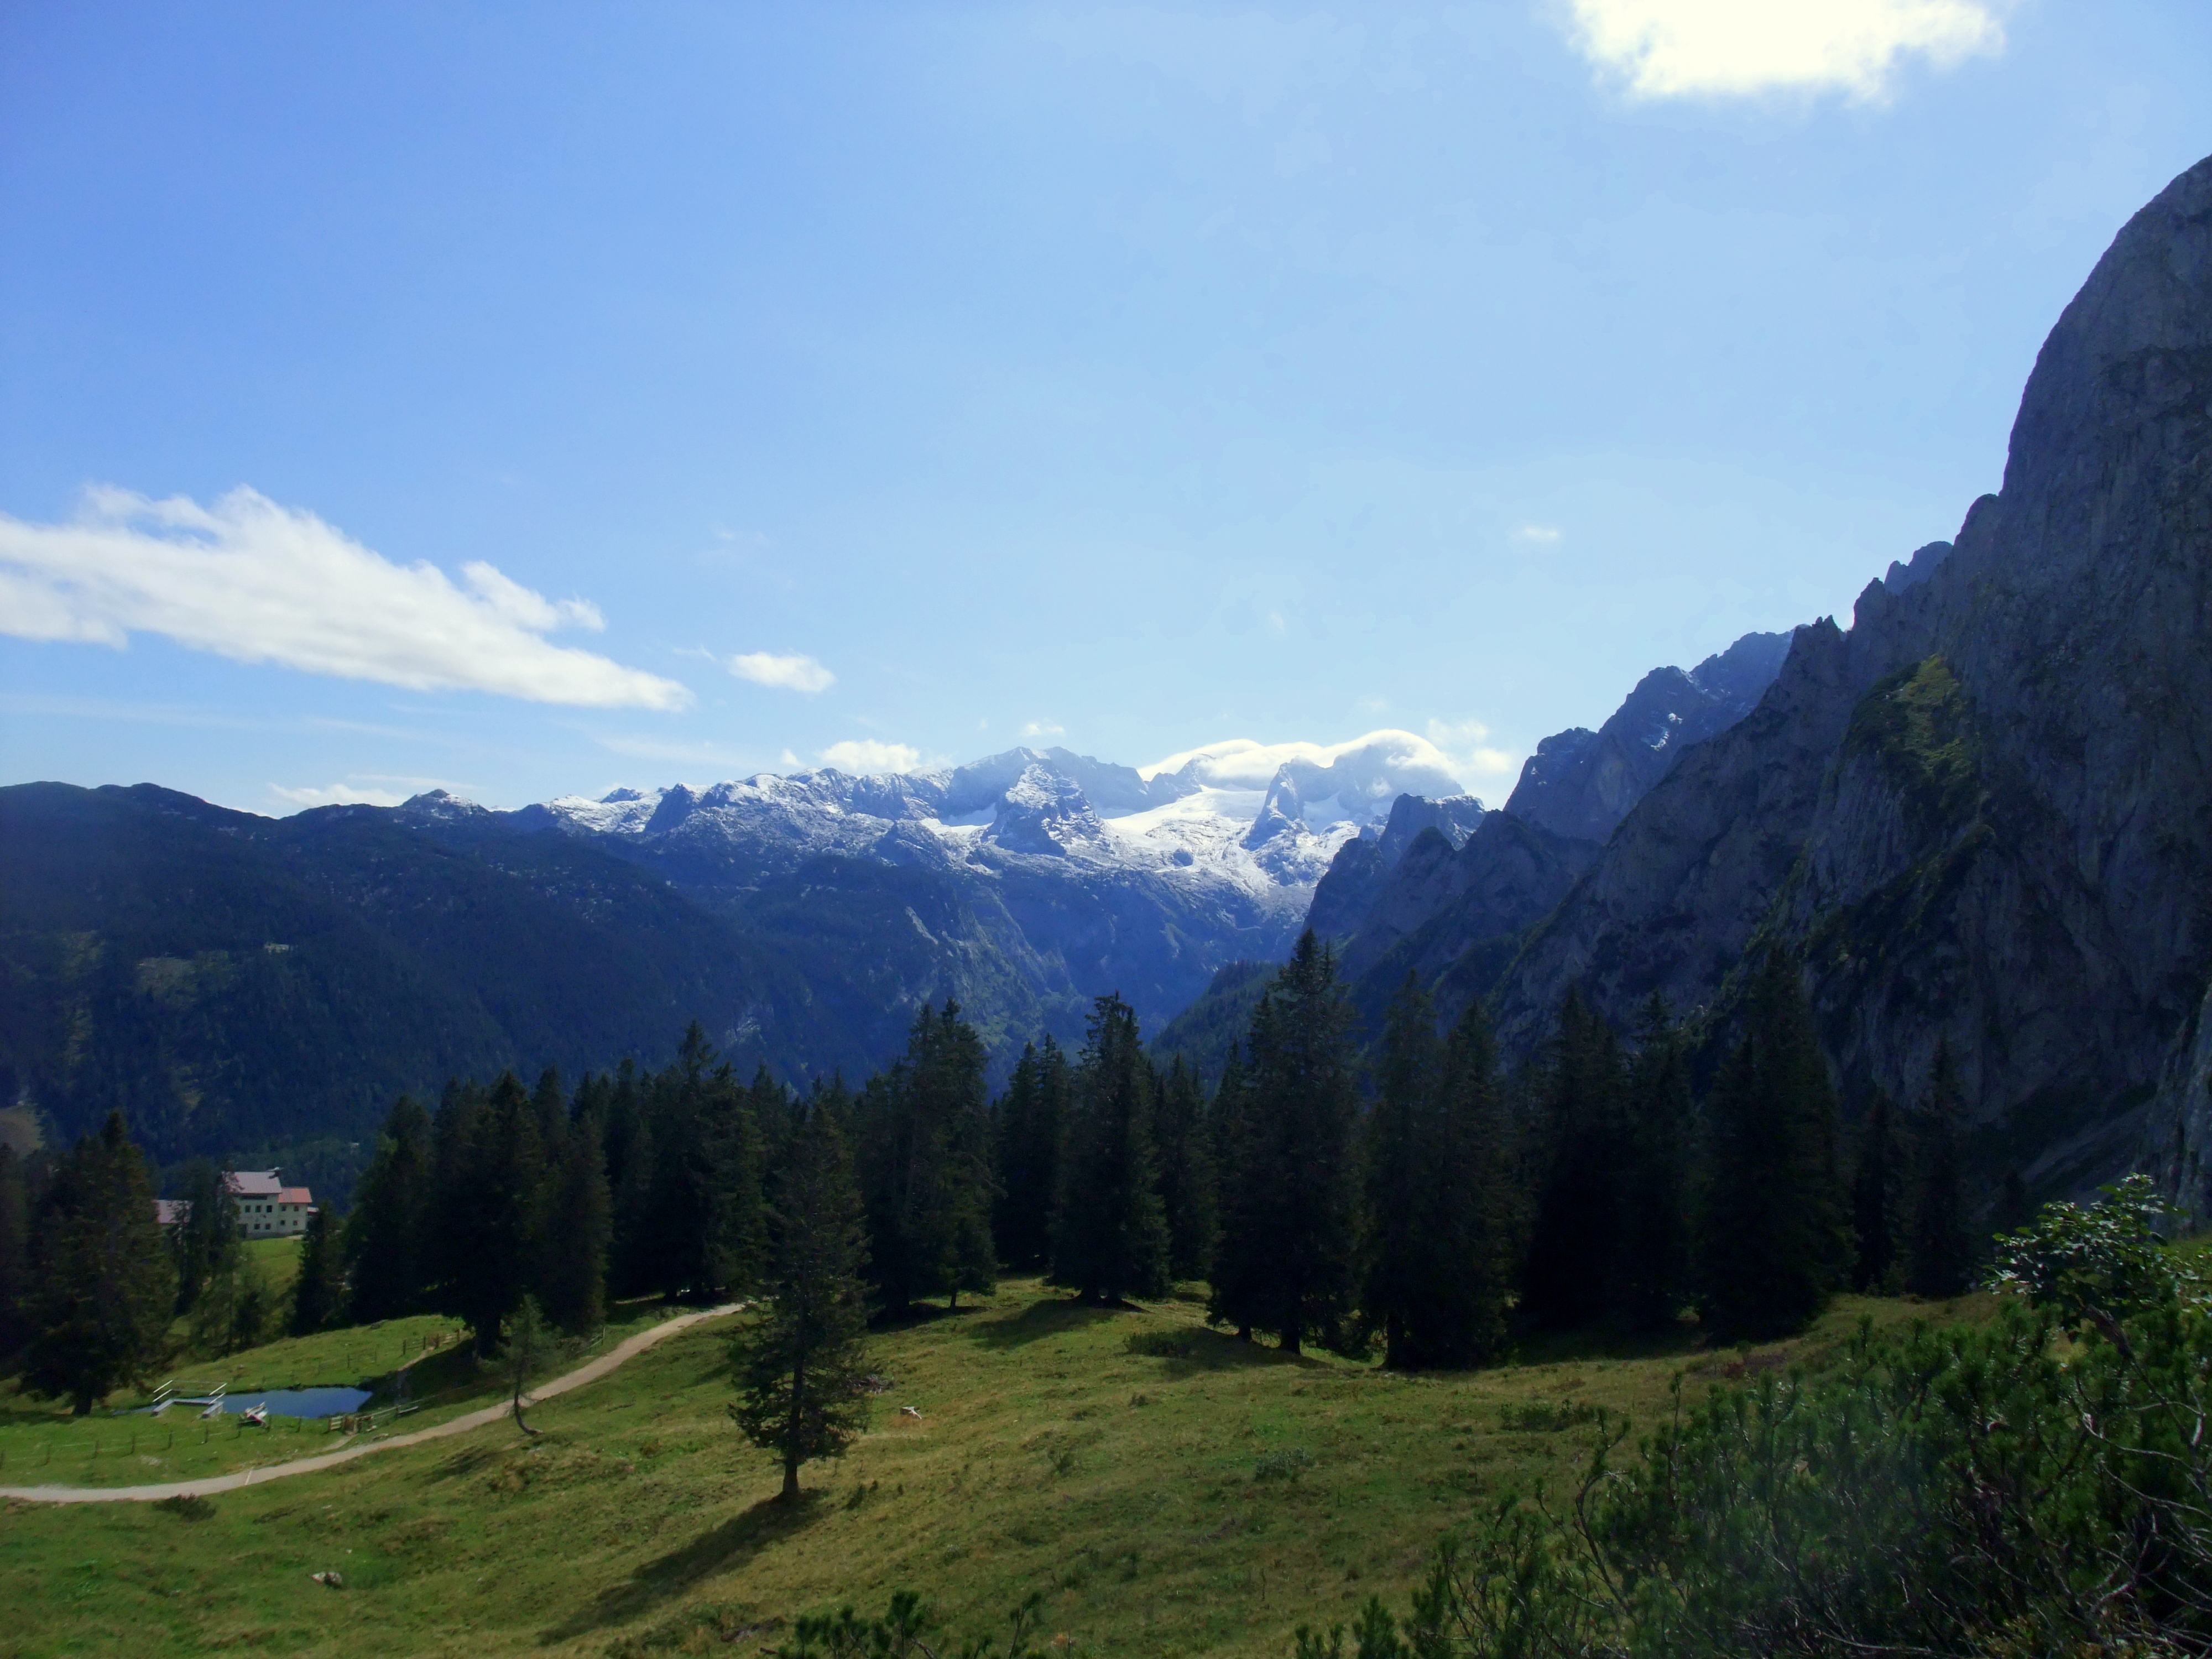
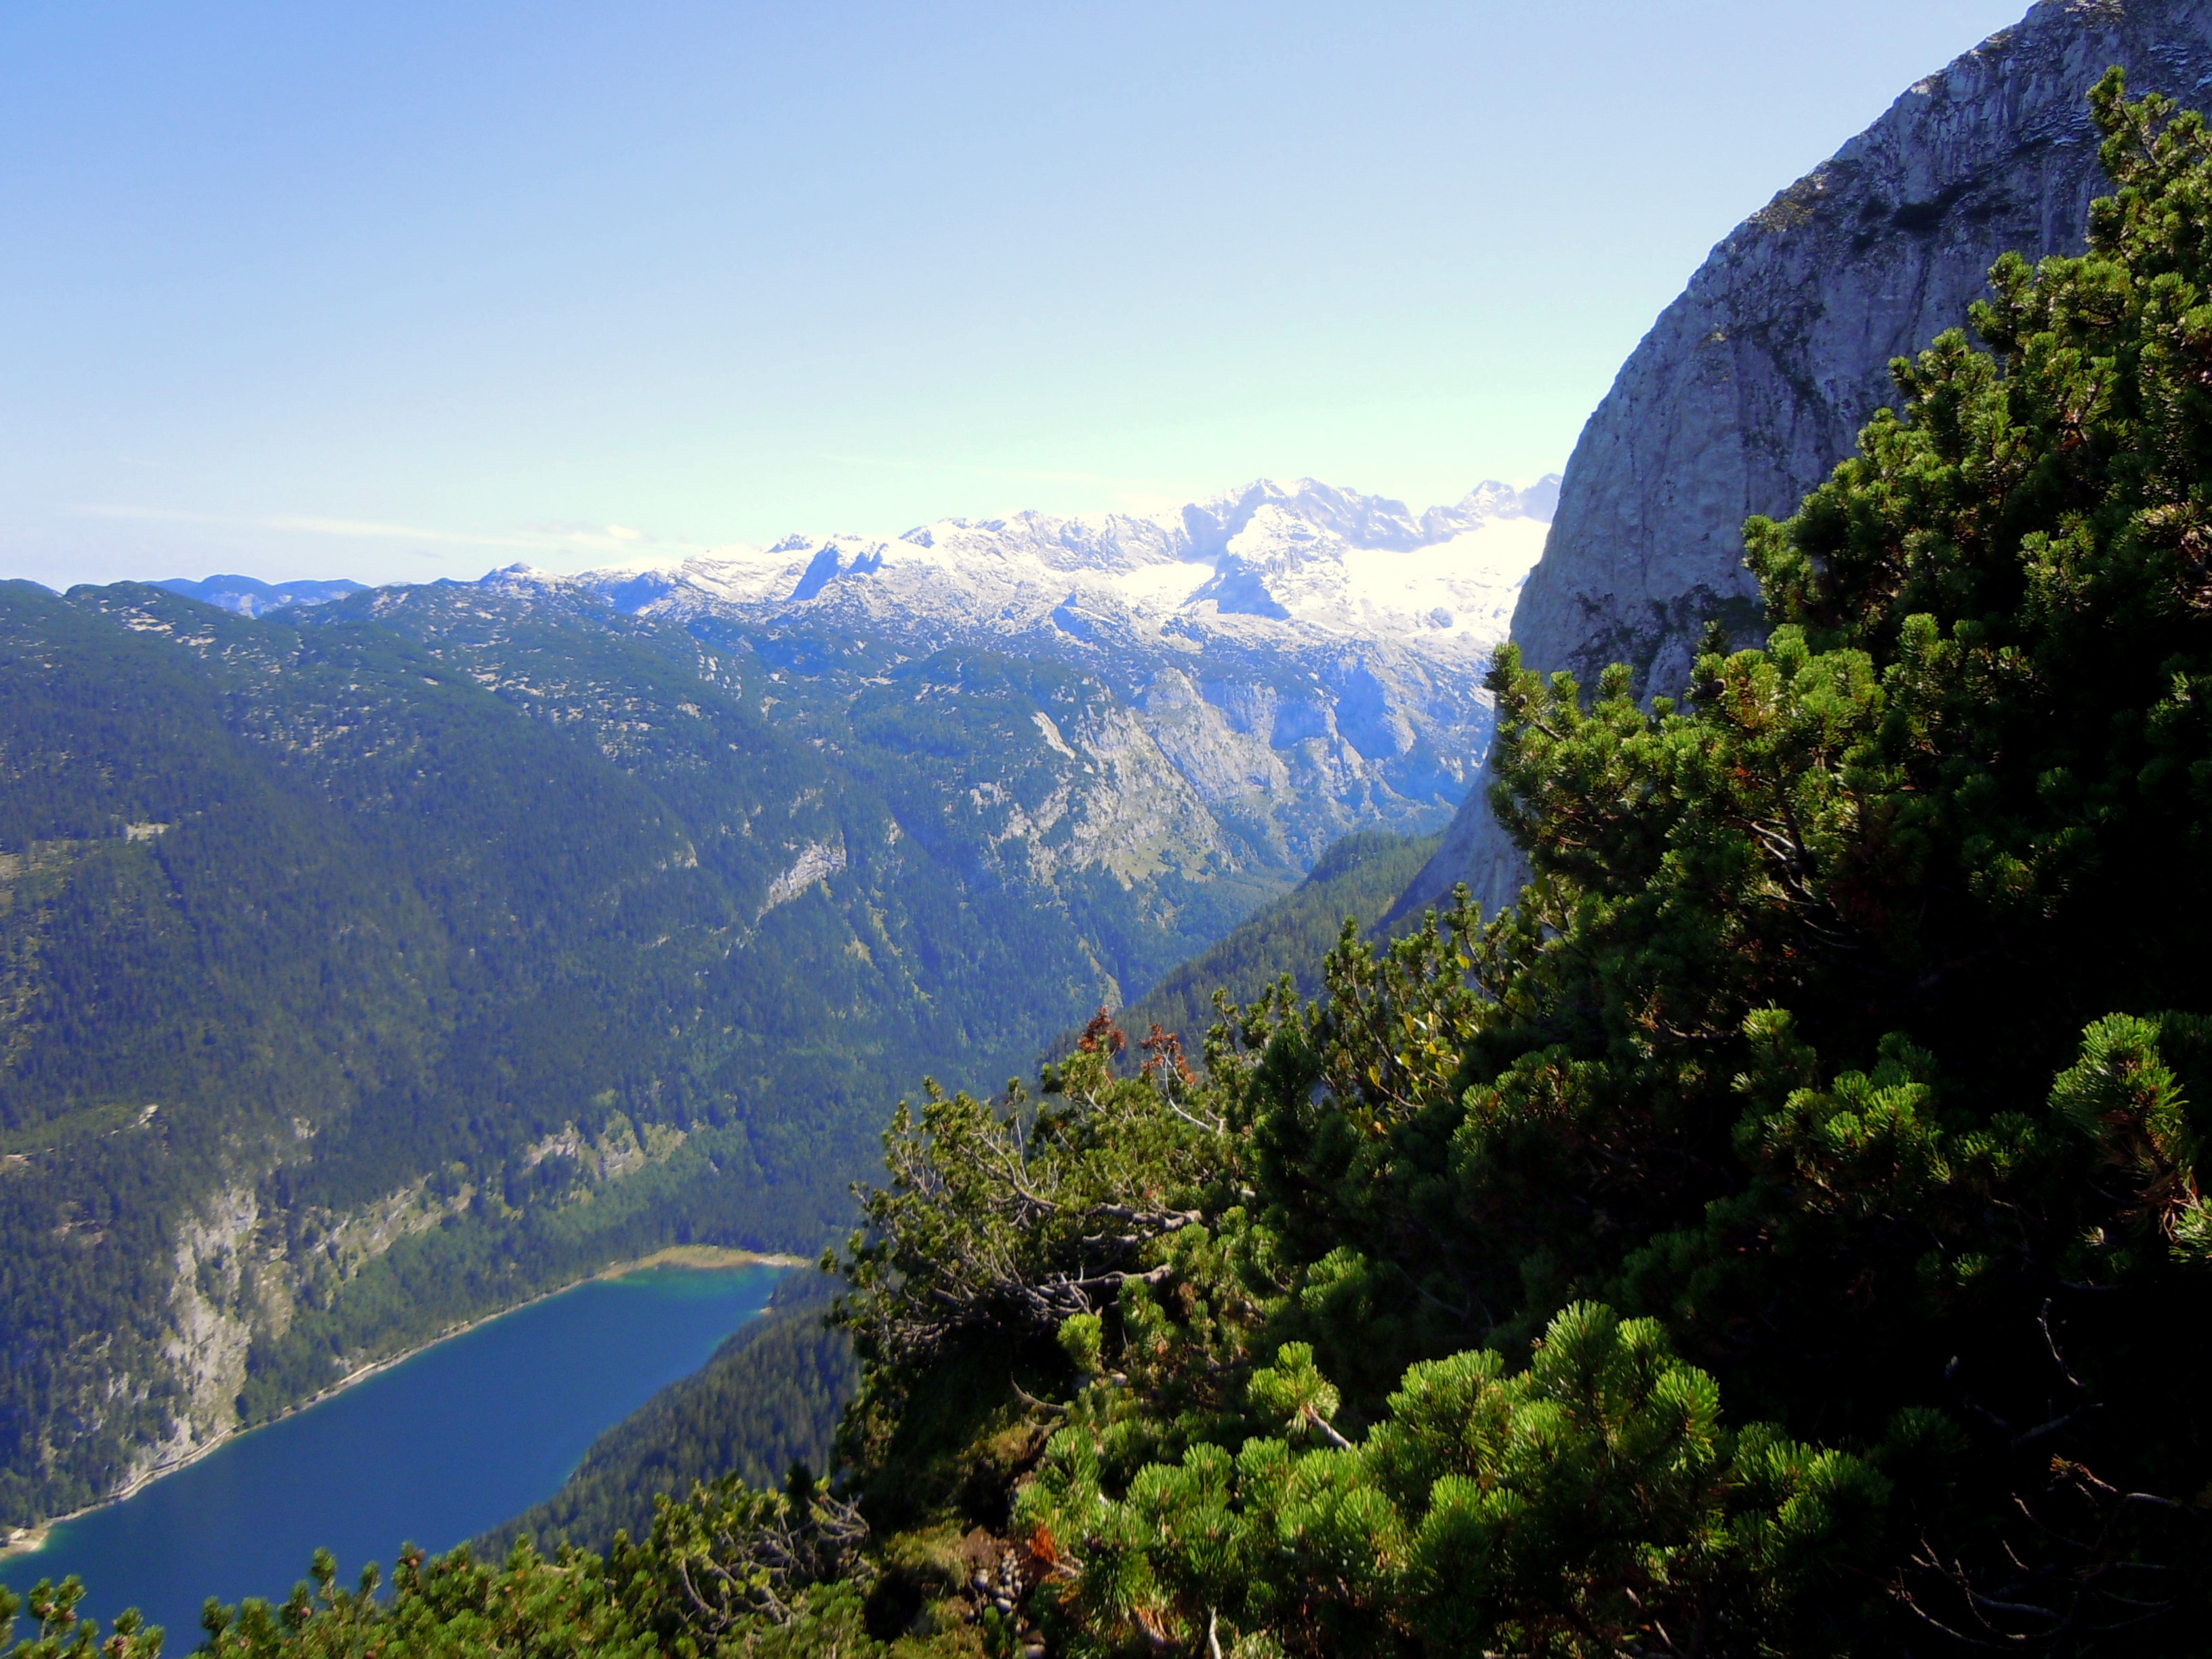
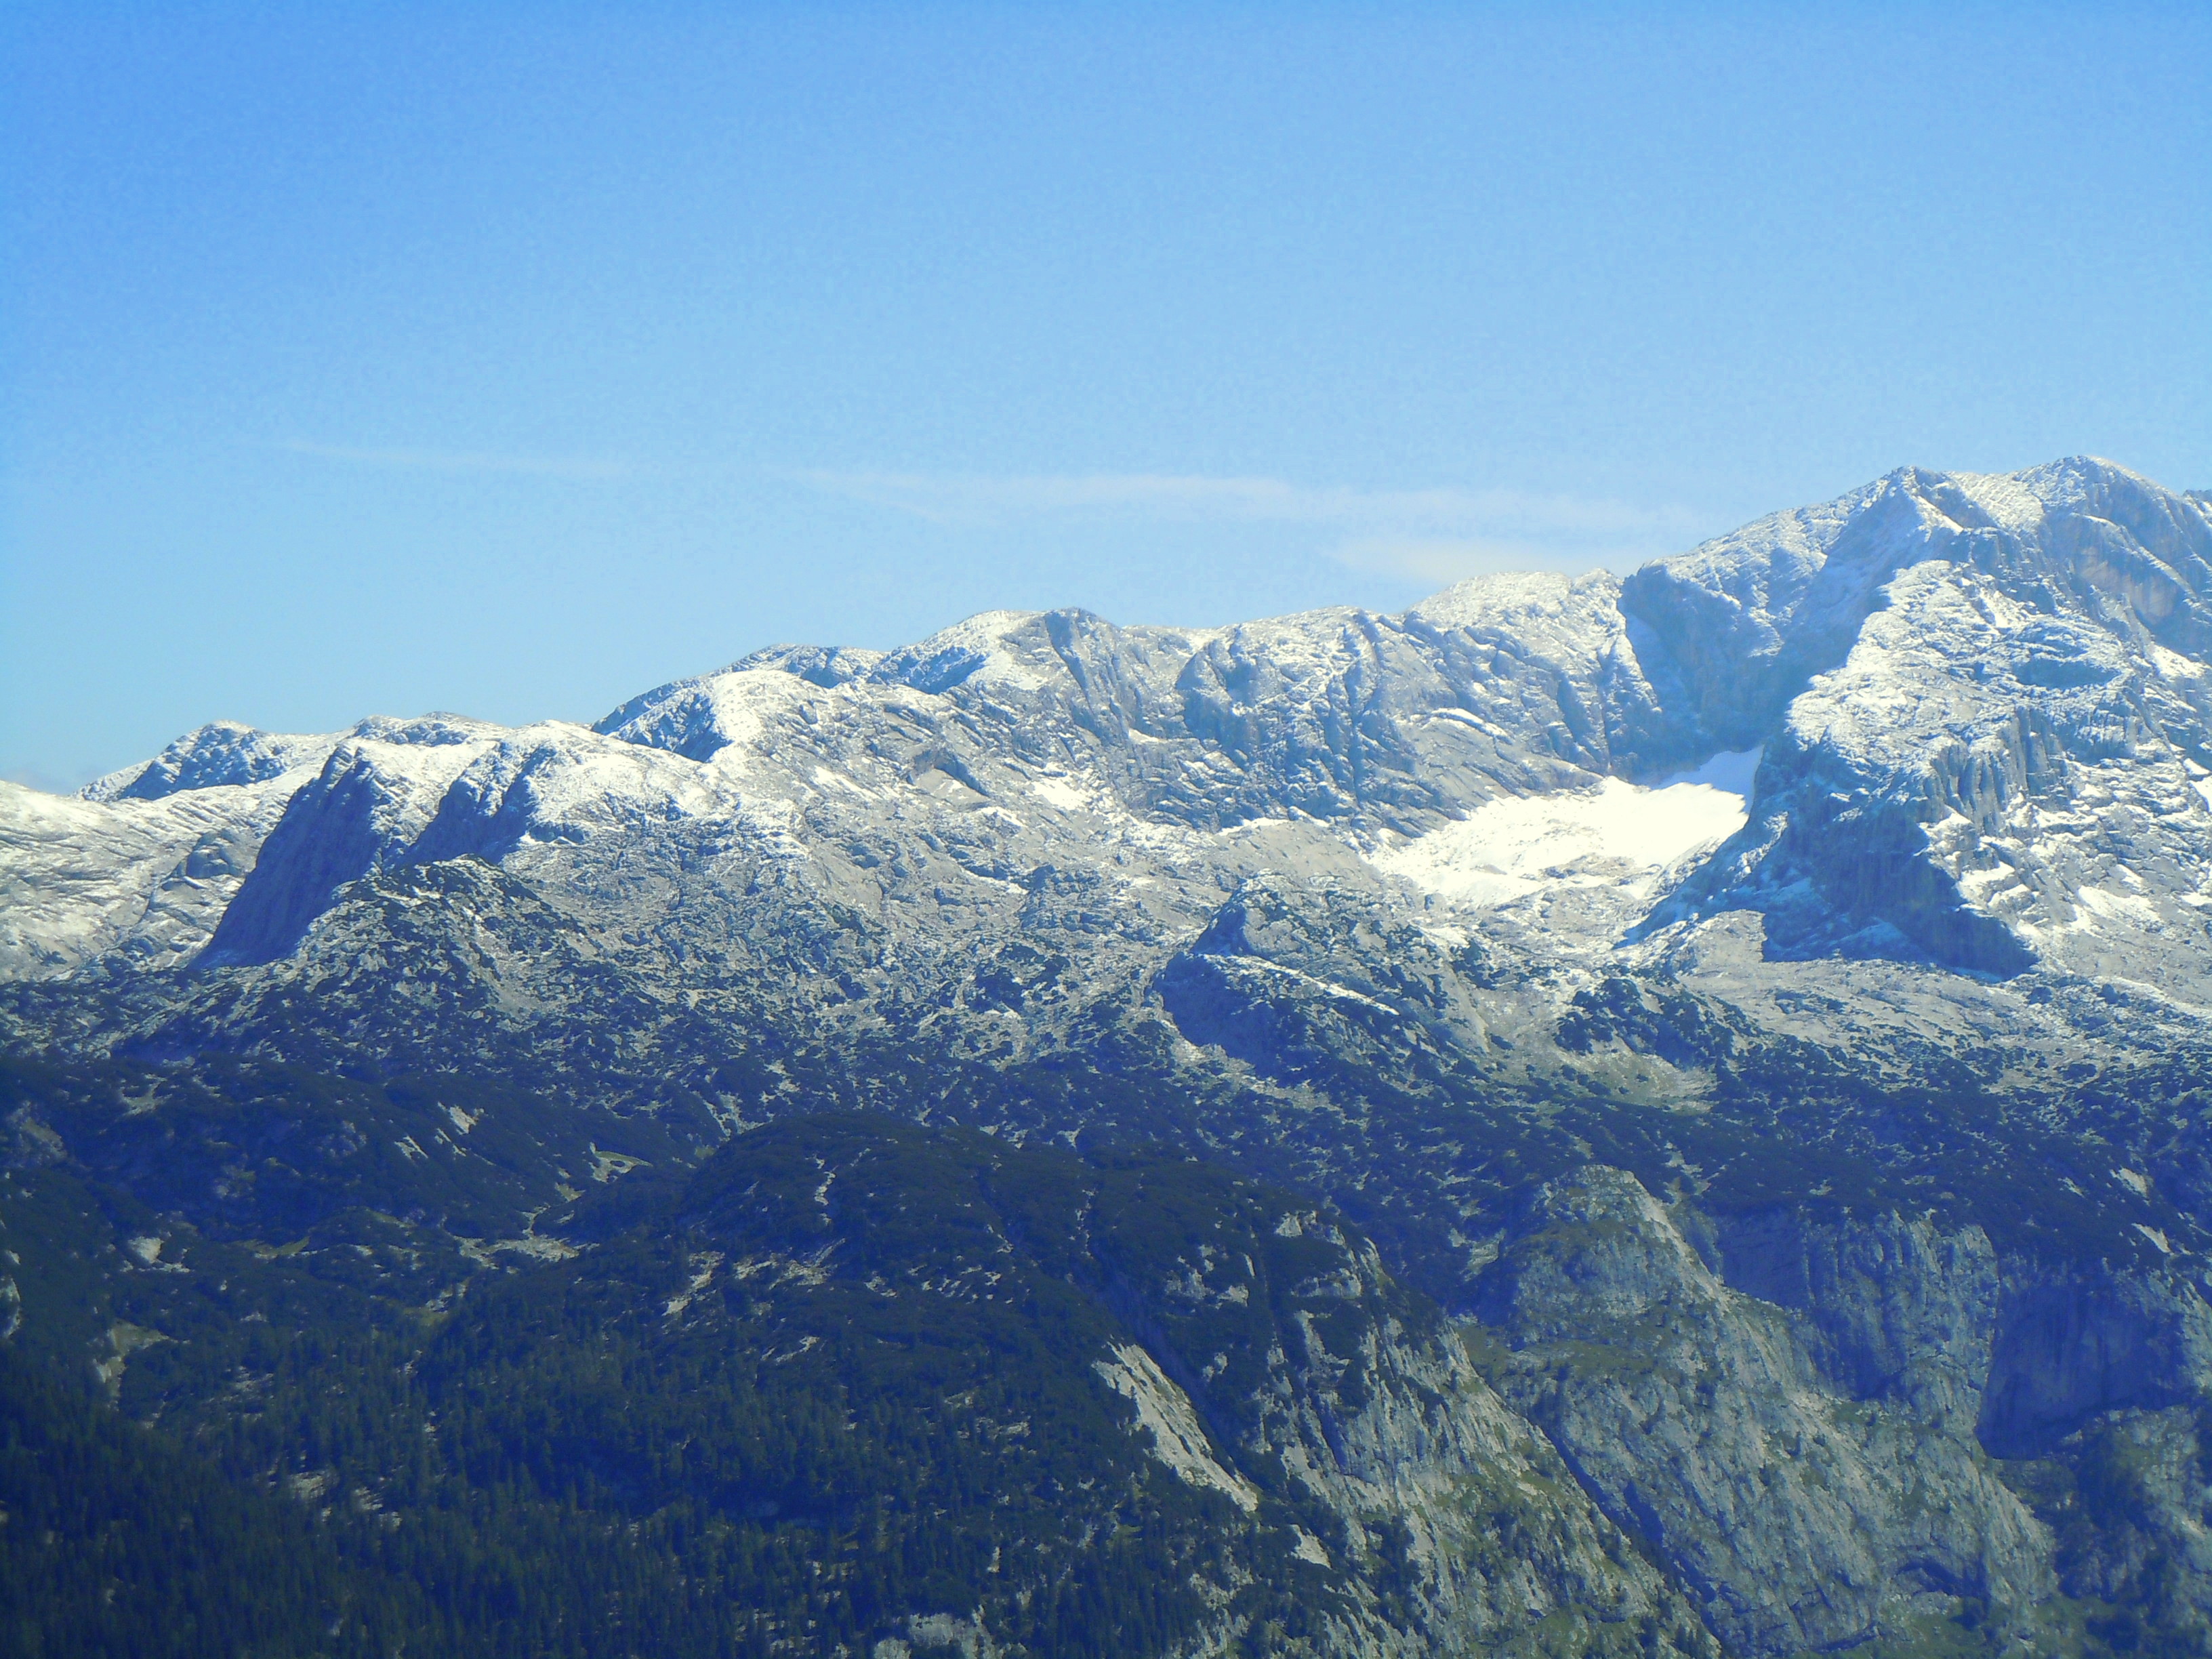
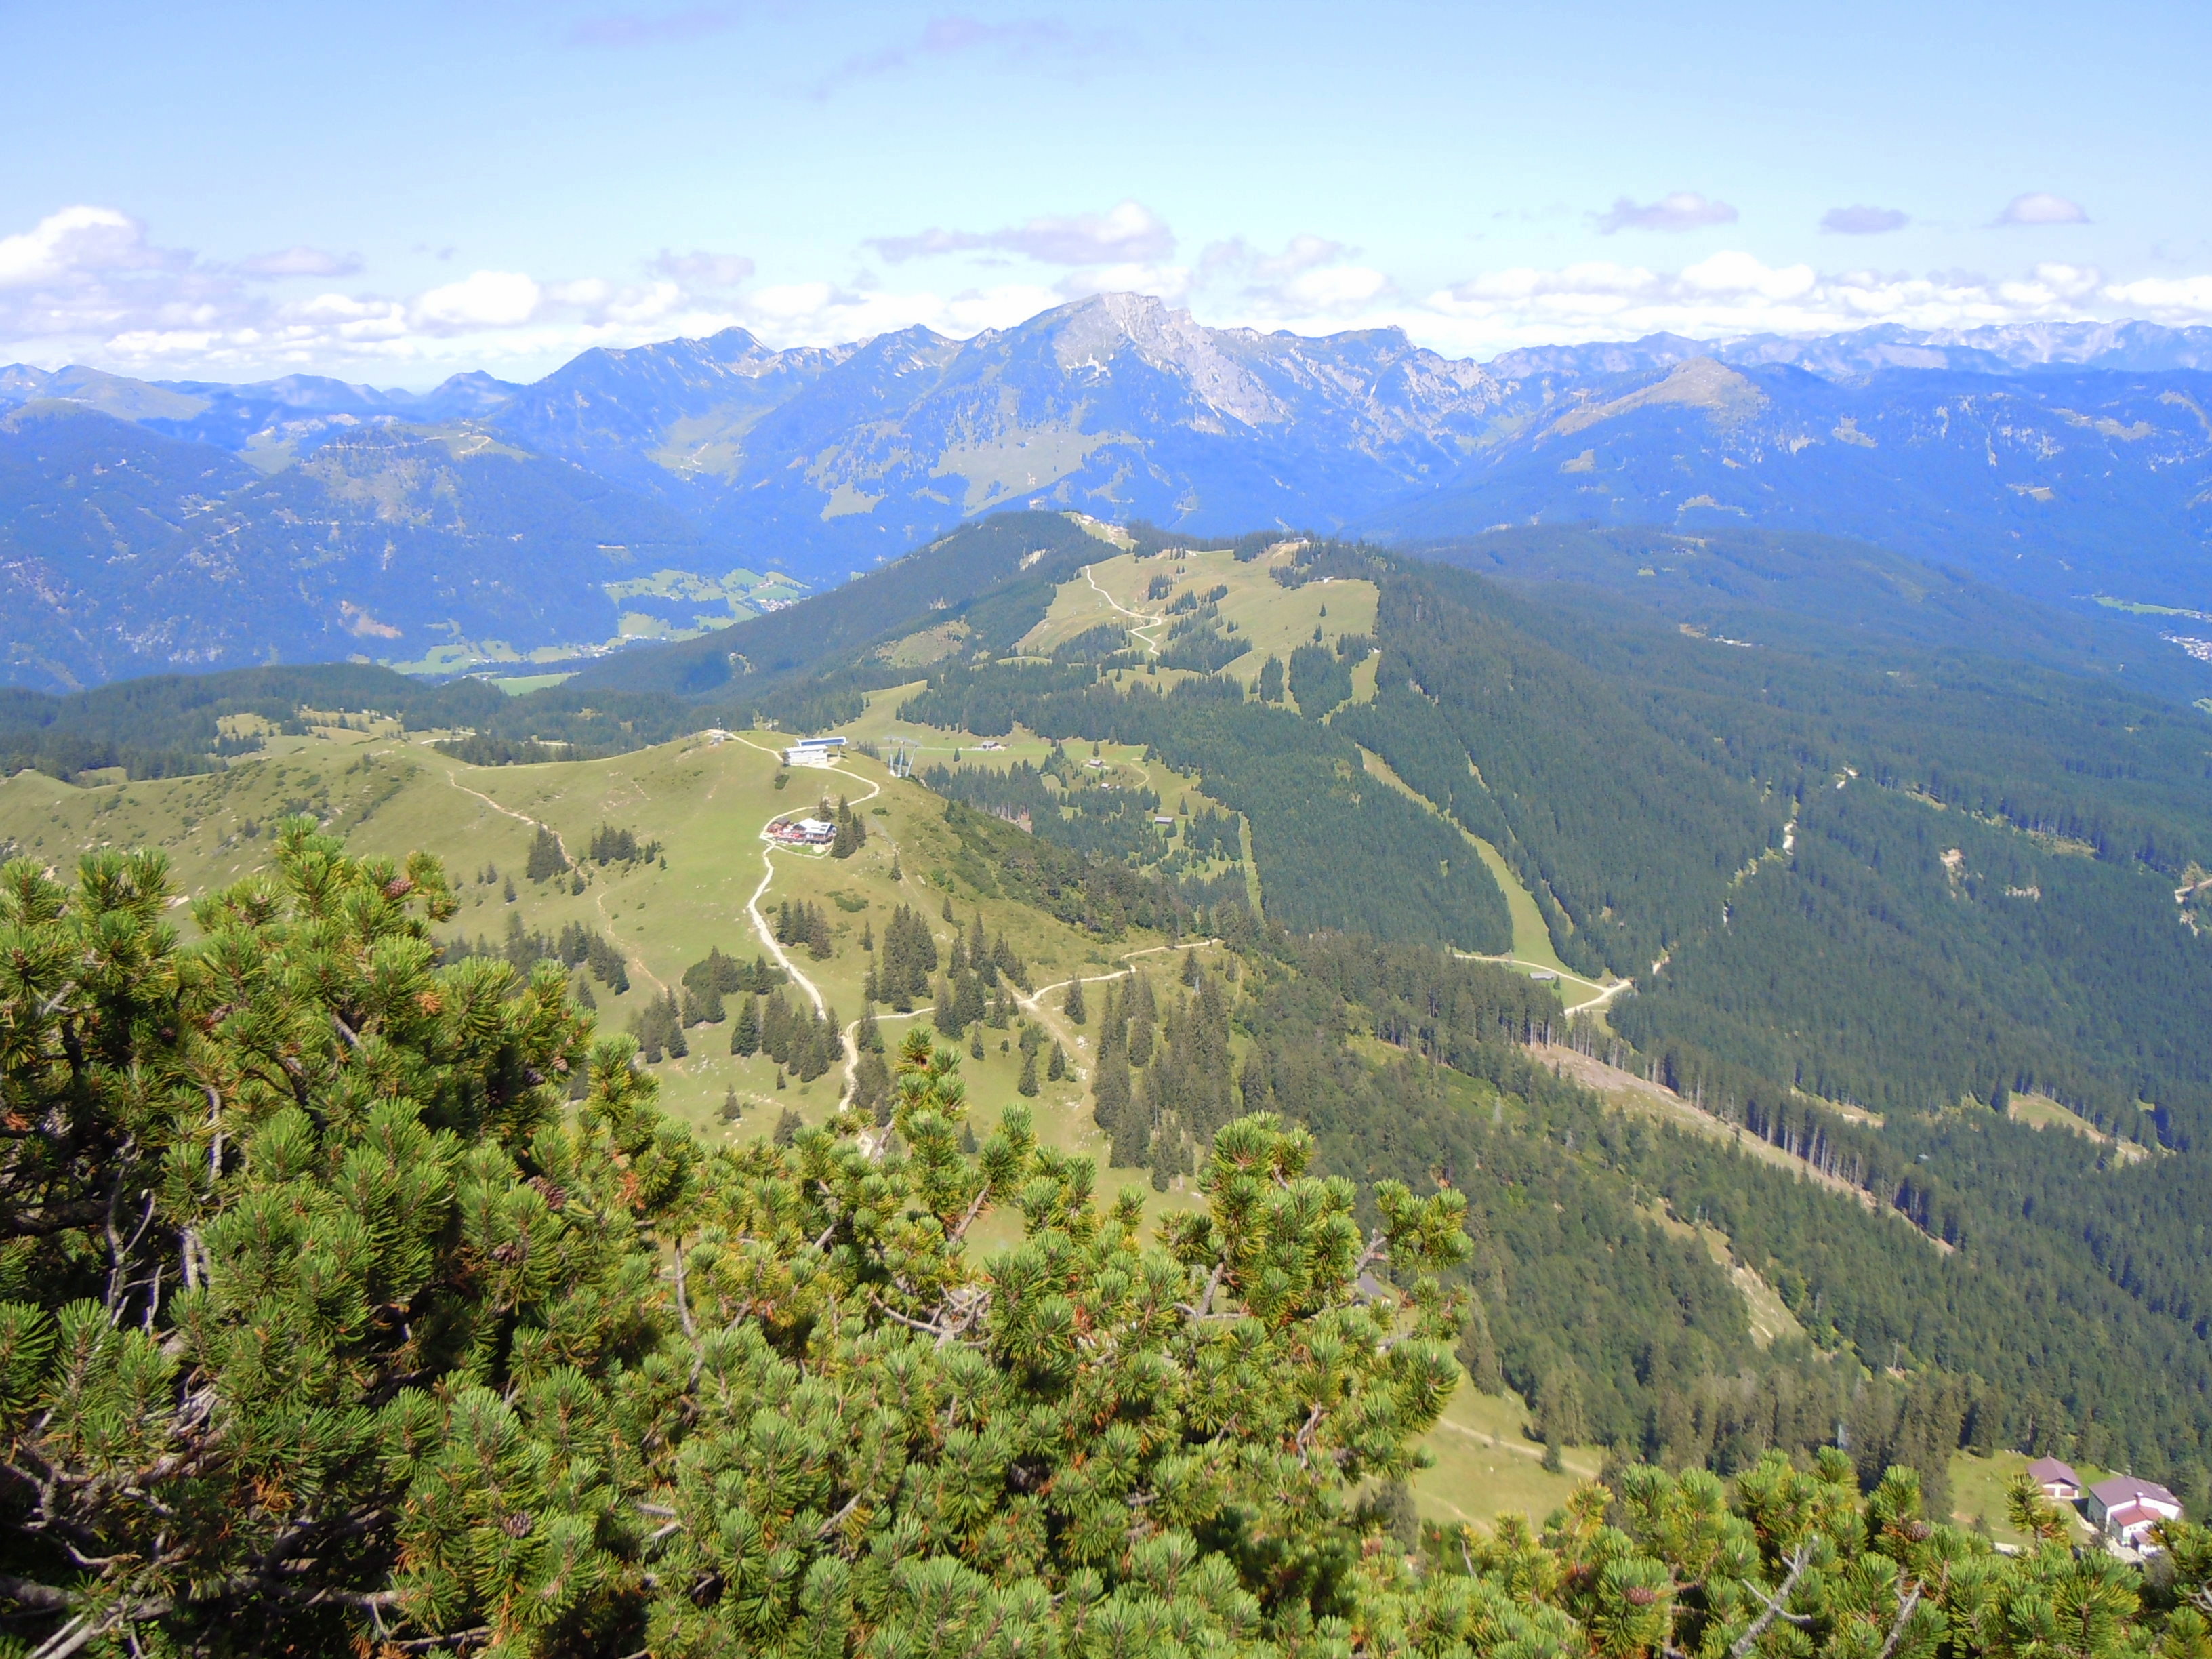
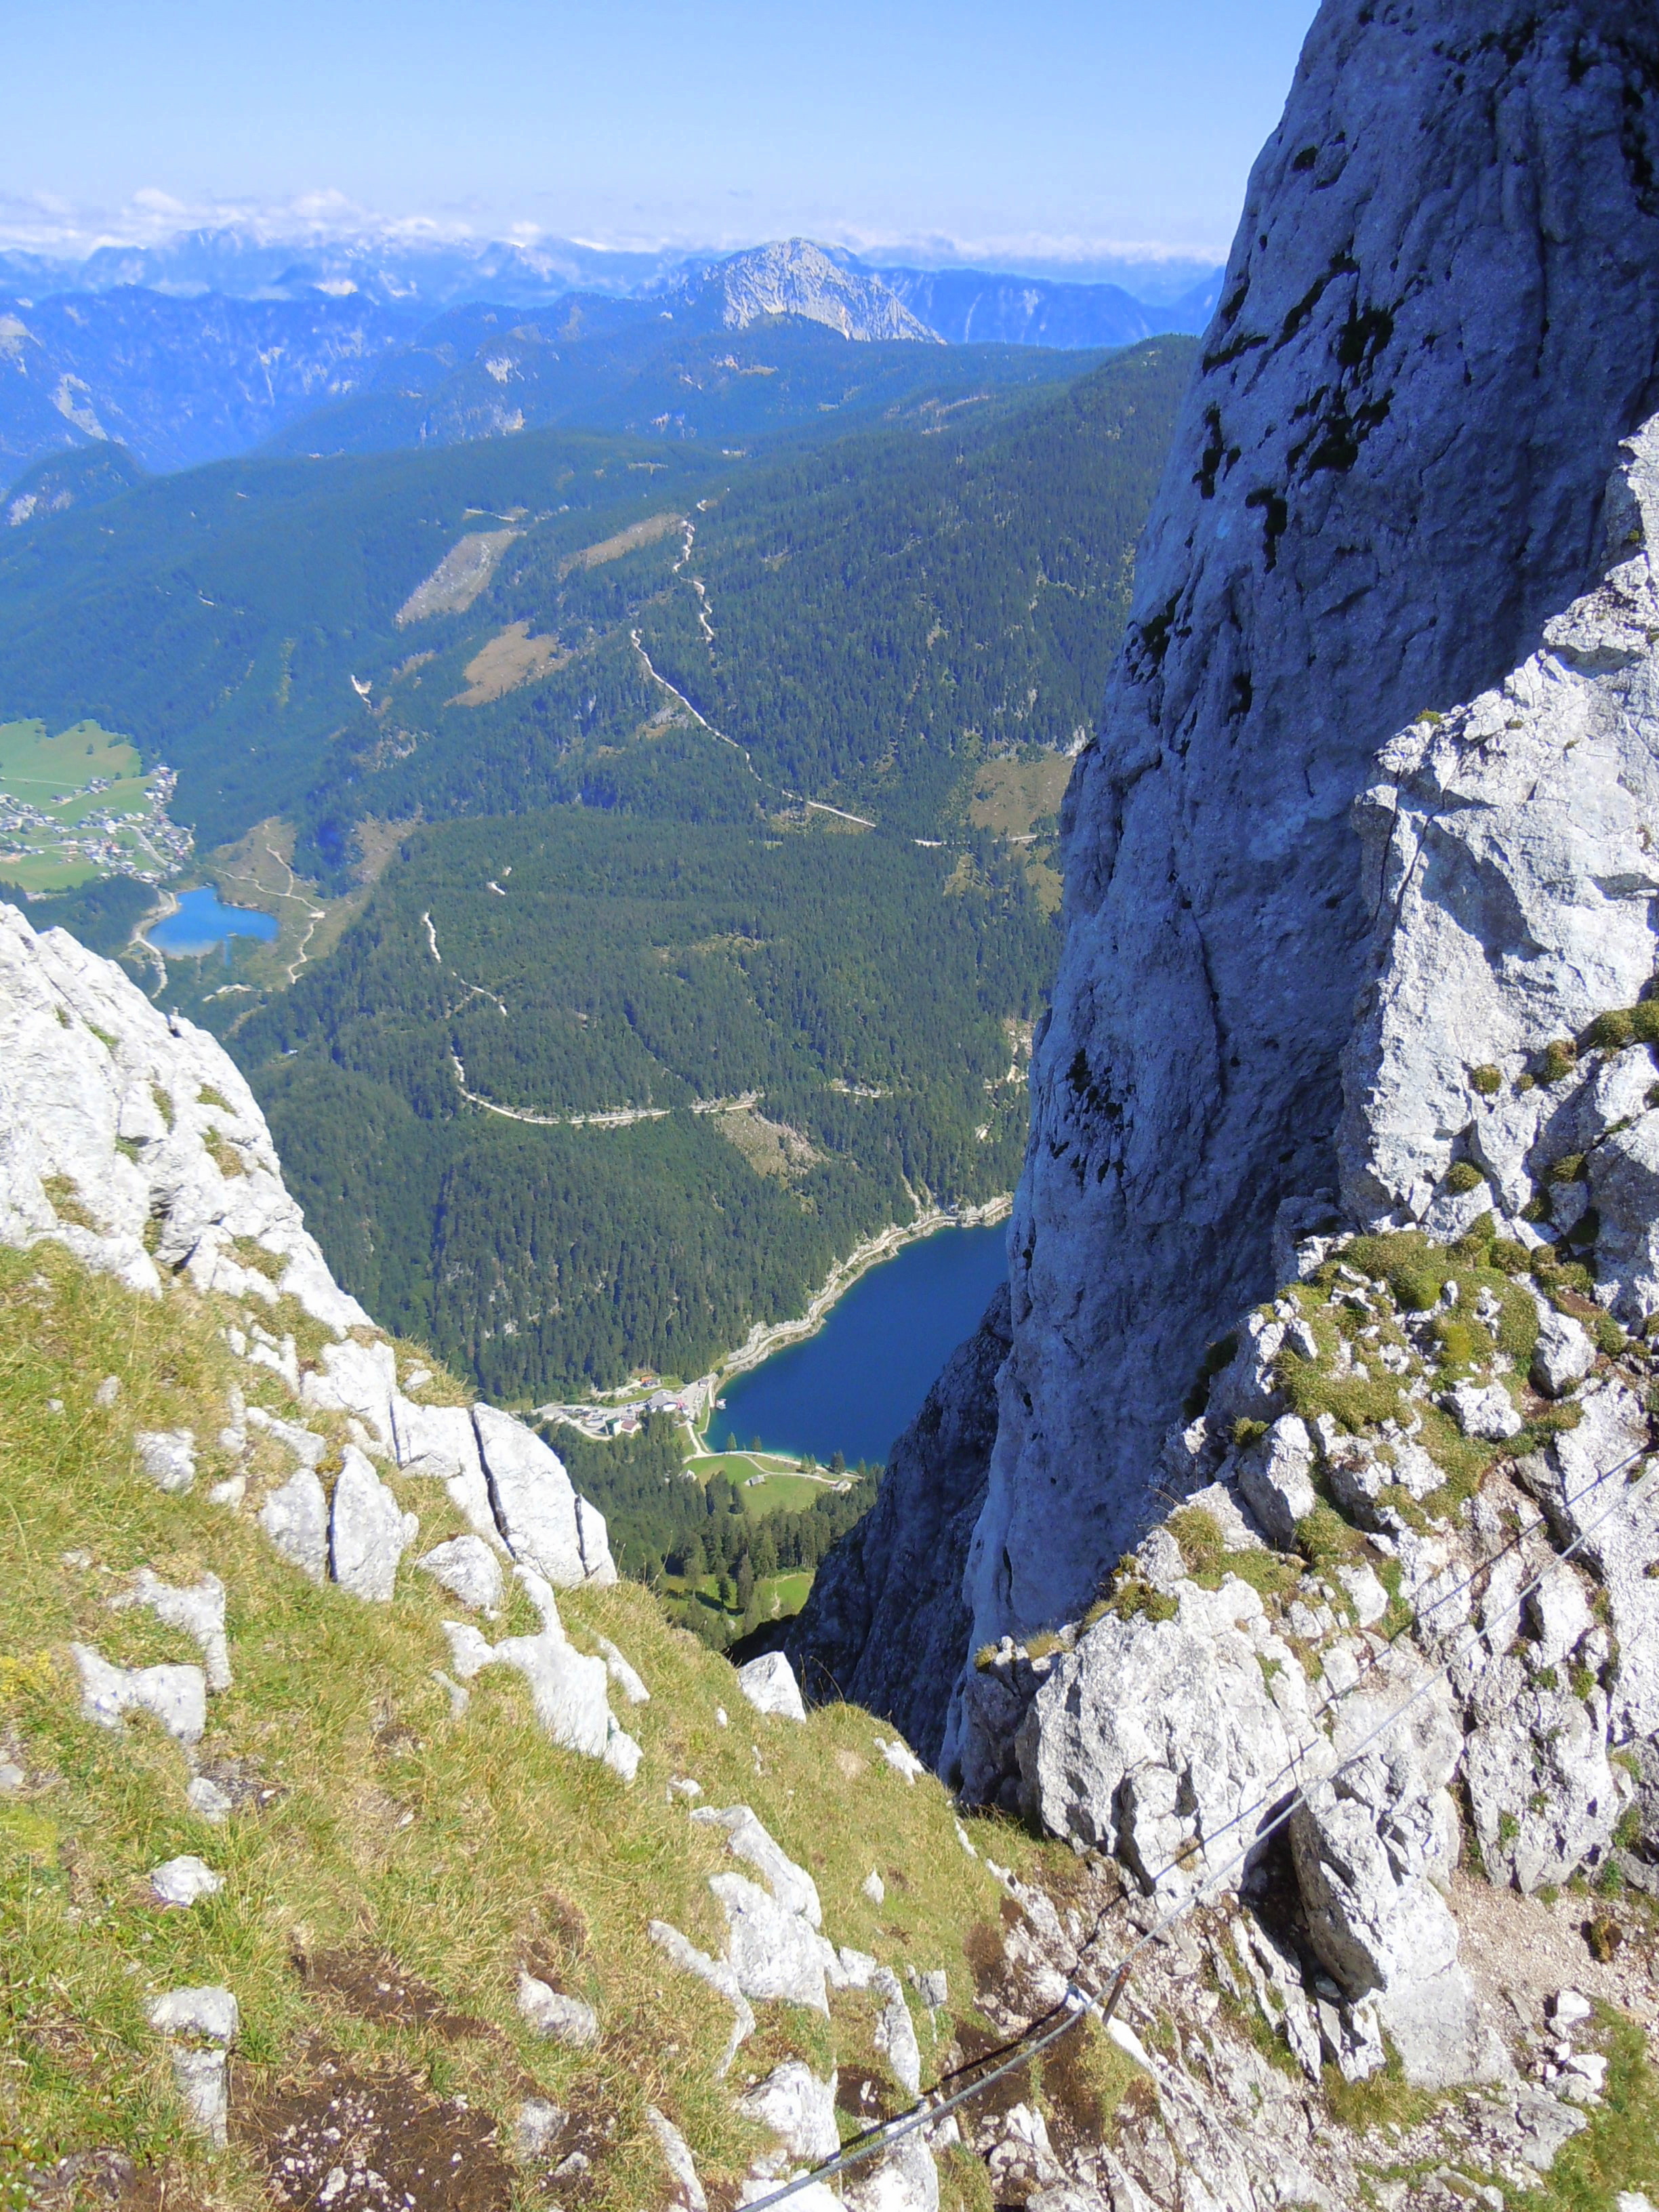
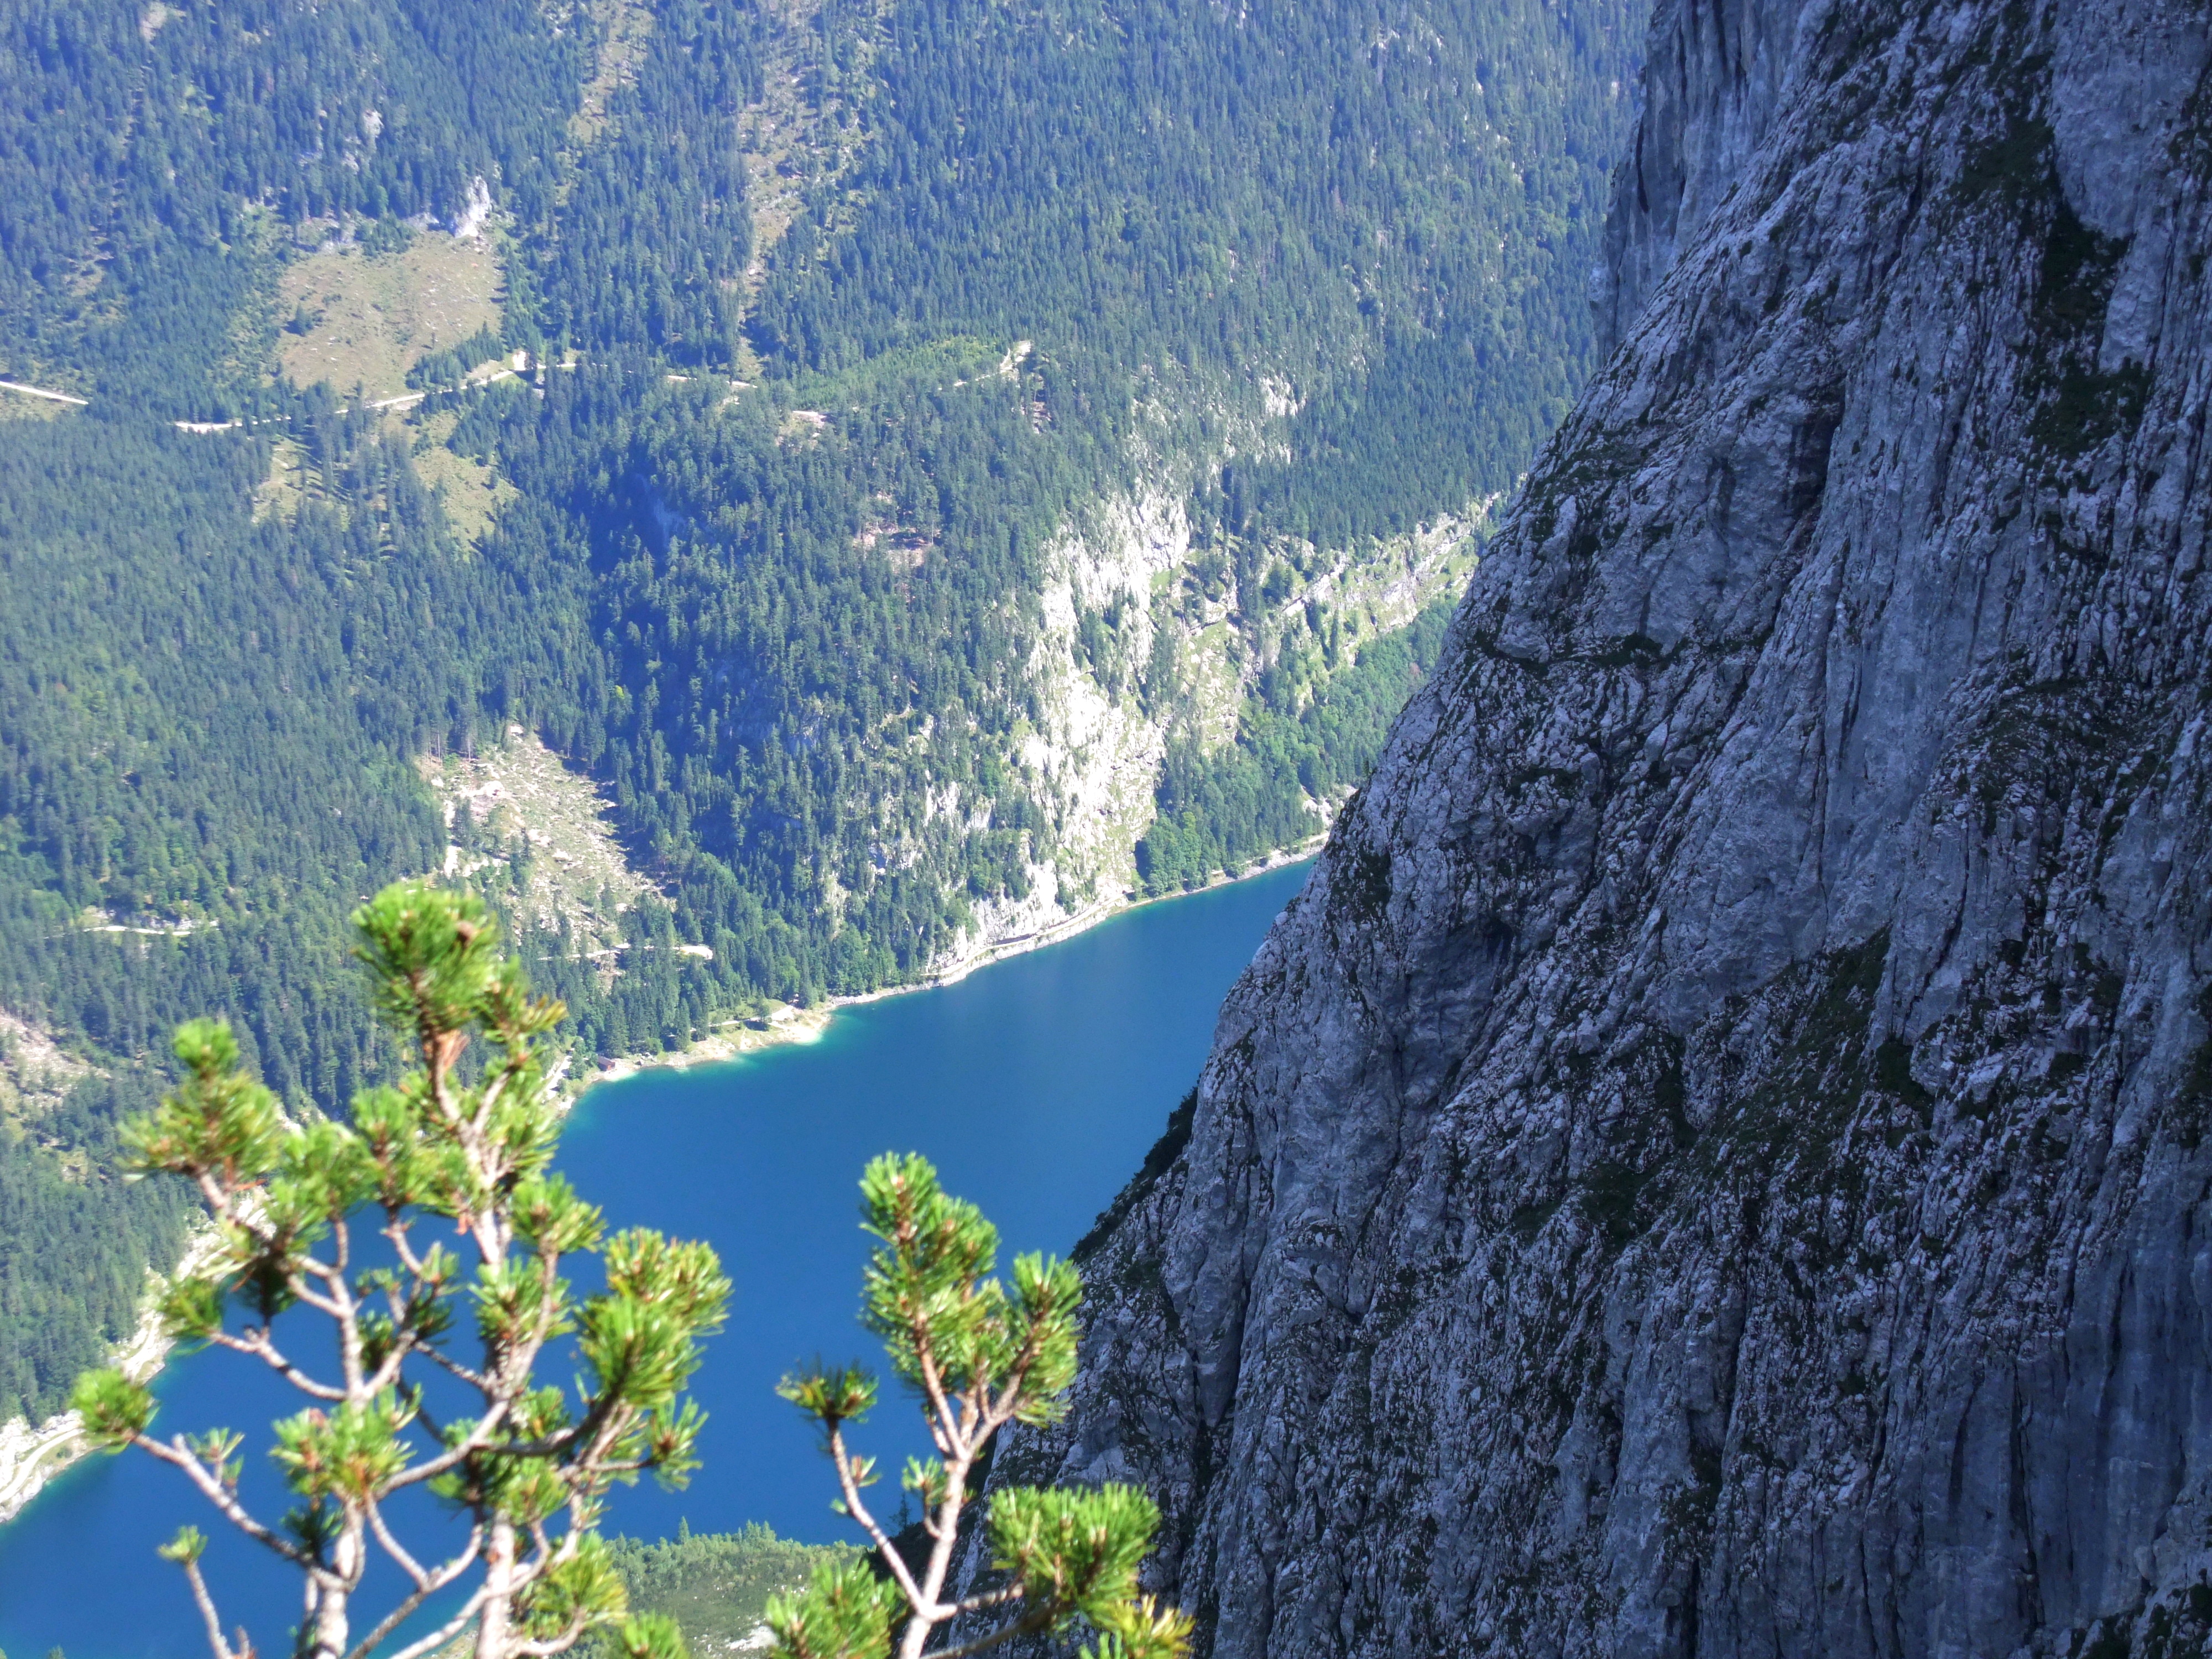
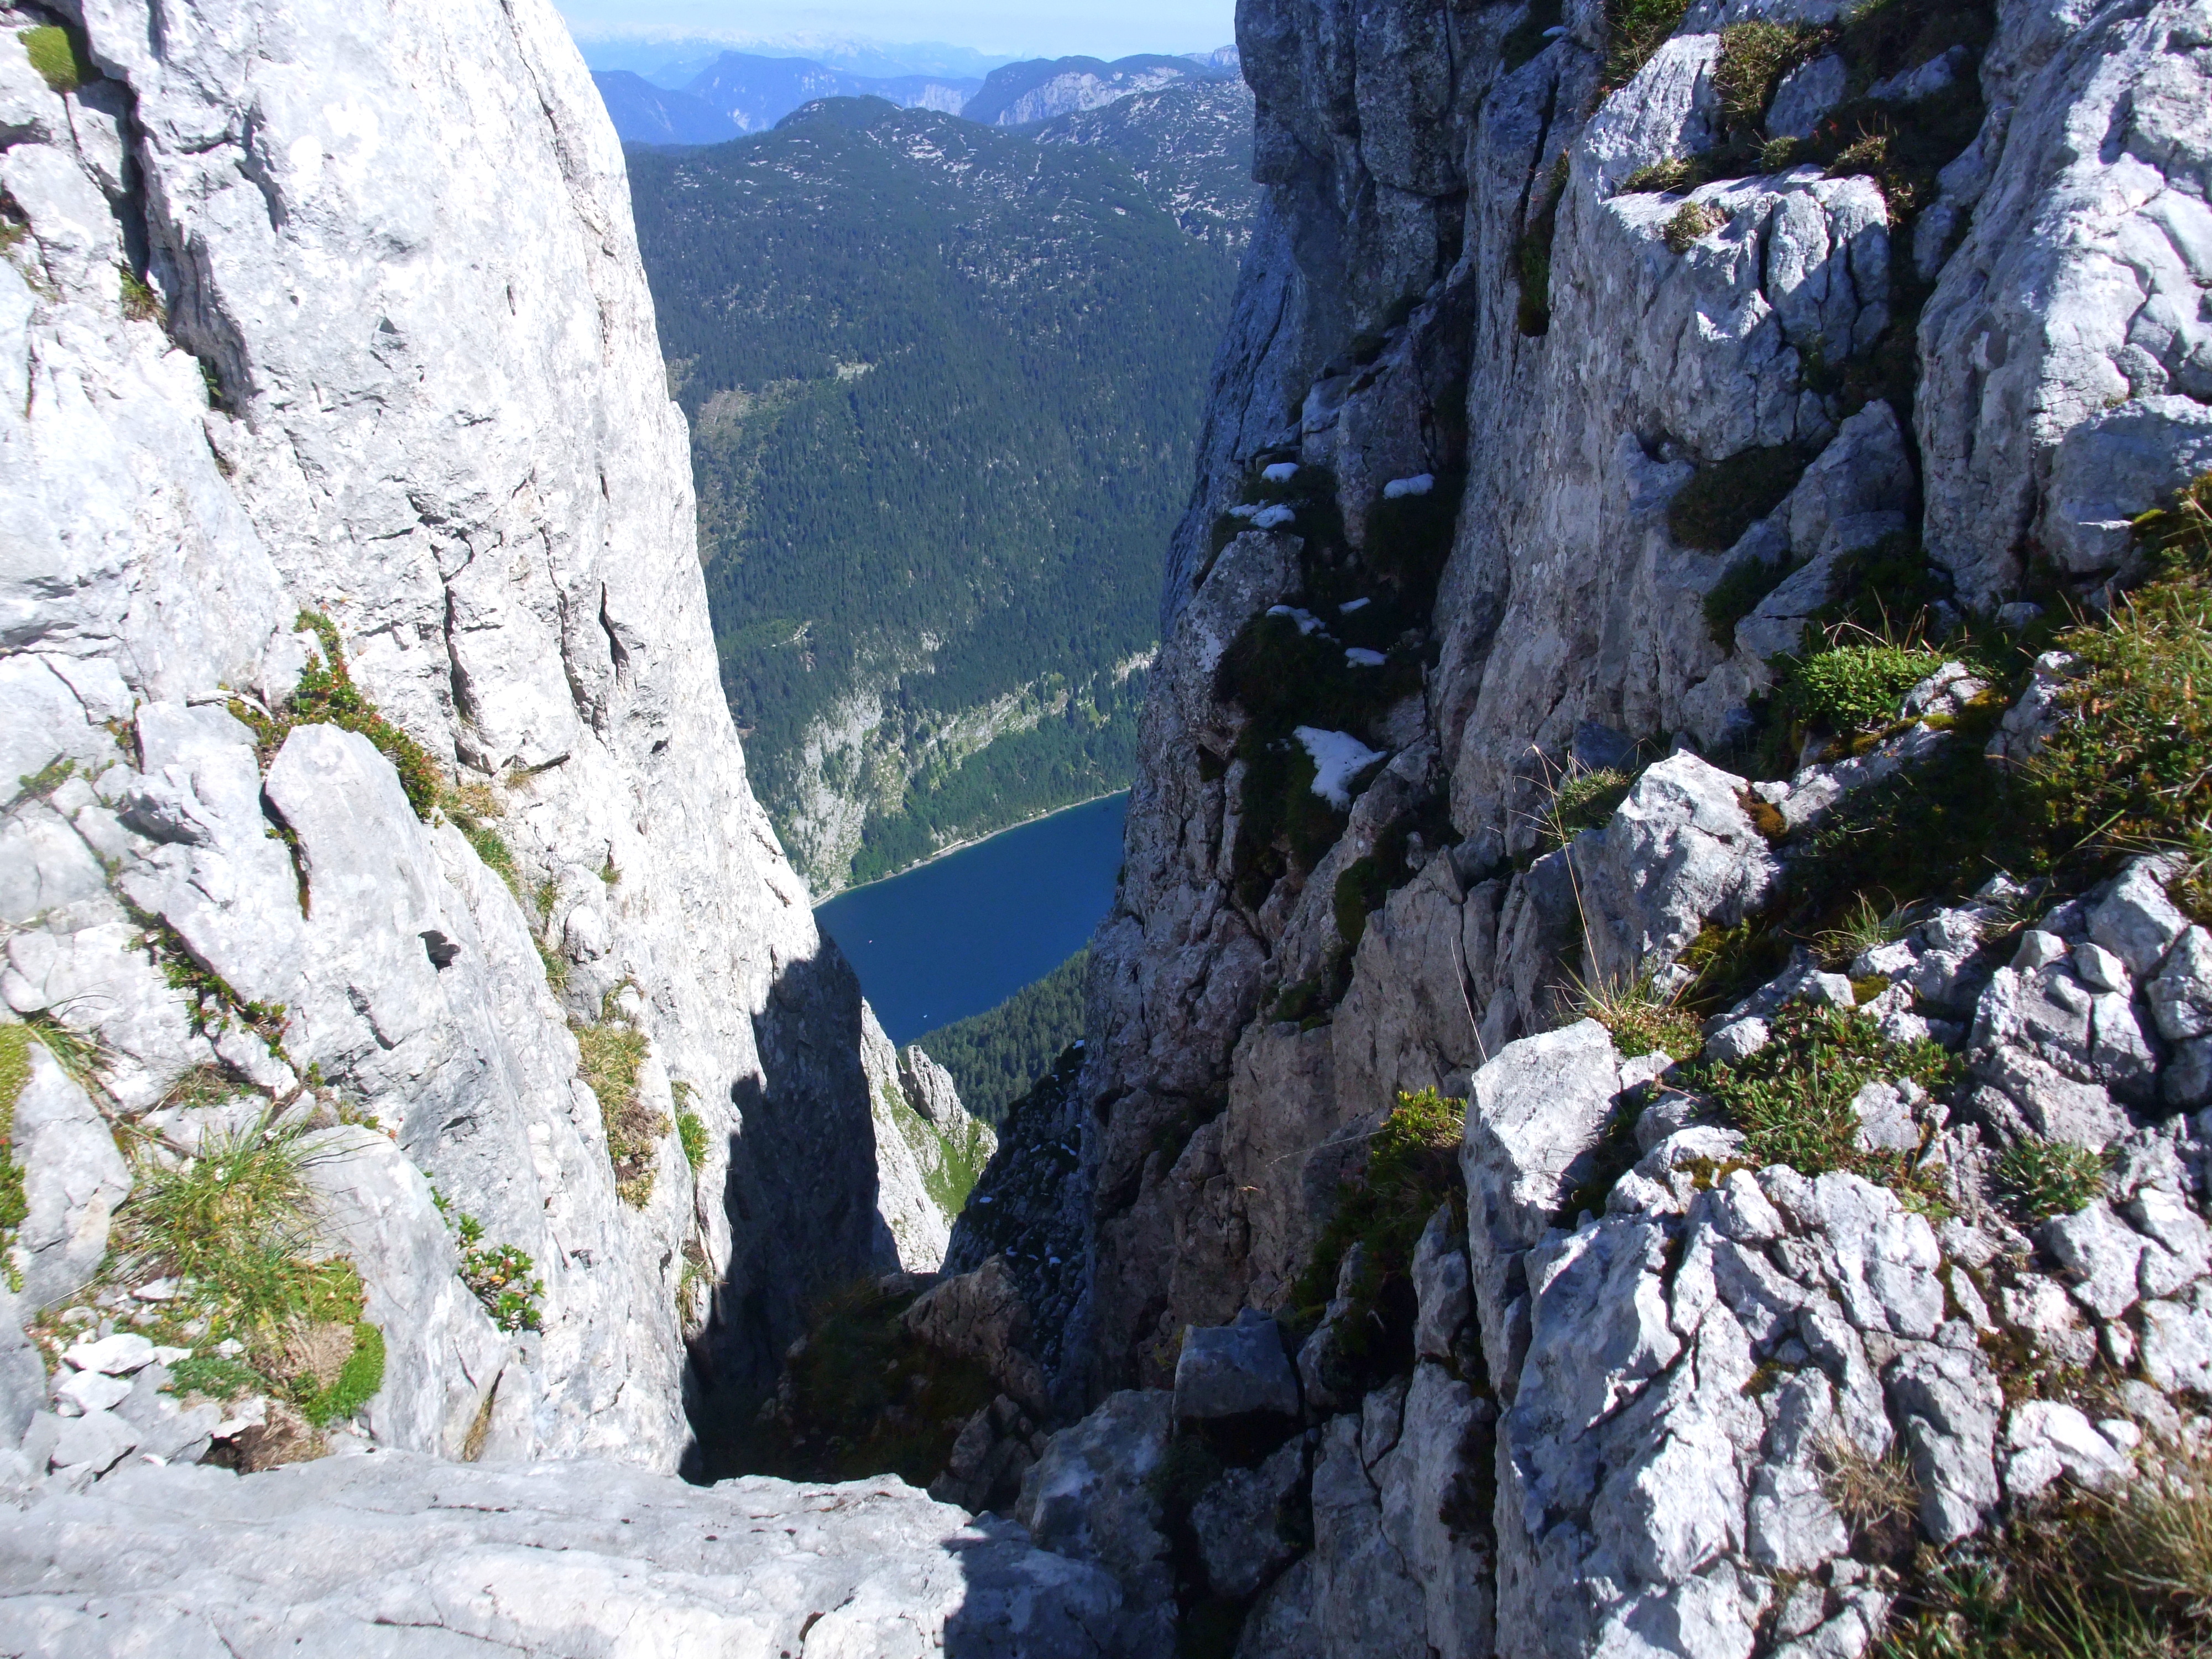
A storm forecast for the weekend, which then duly arrived bringing a temperature drop of over 20°C and snow down to lower altitudes across the Eastern Alps, threatened to scupper our planned tour. On Sunday morning, however, the weather already looked very promising and the forecast now predicted perfect mountain conditions. So we set off for Gosau. Arriving at the Vorderer Gosausee, we parked and – after a brief detour to the lake – set off on the well-marked one-hour walk to the Gablonzer Hütte. From there the entry point is a quarter hour away.
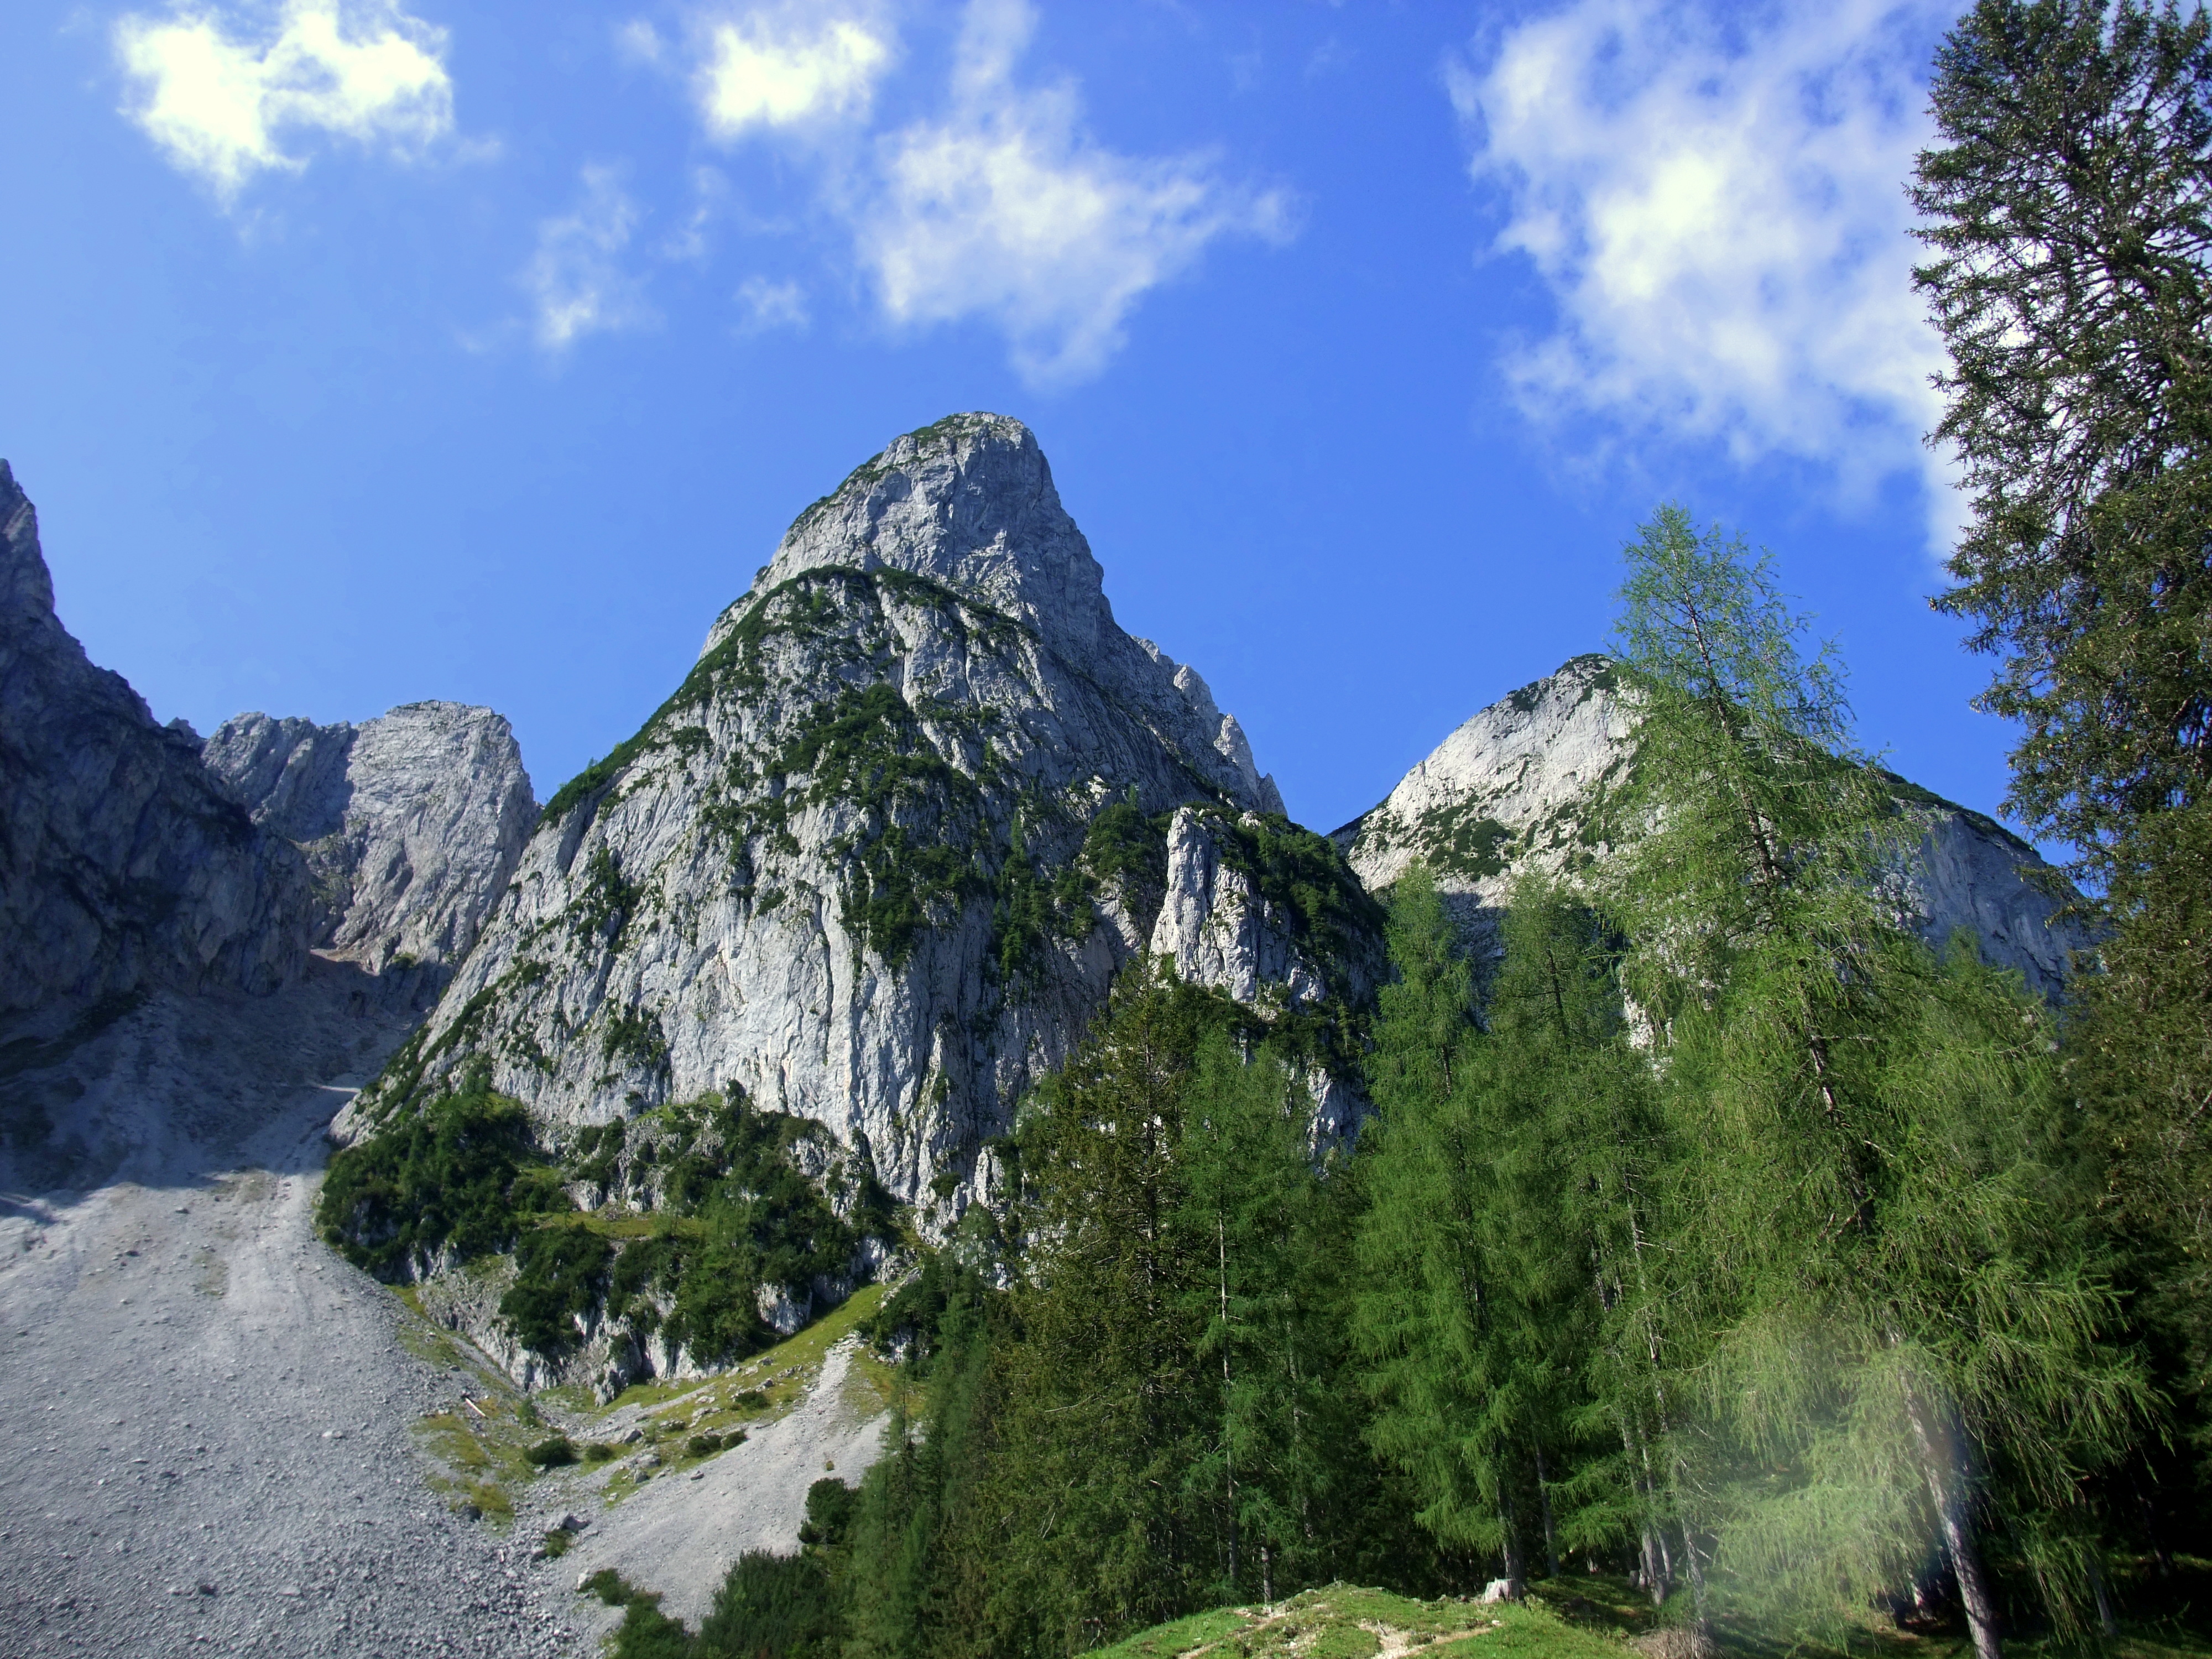
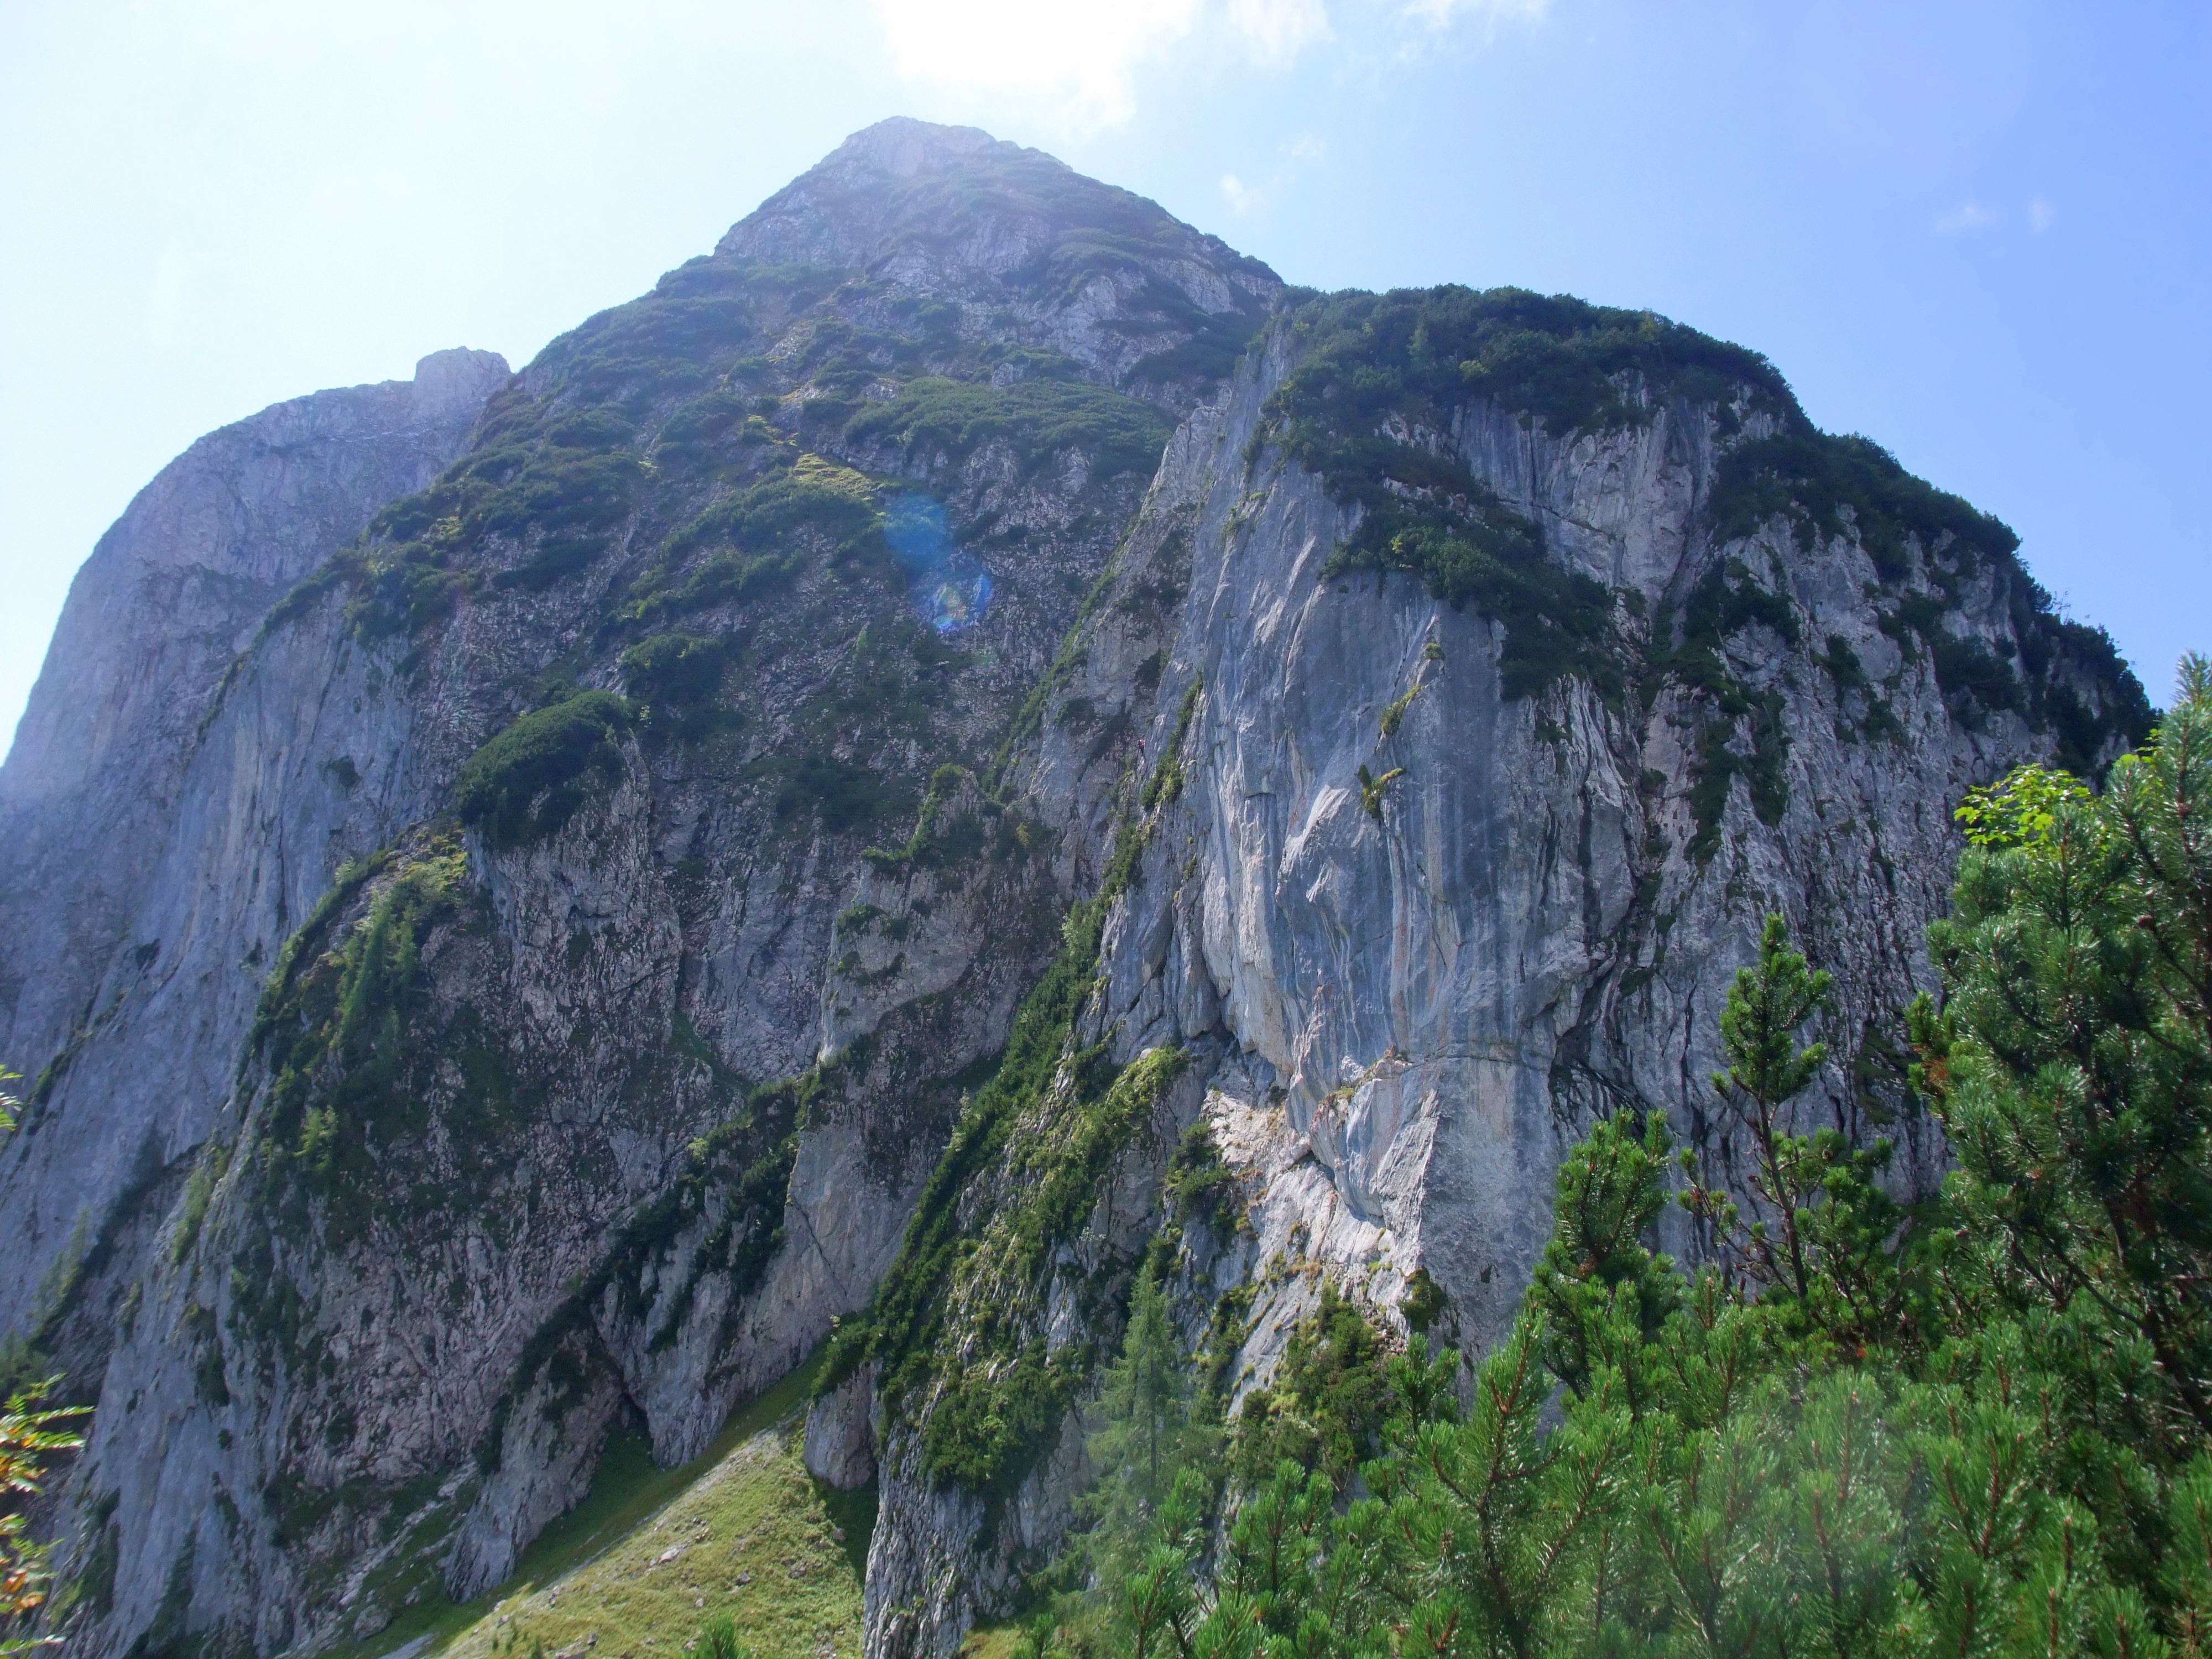
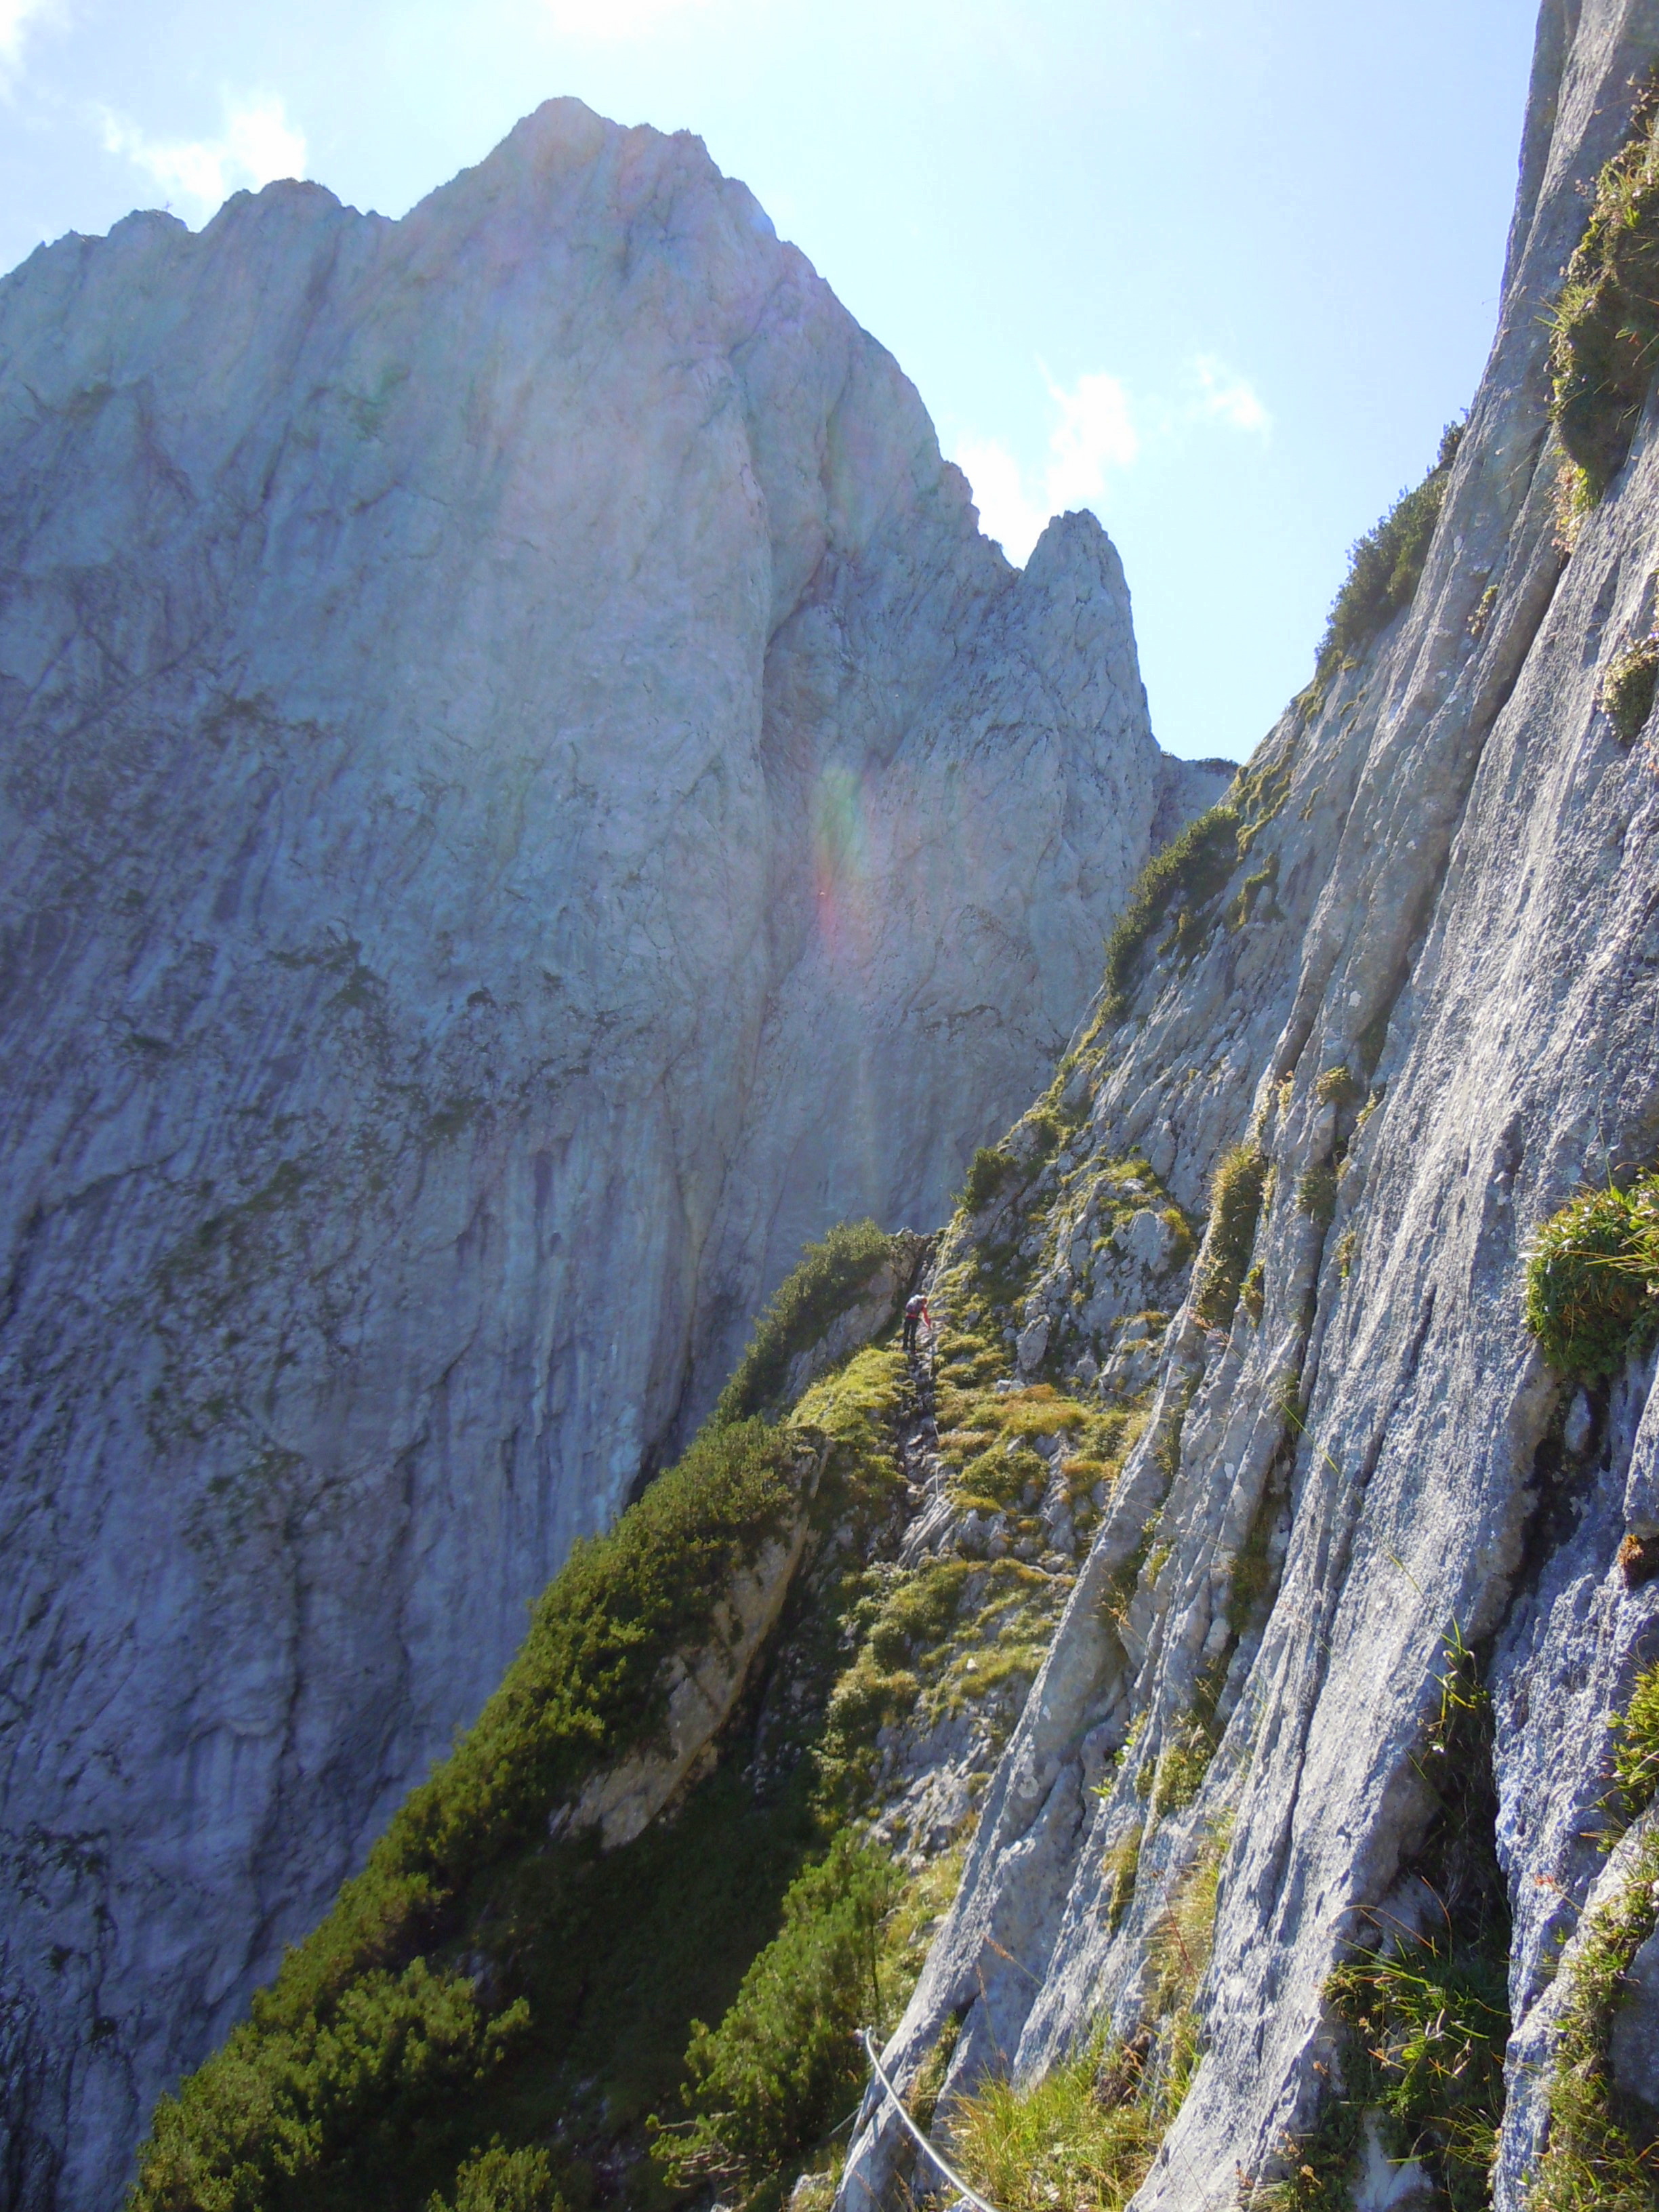
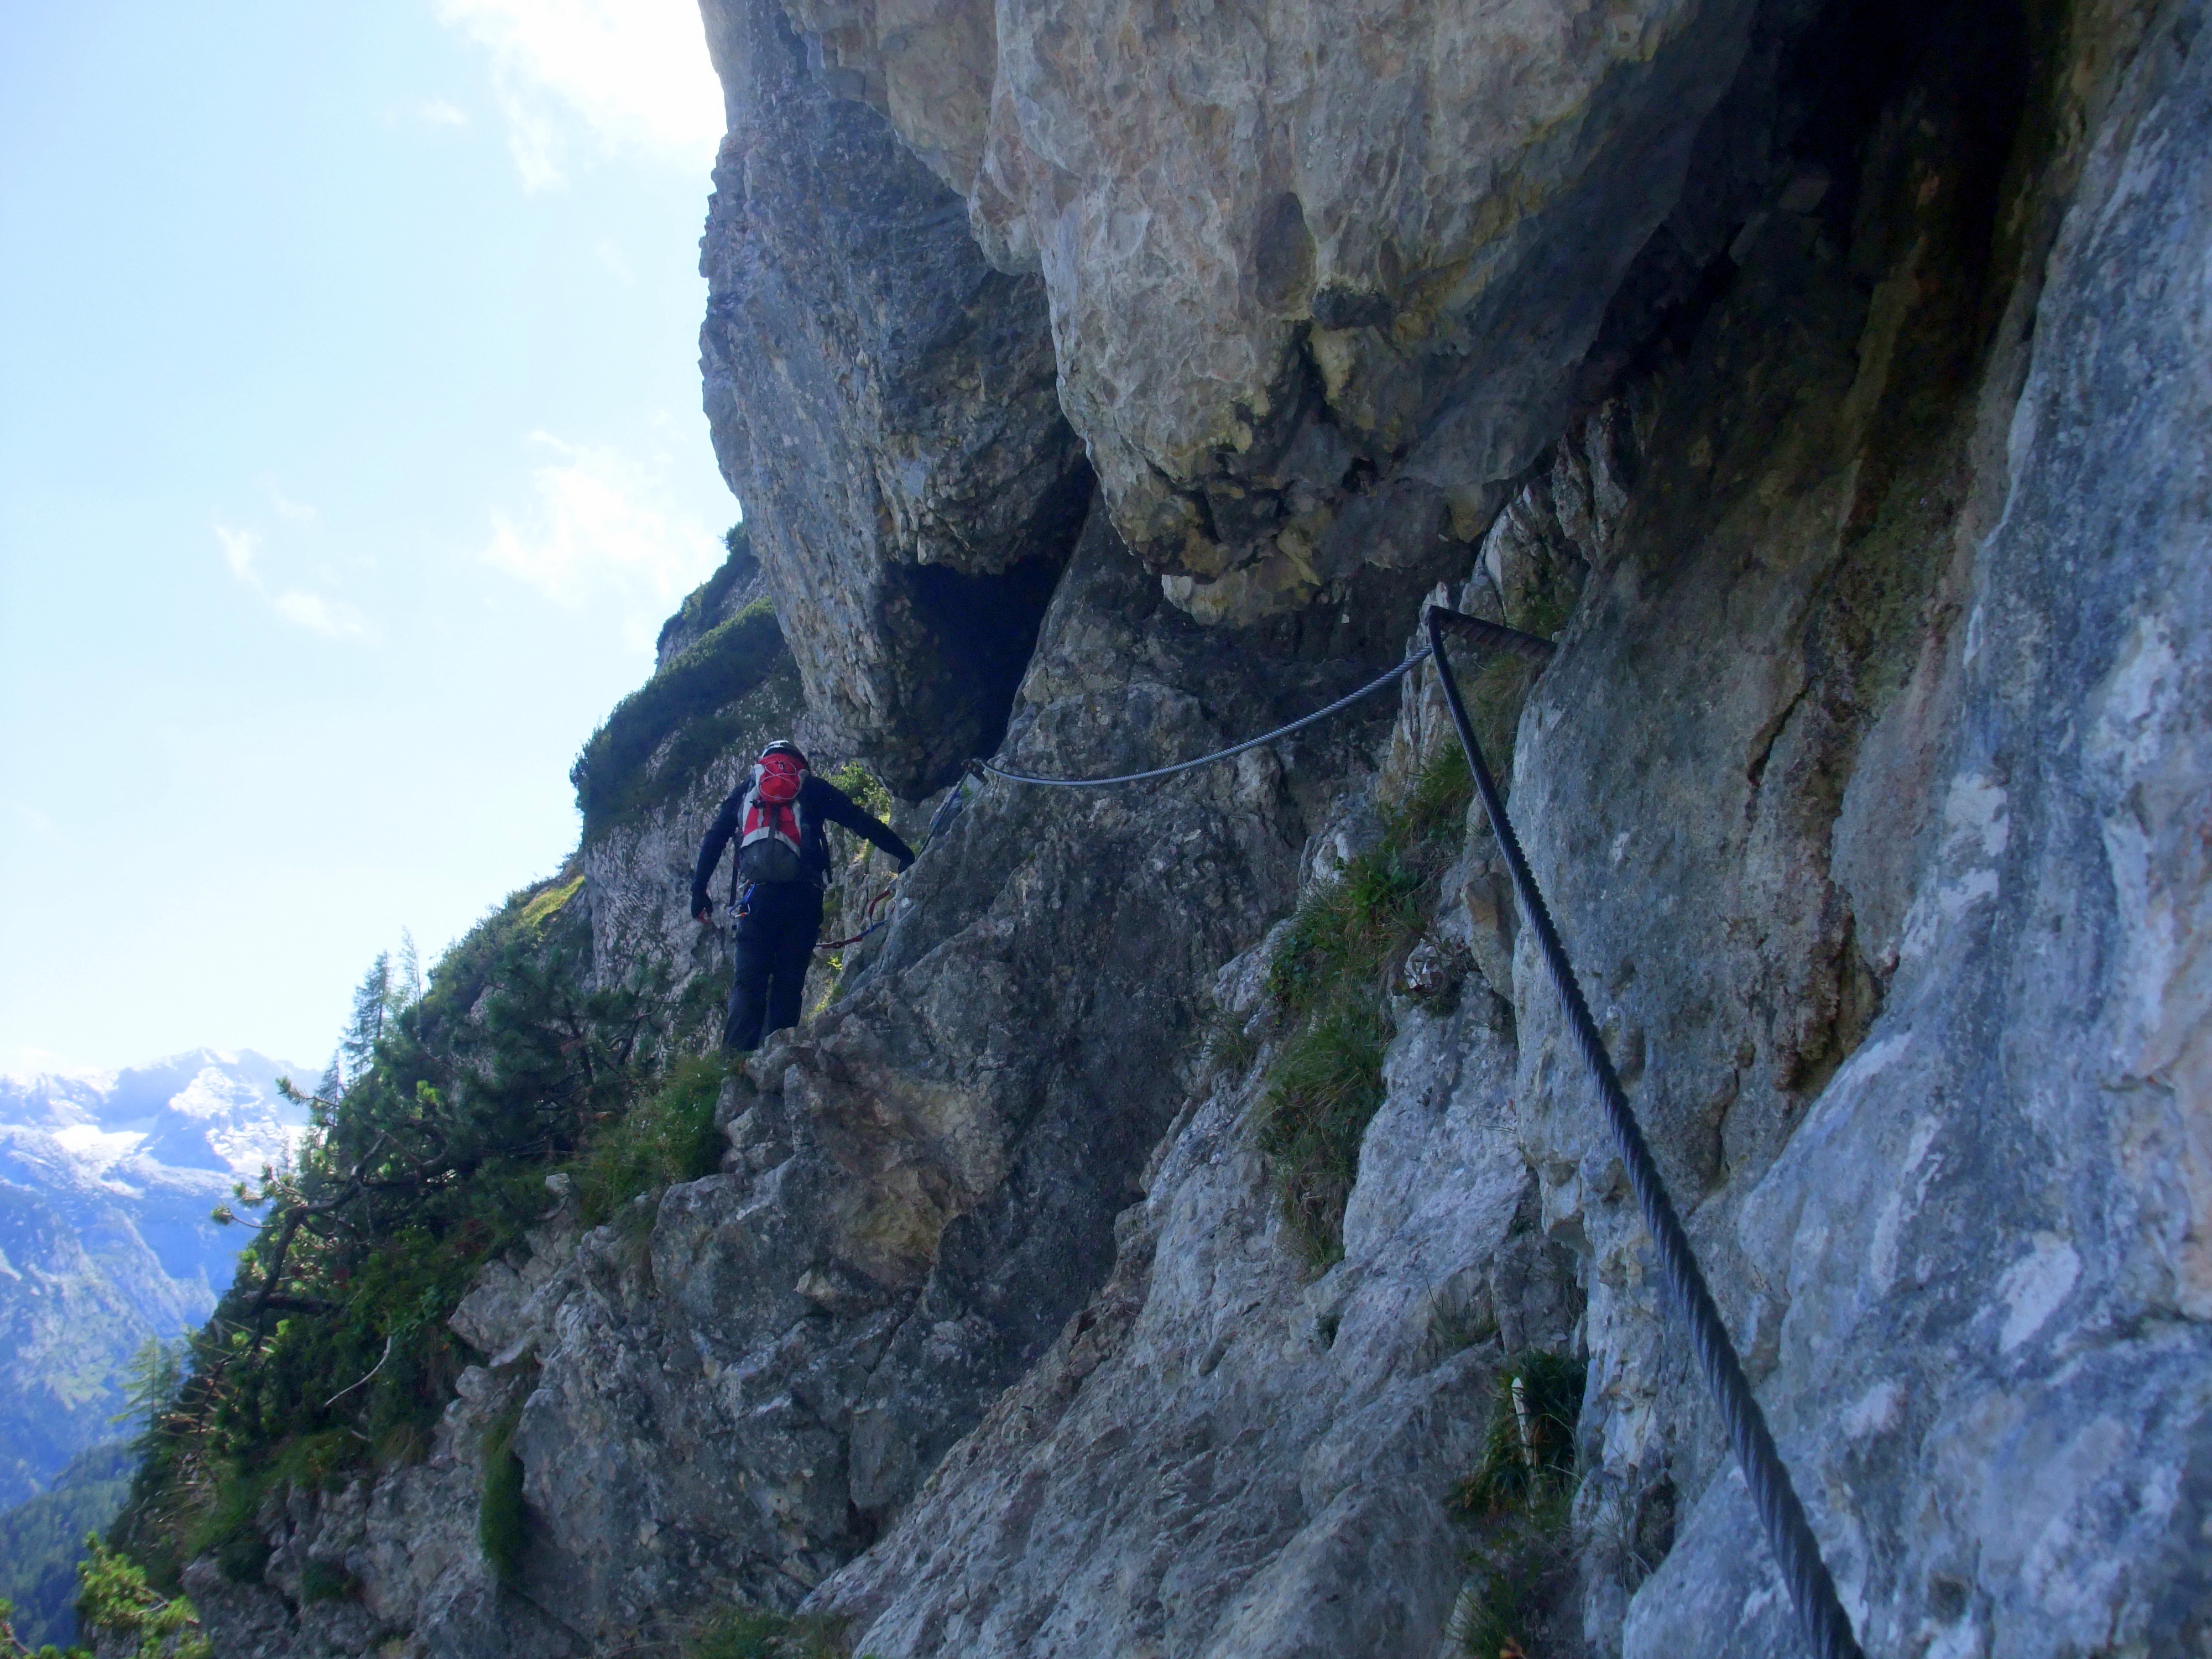
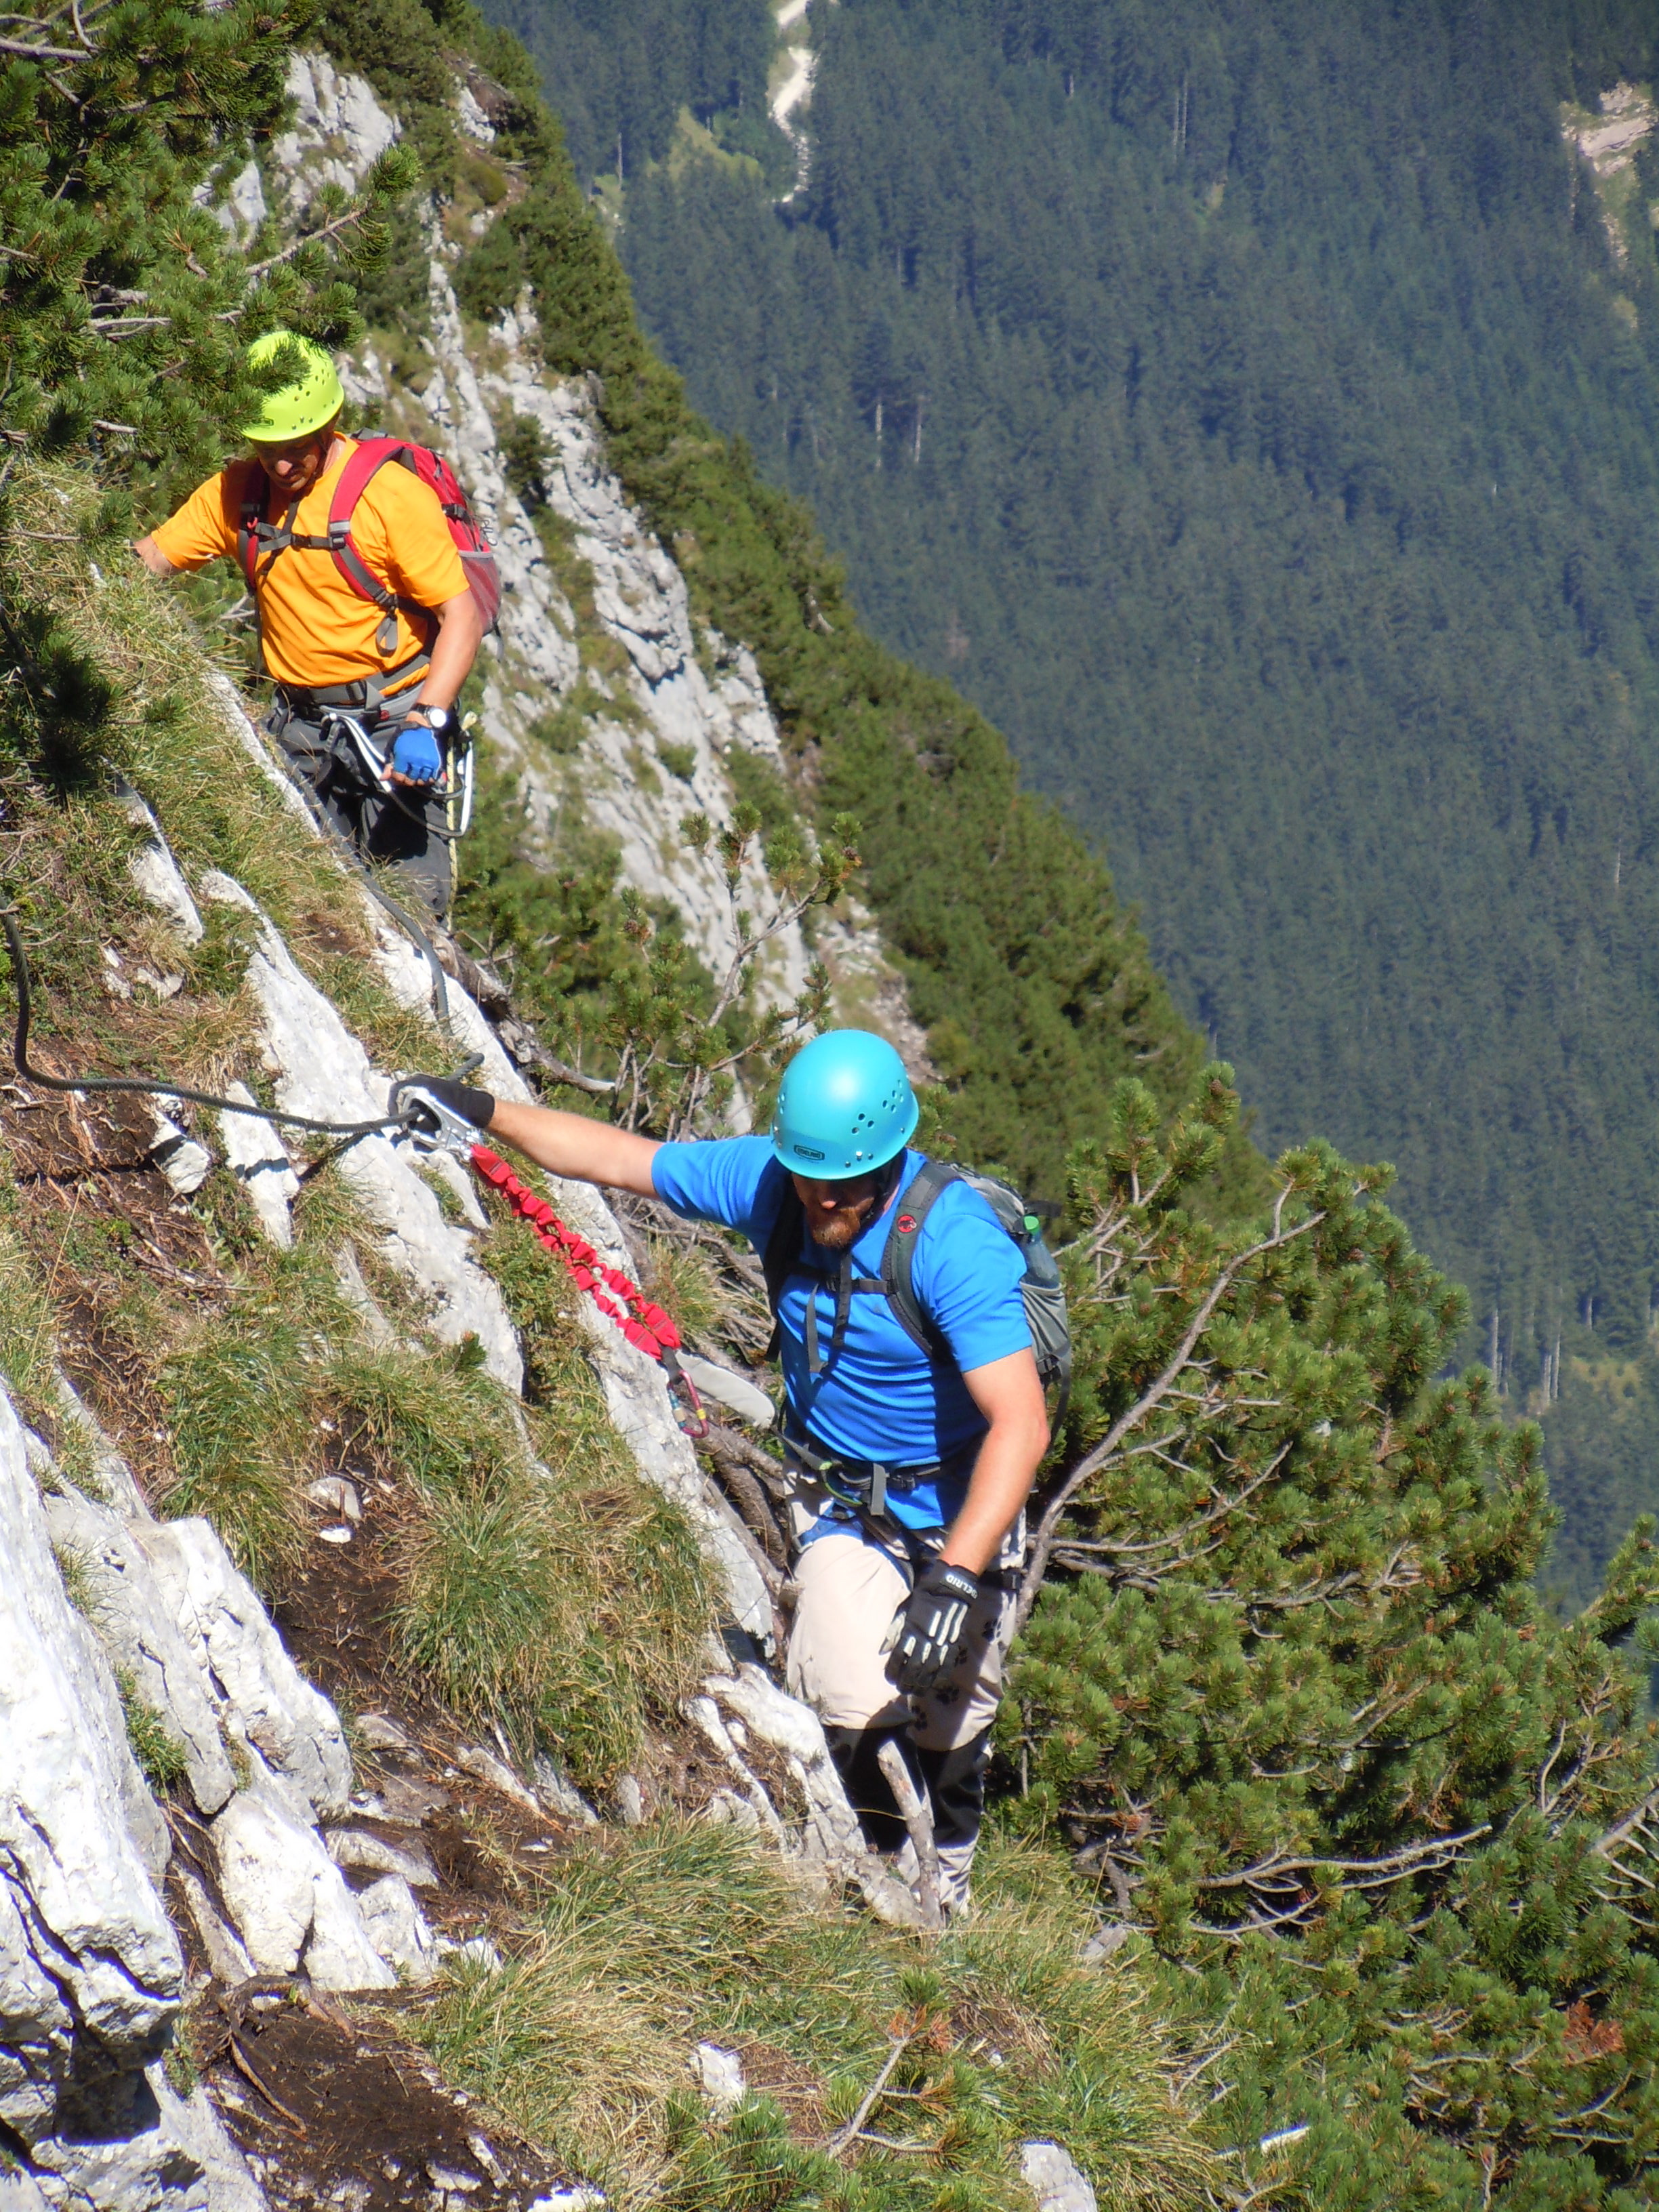
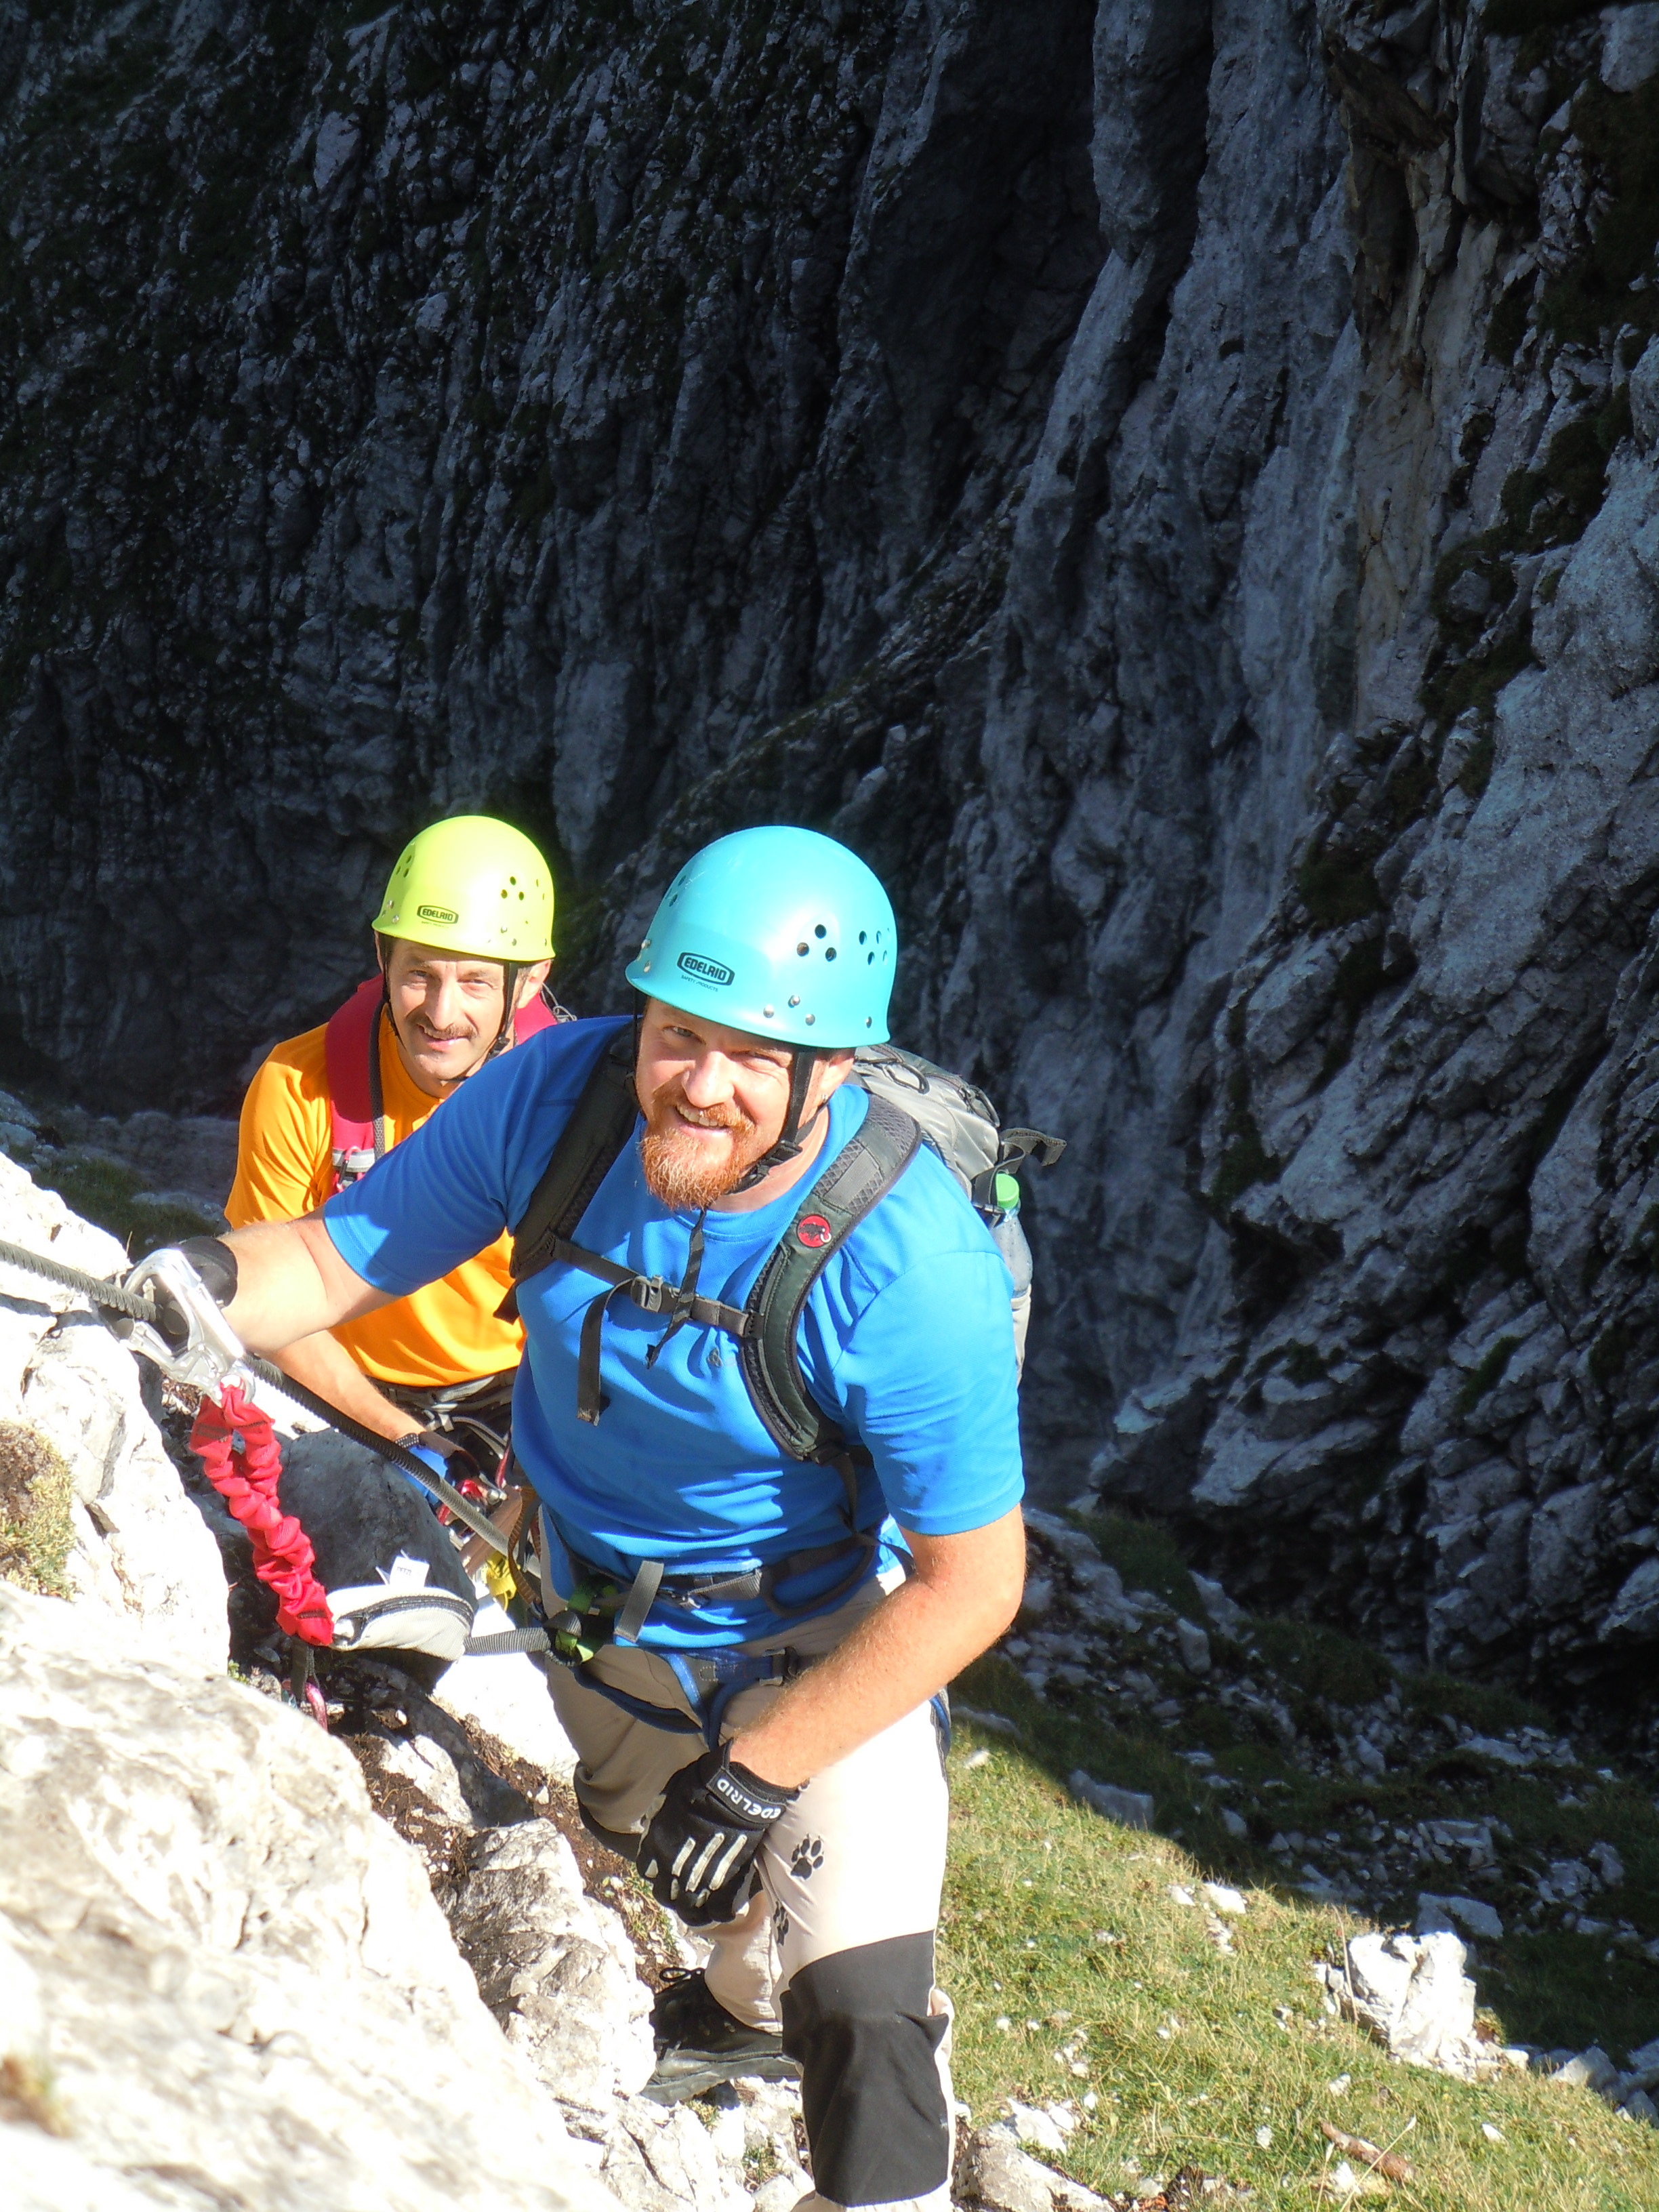
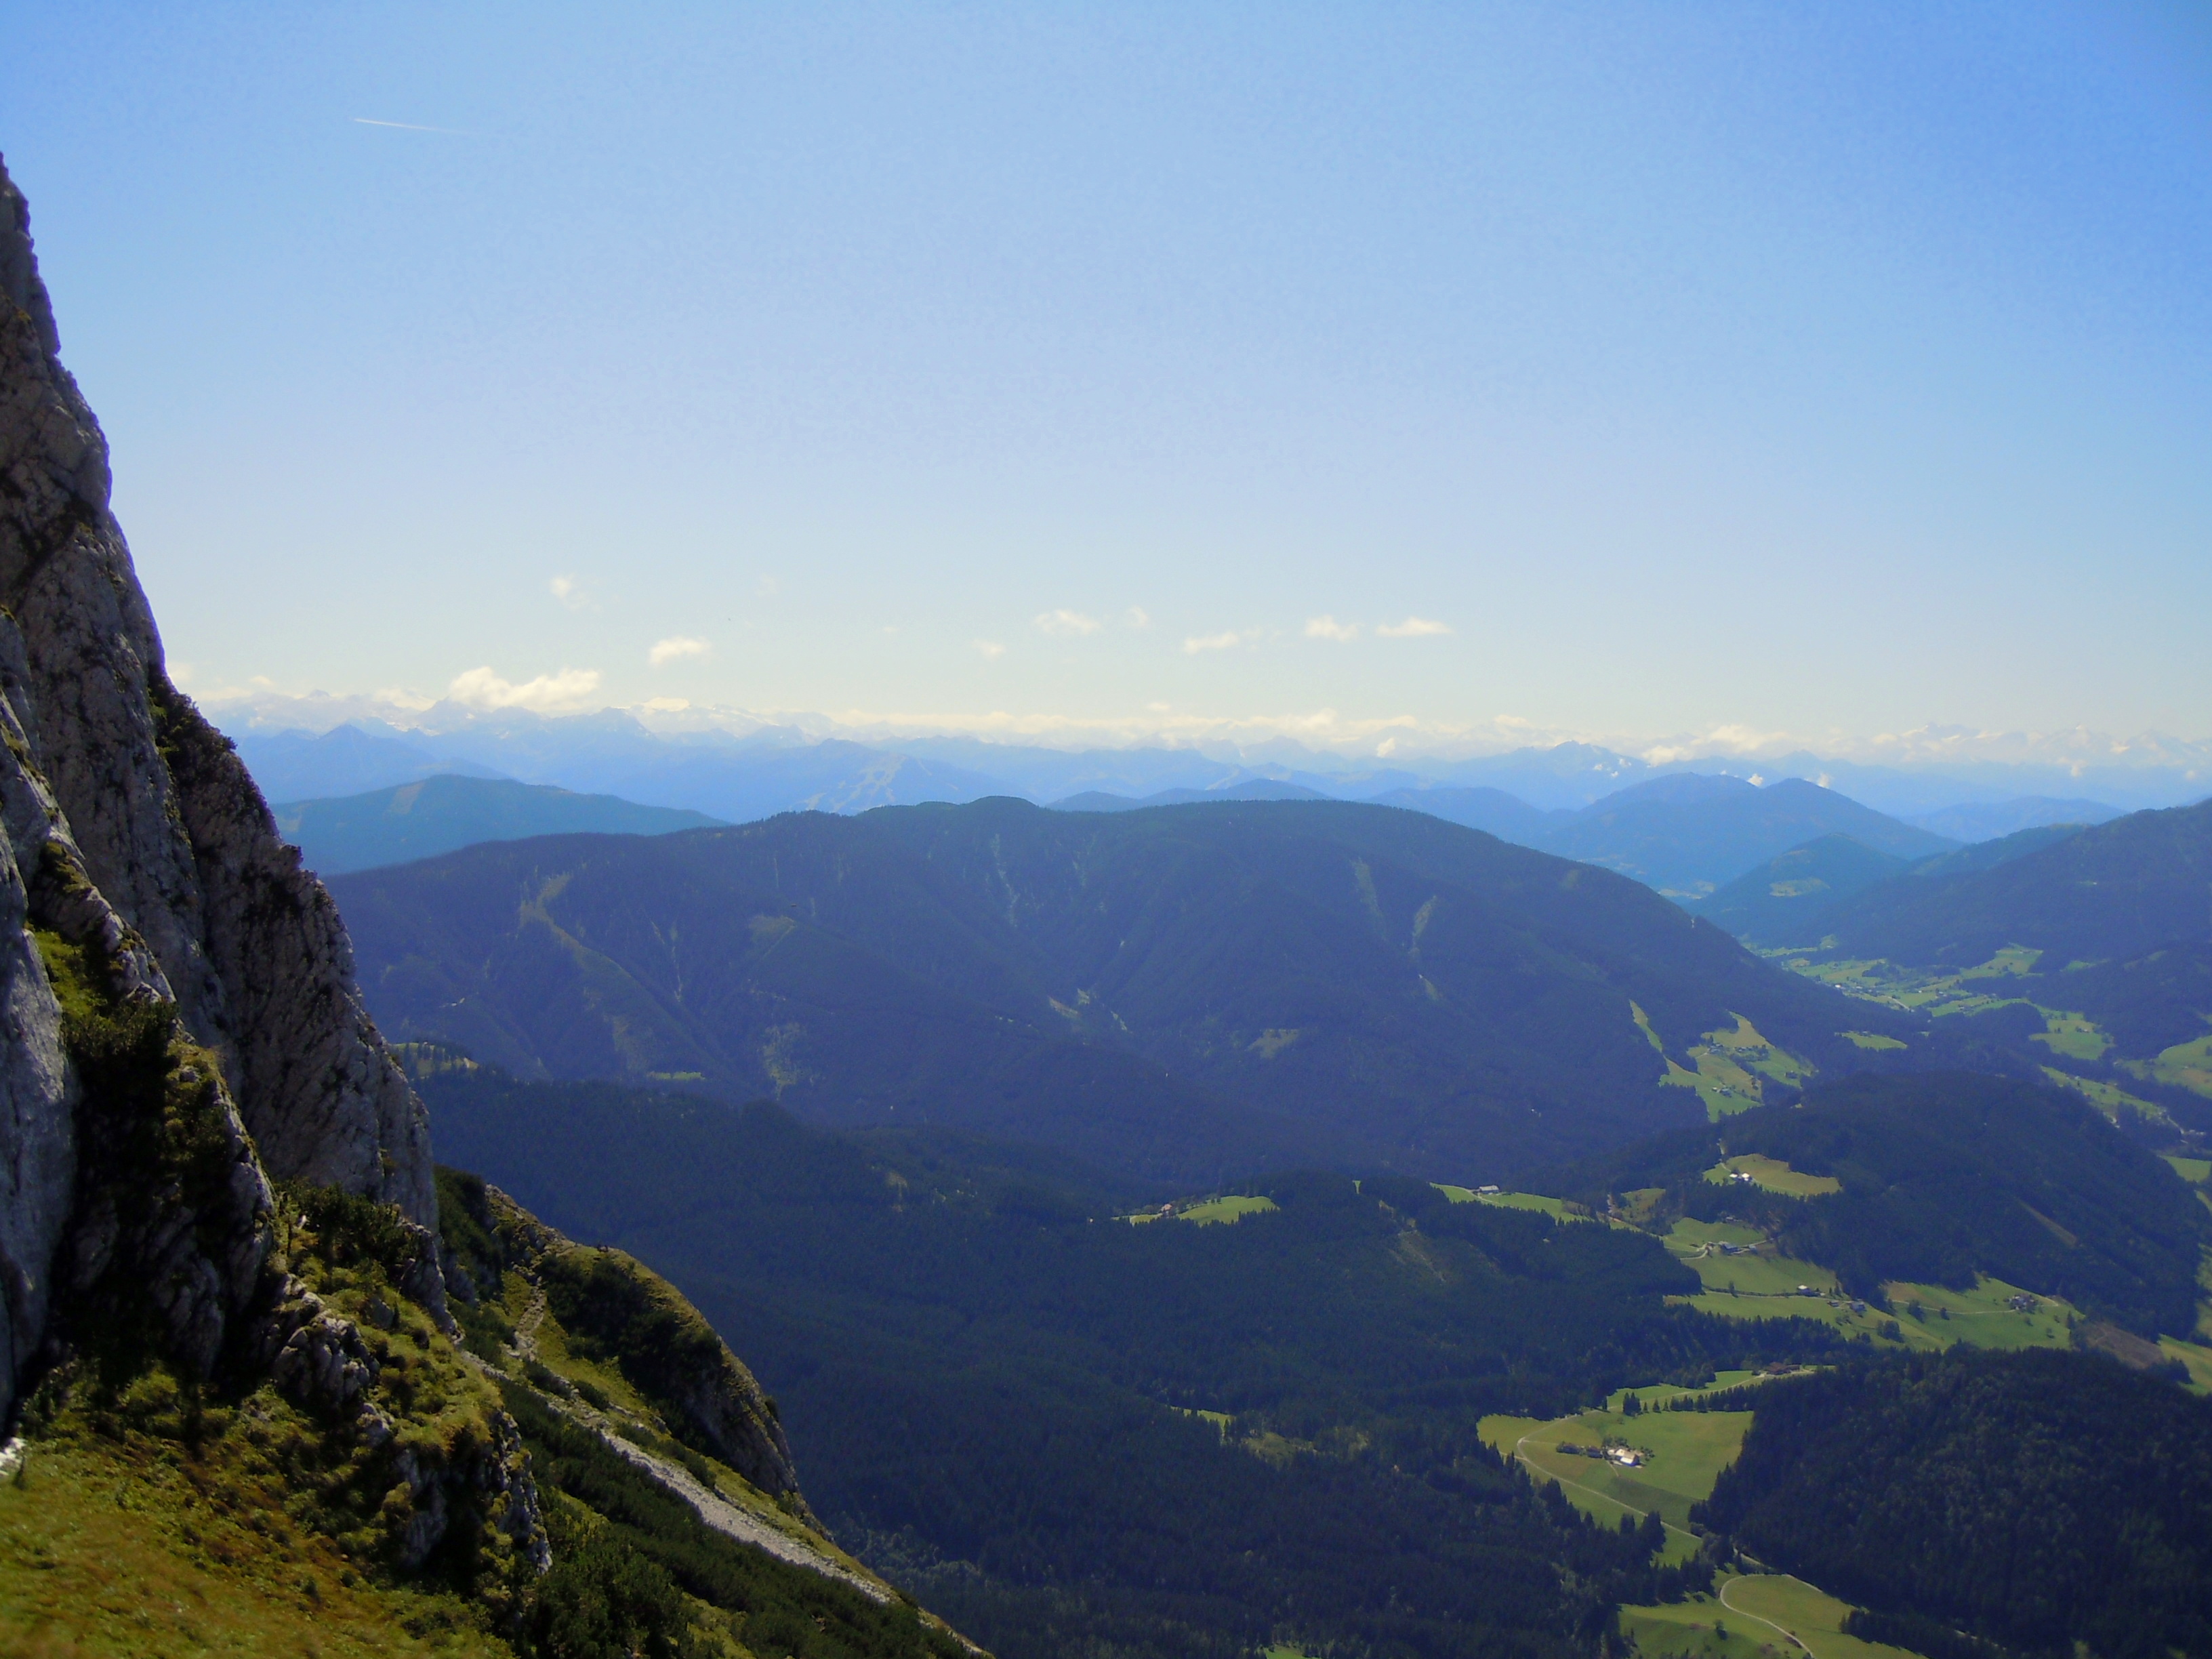
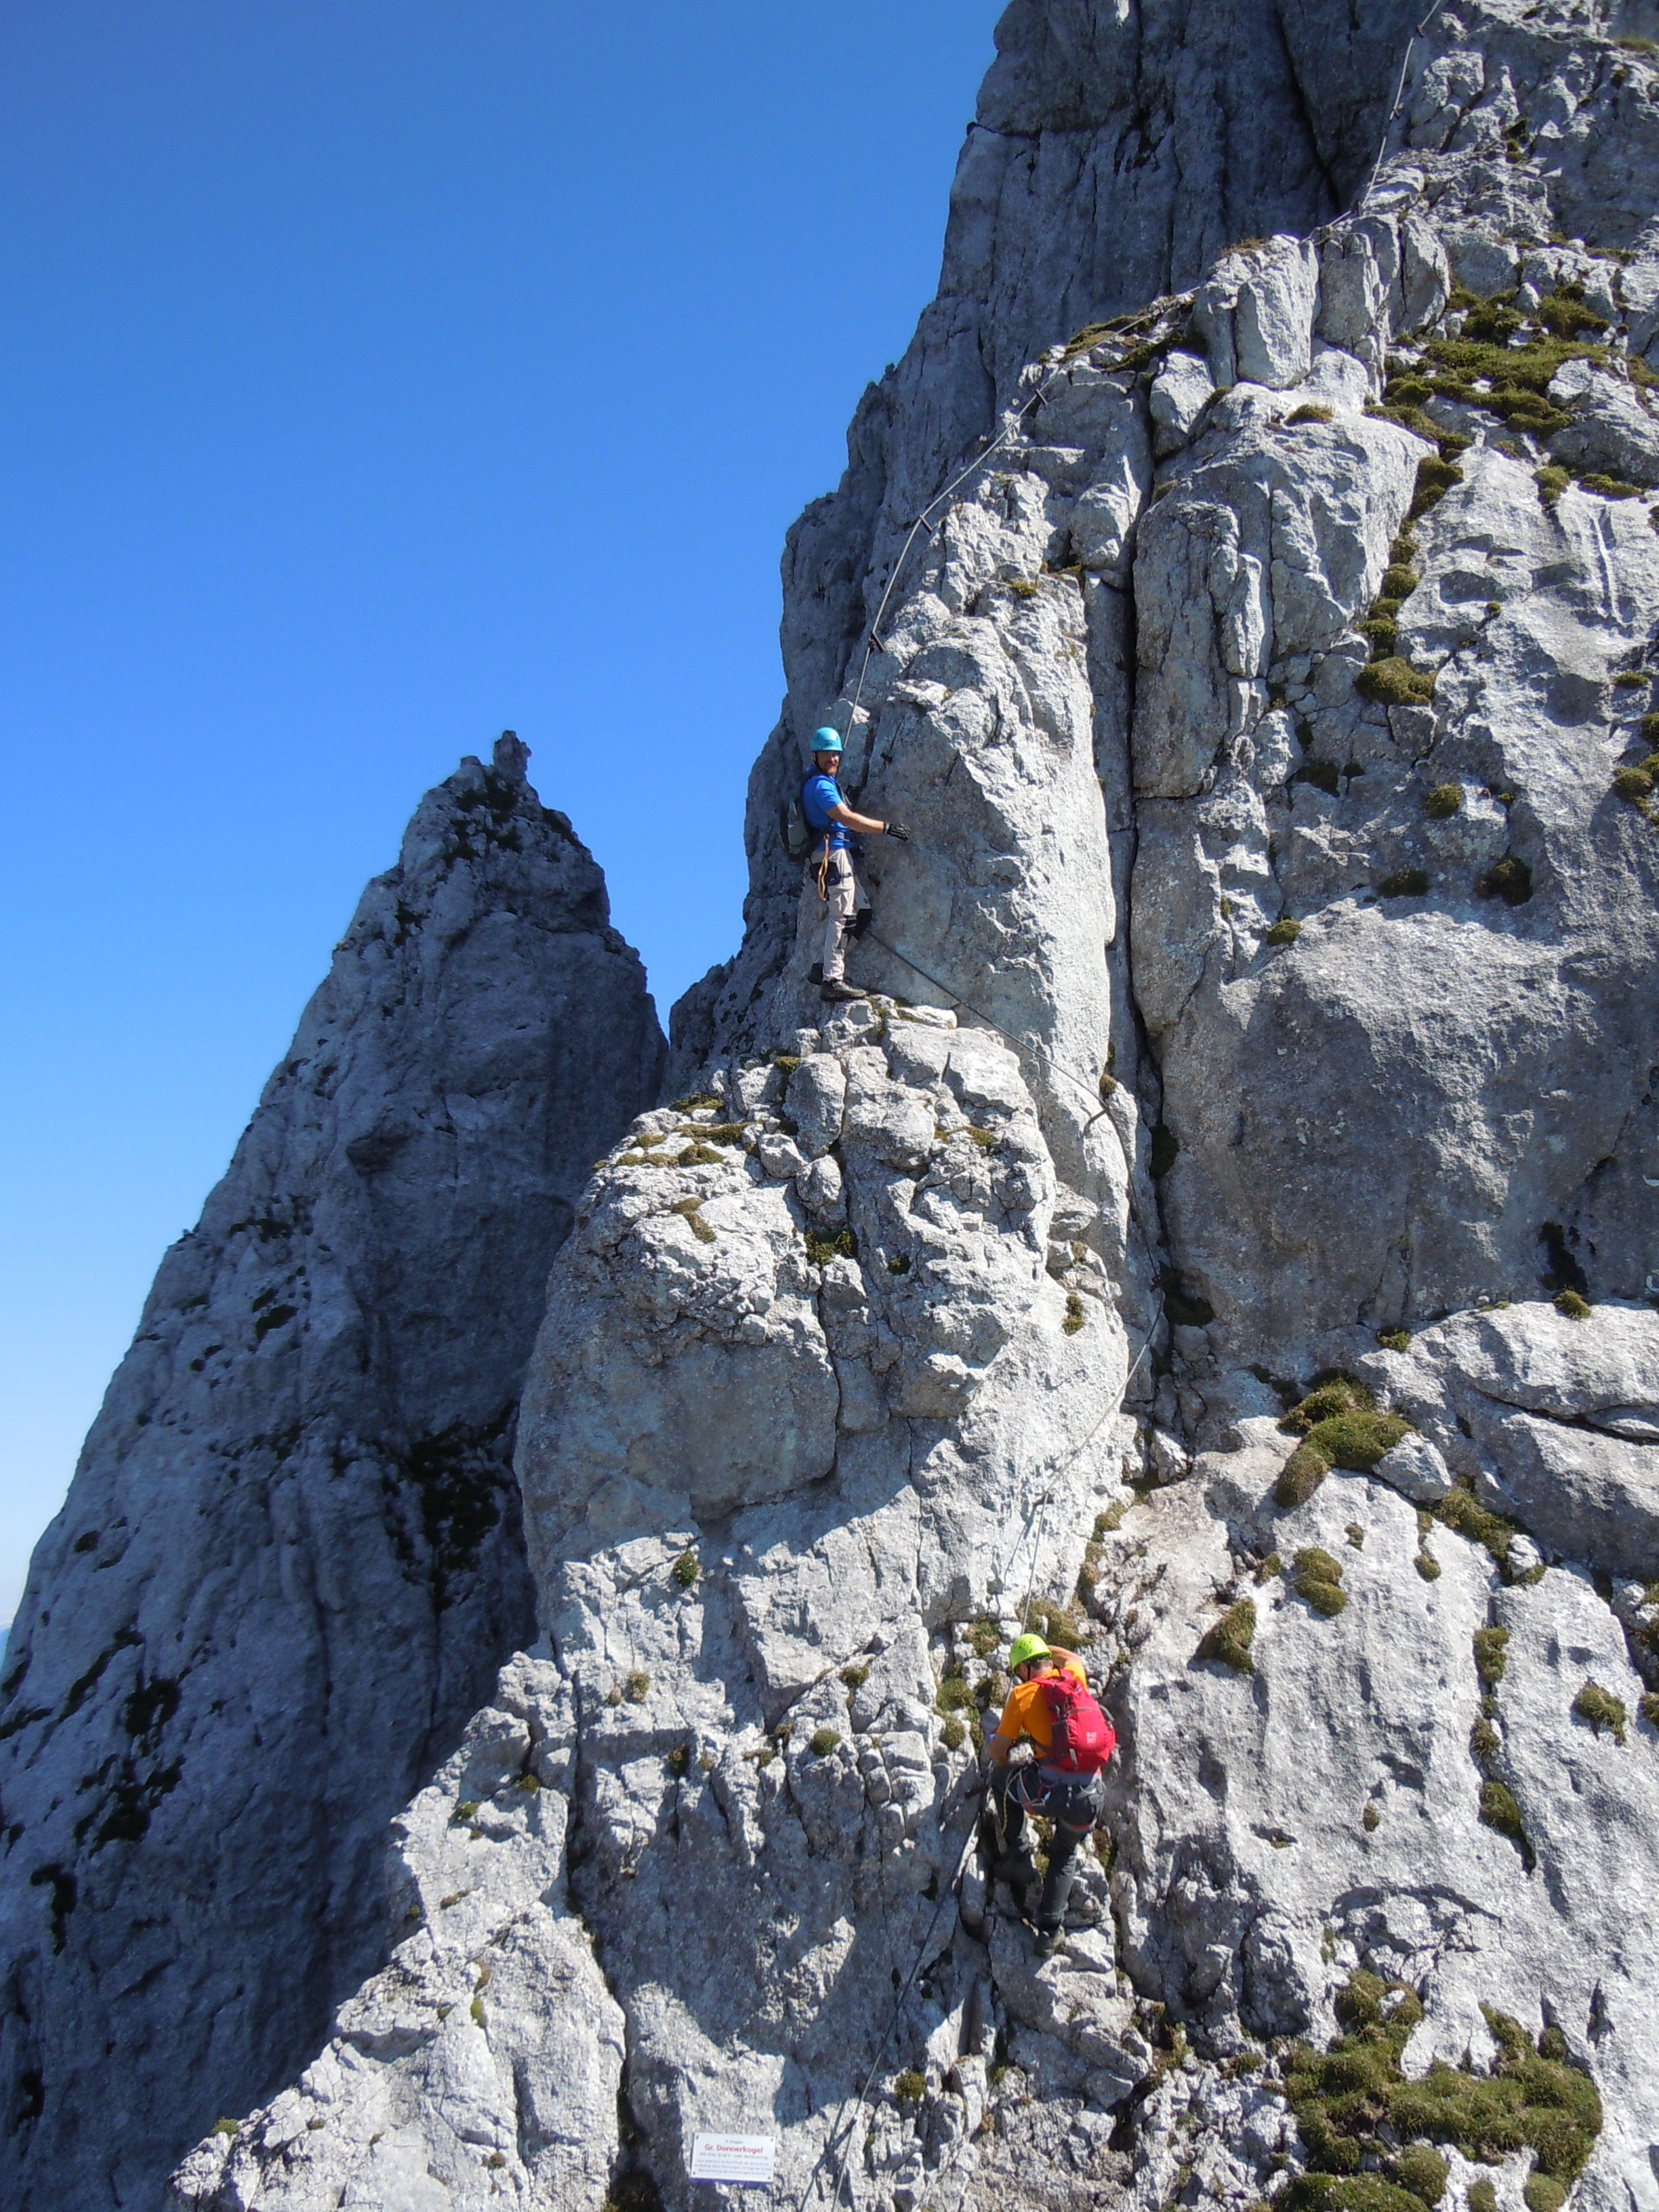
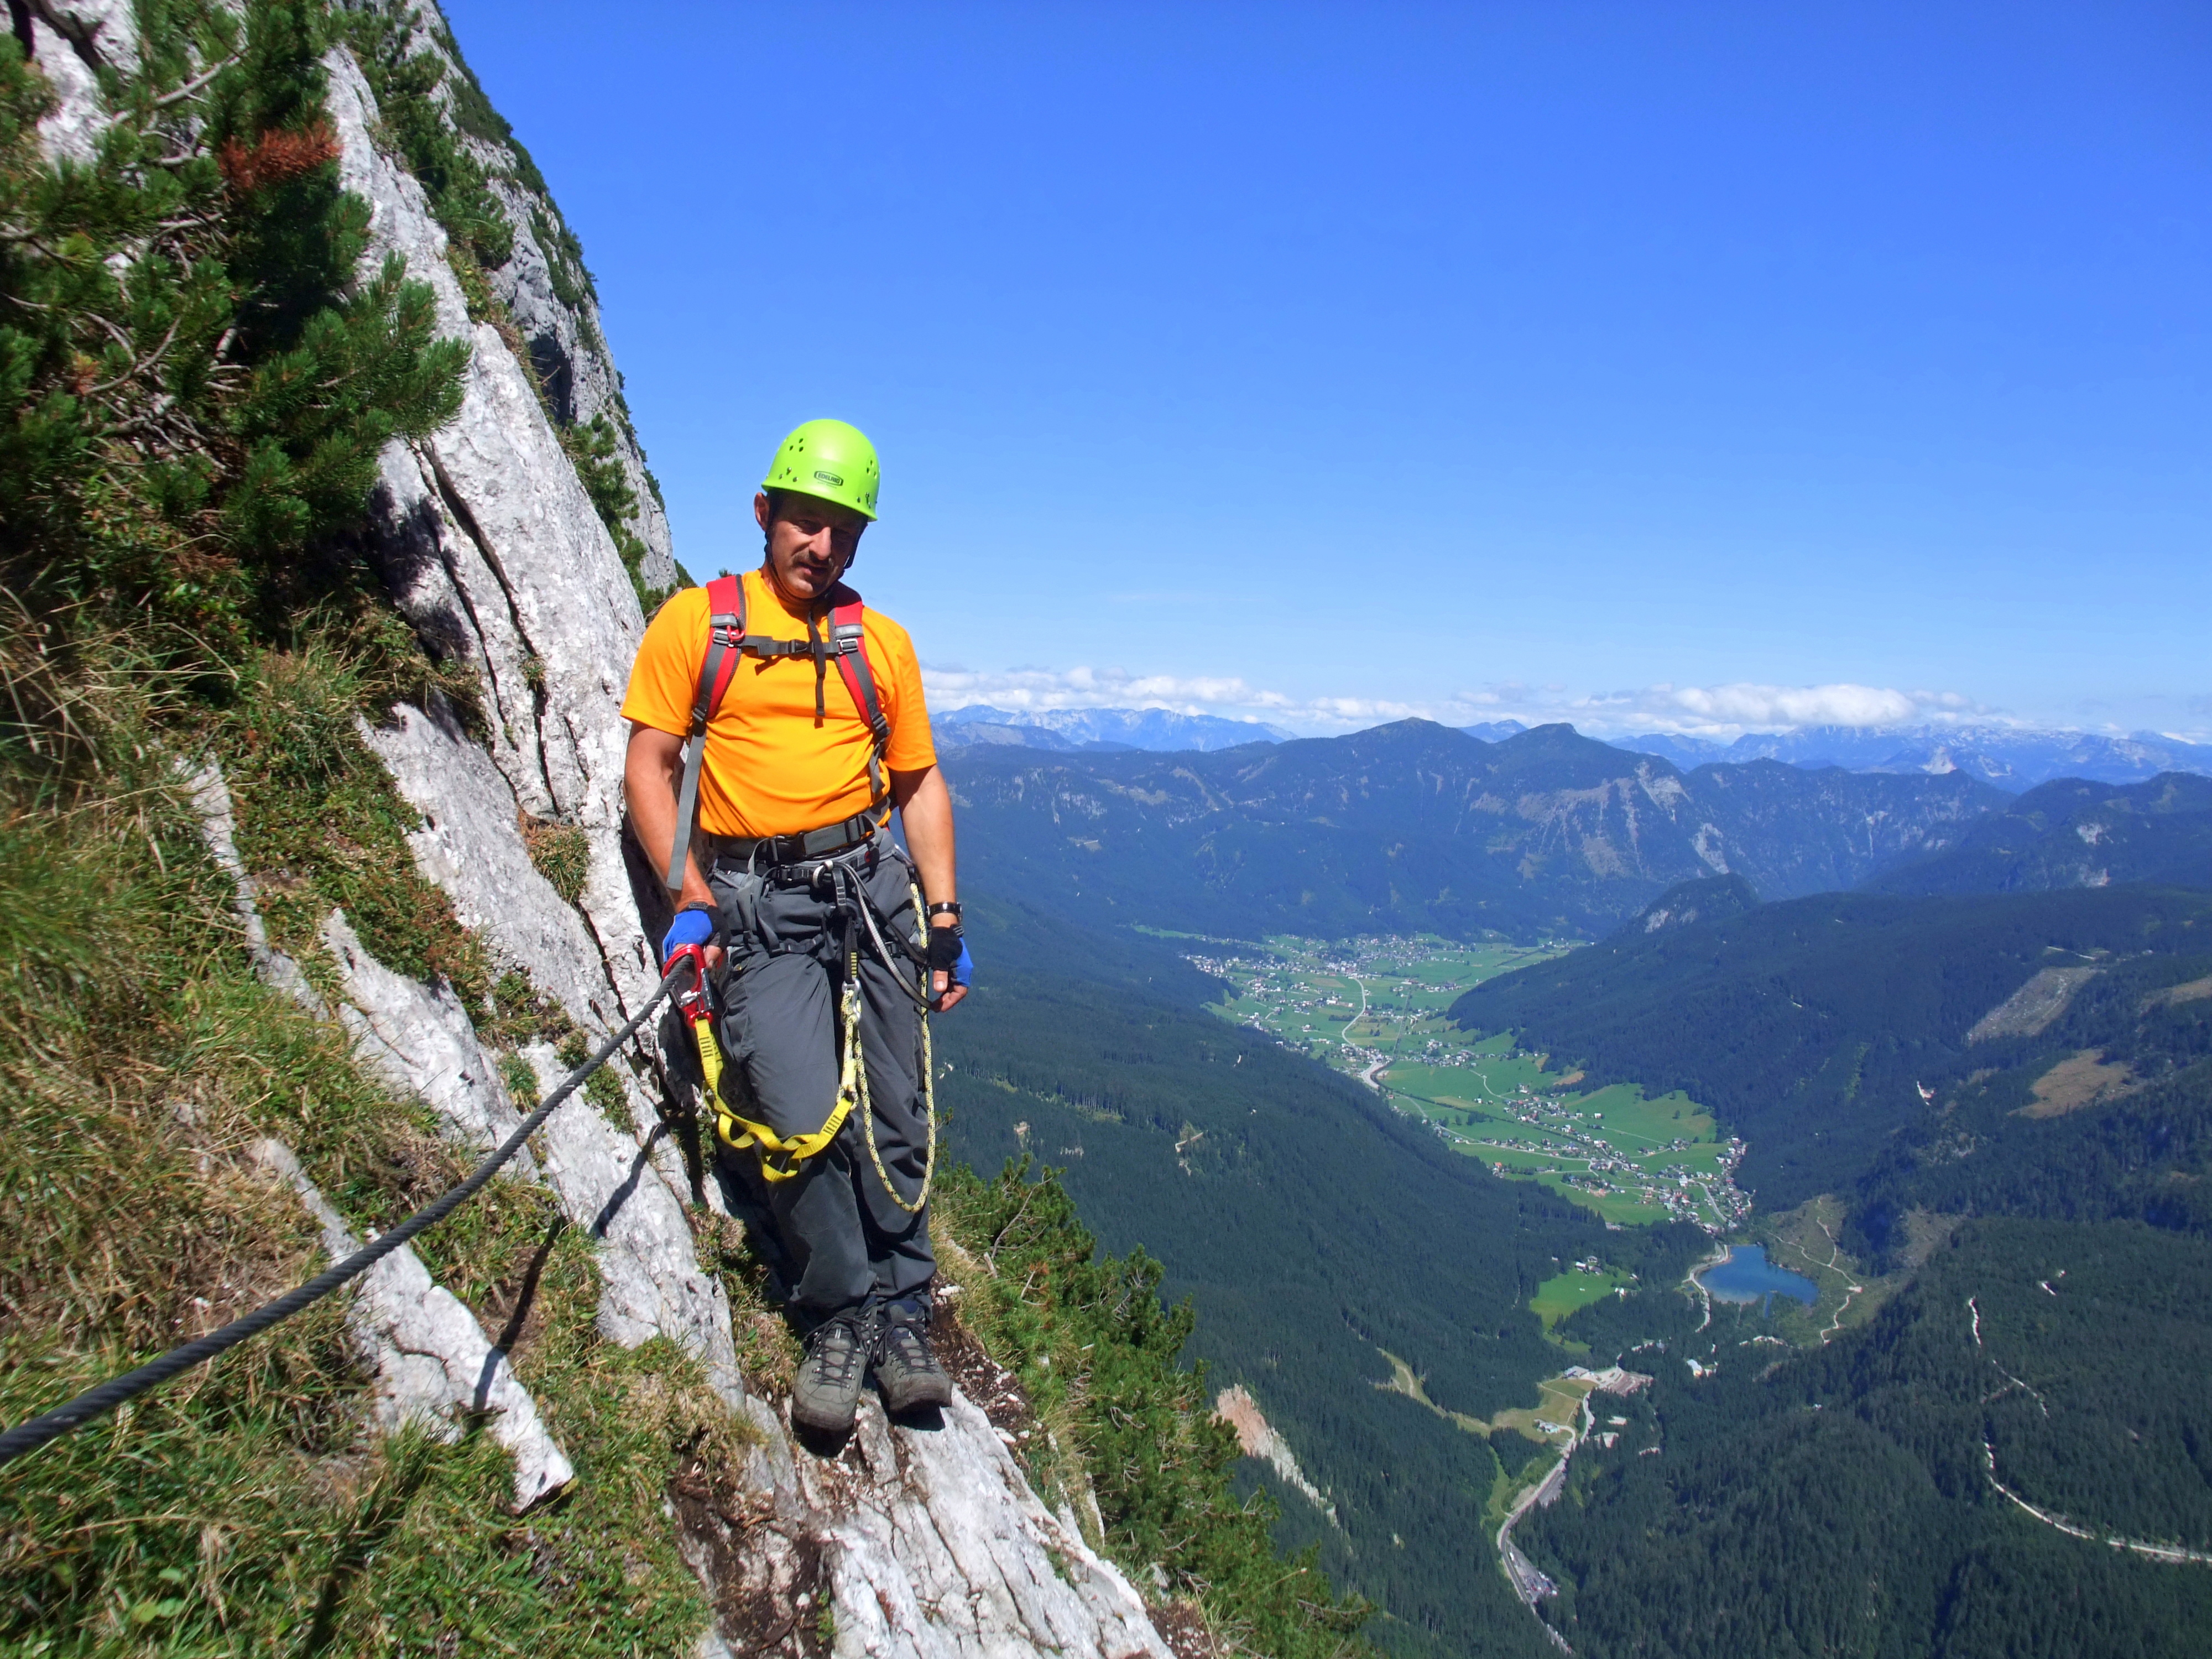
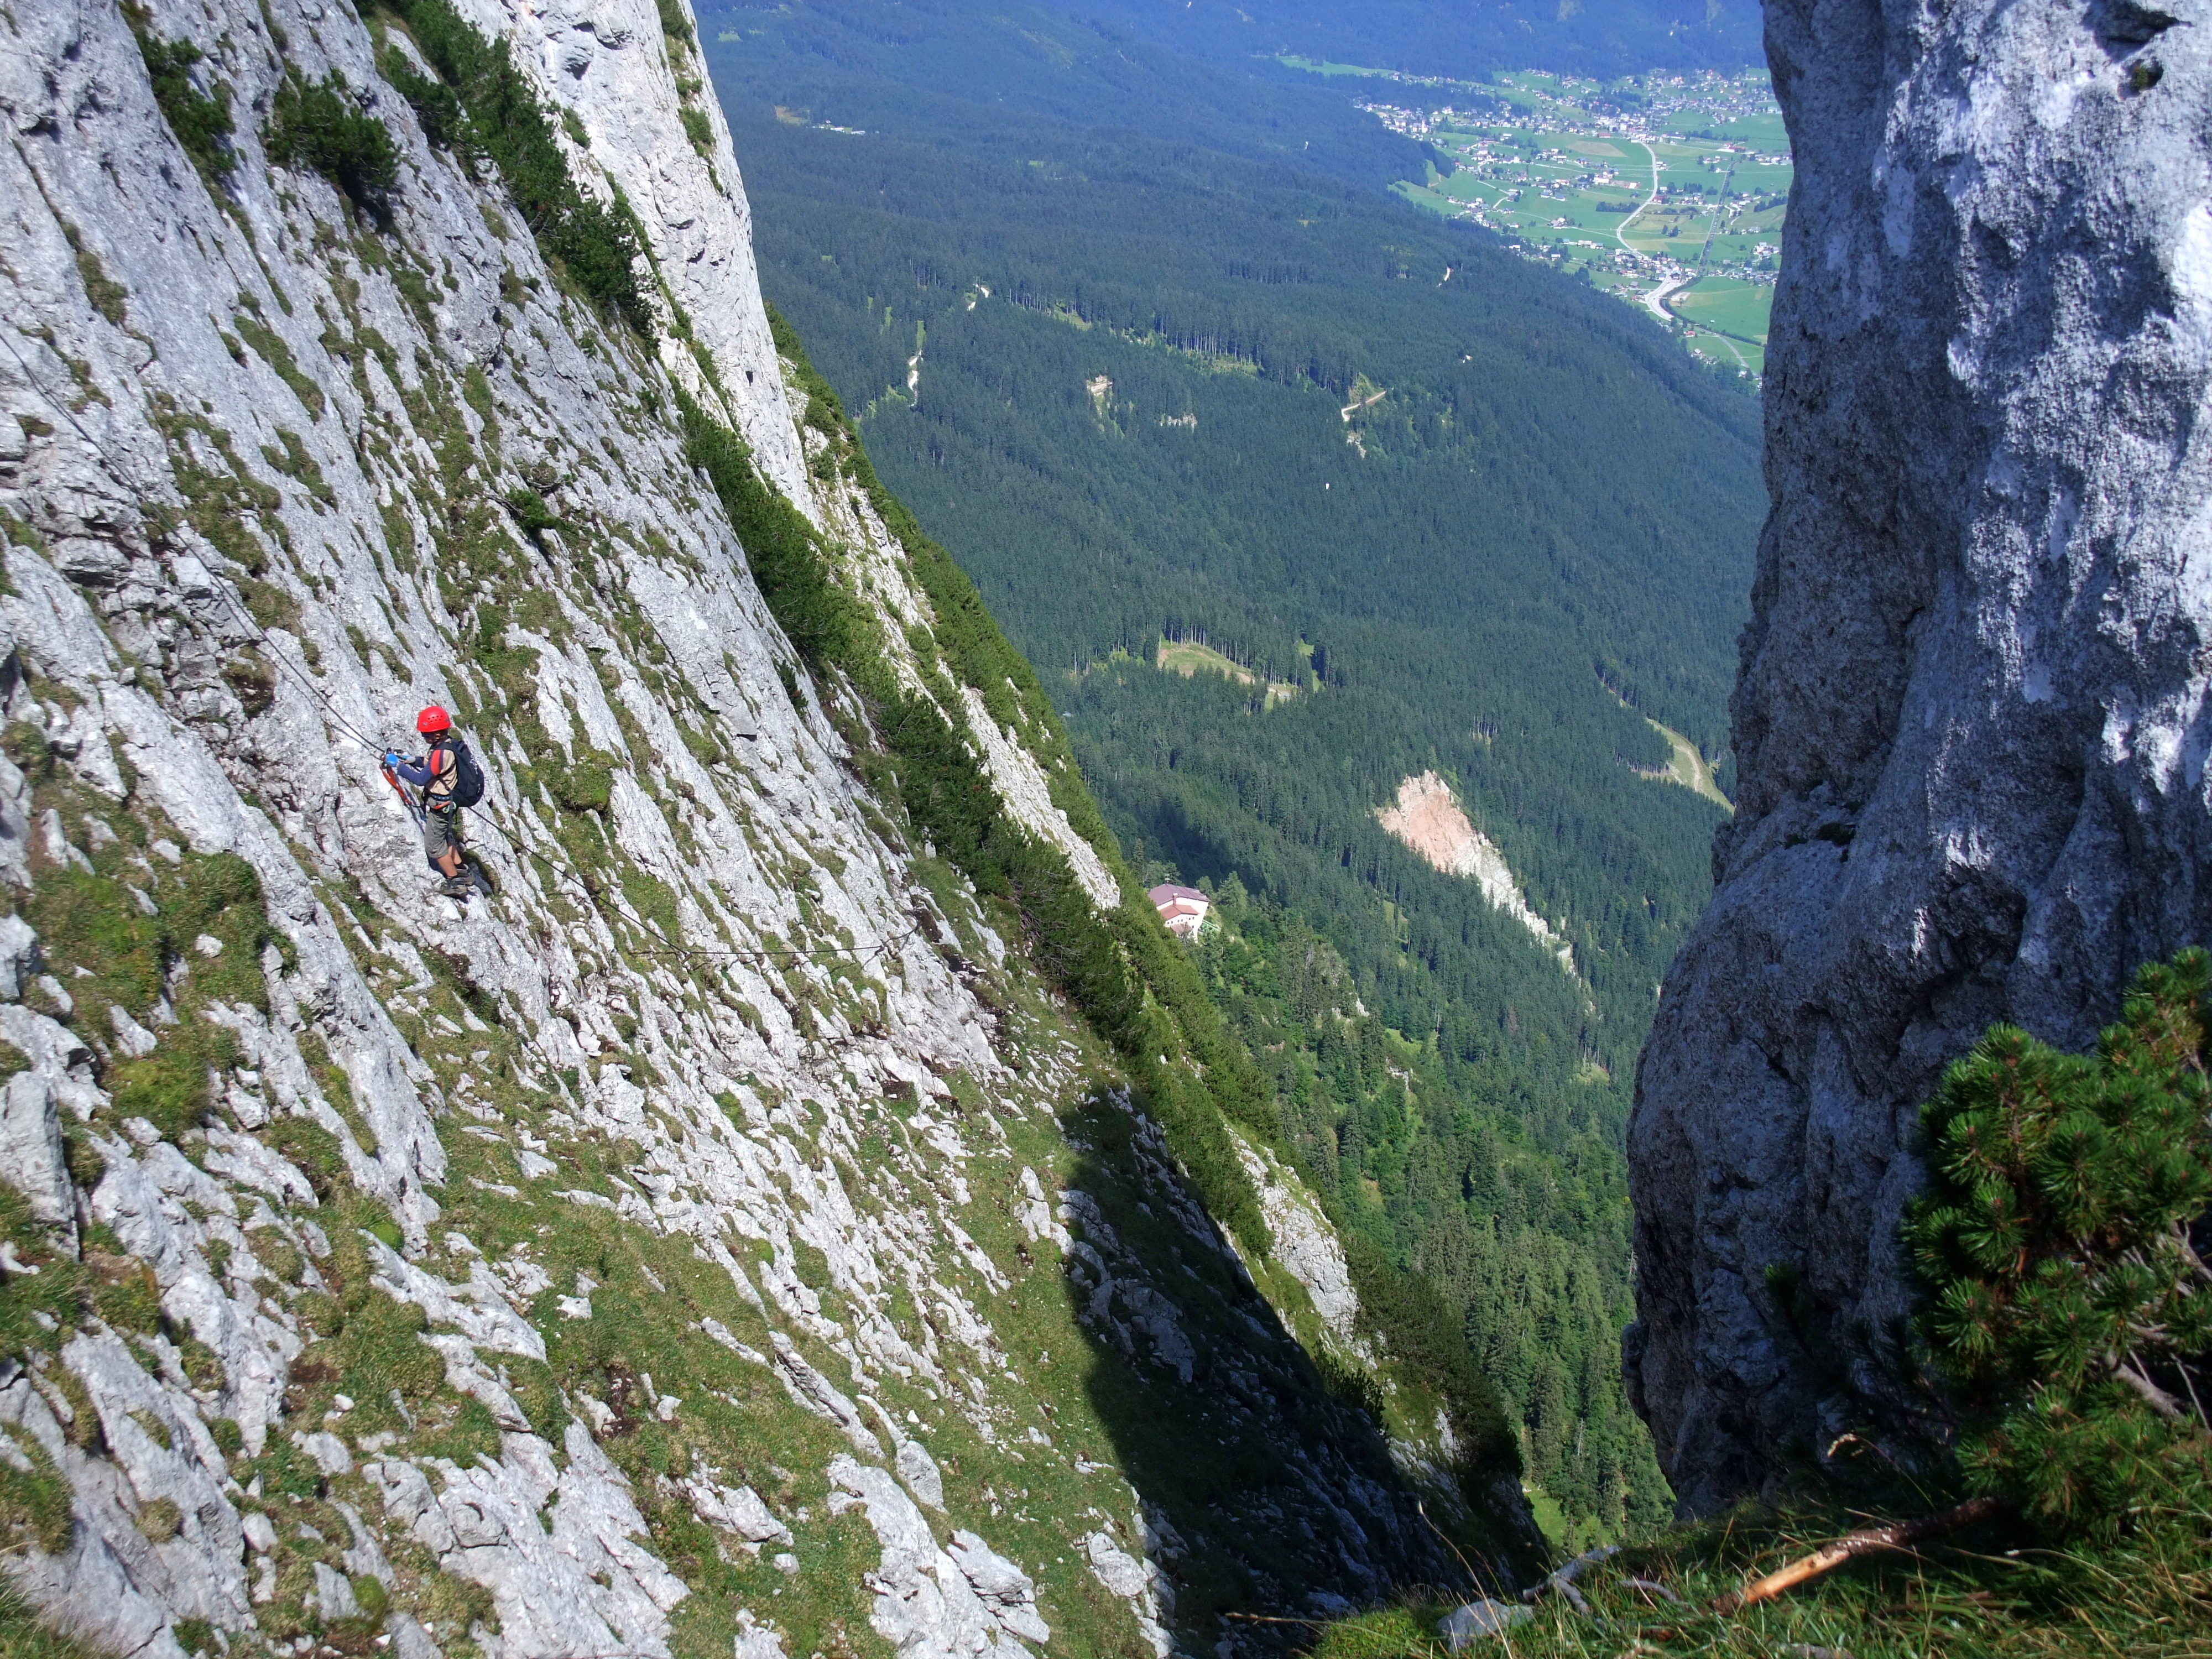
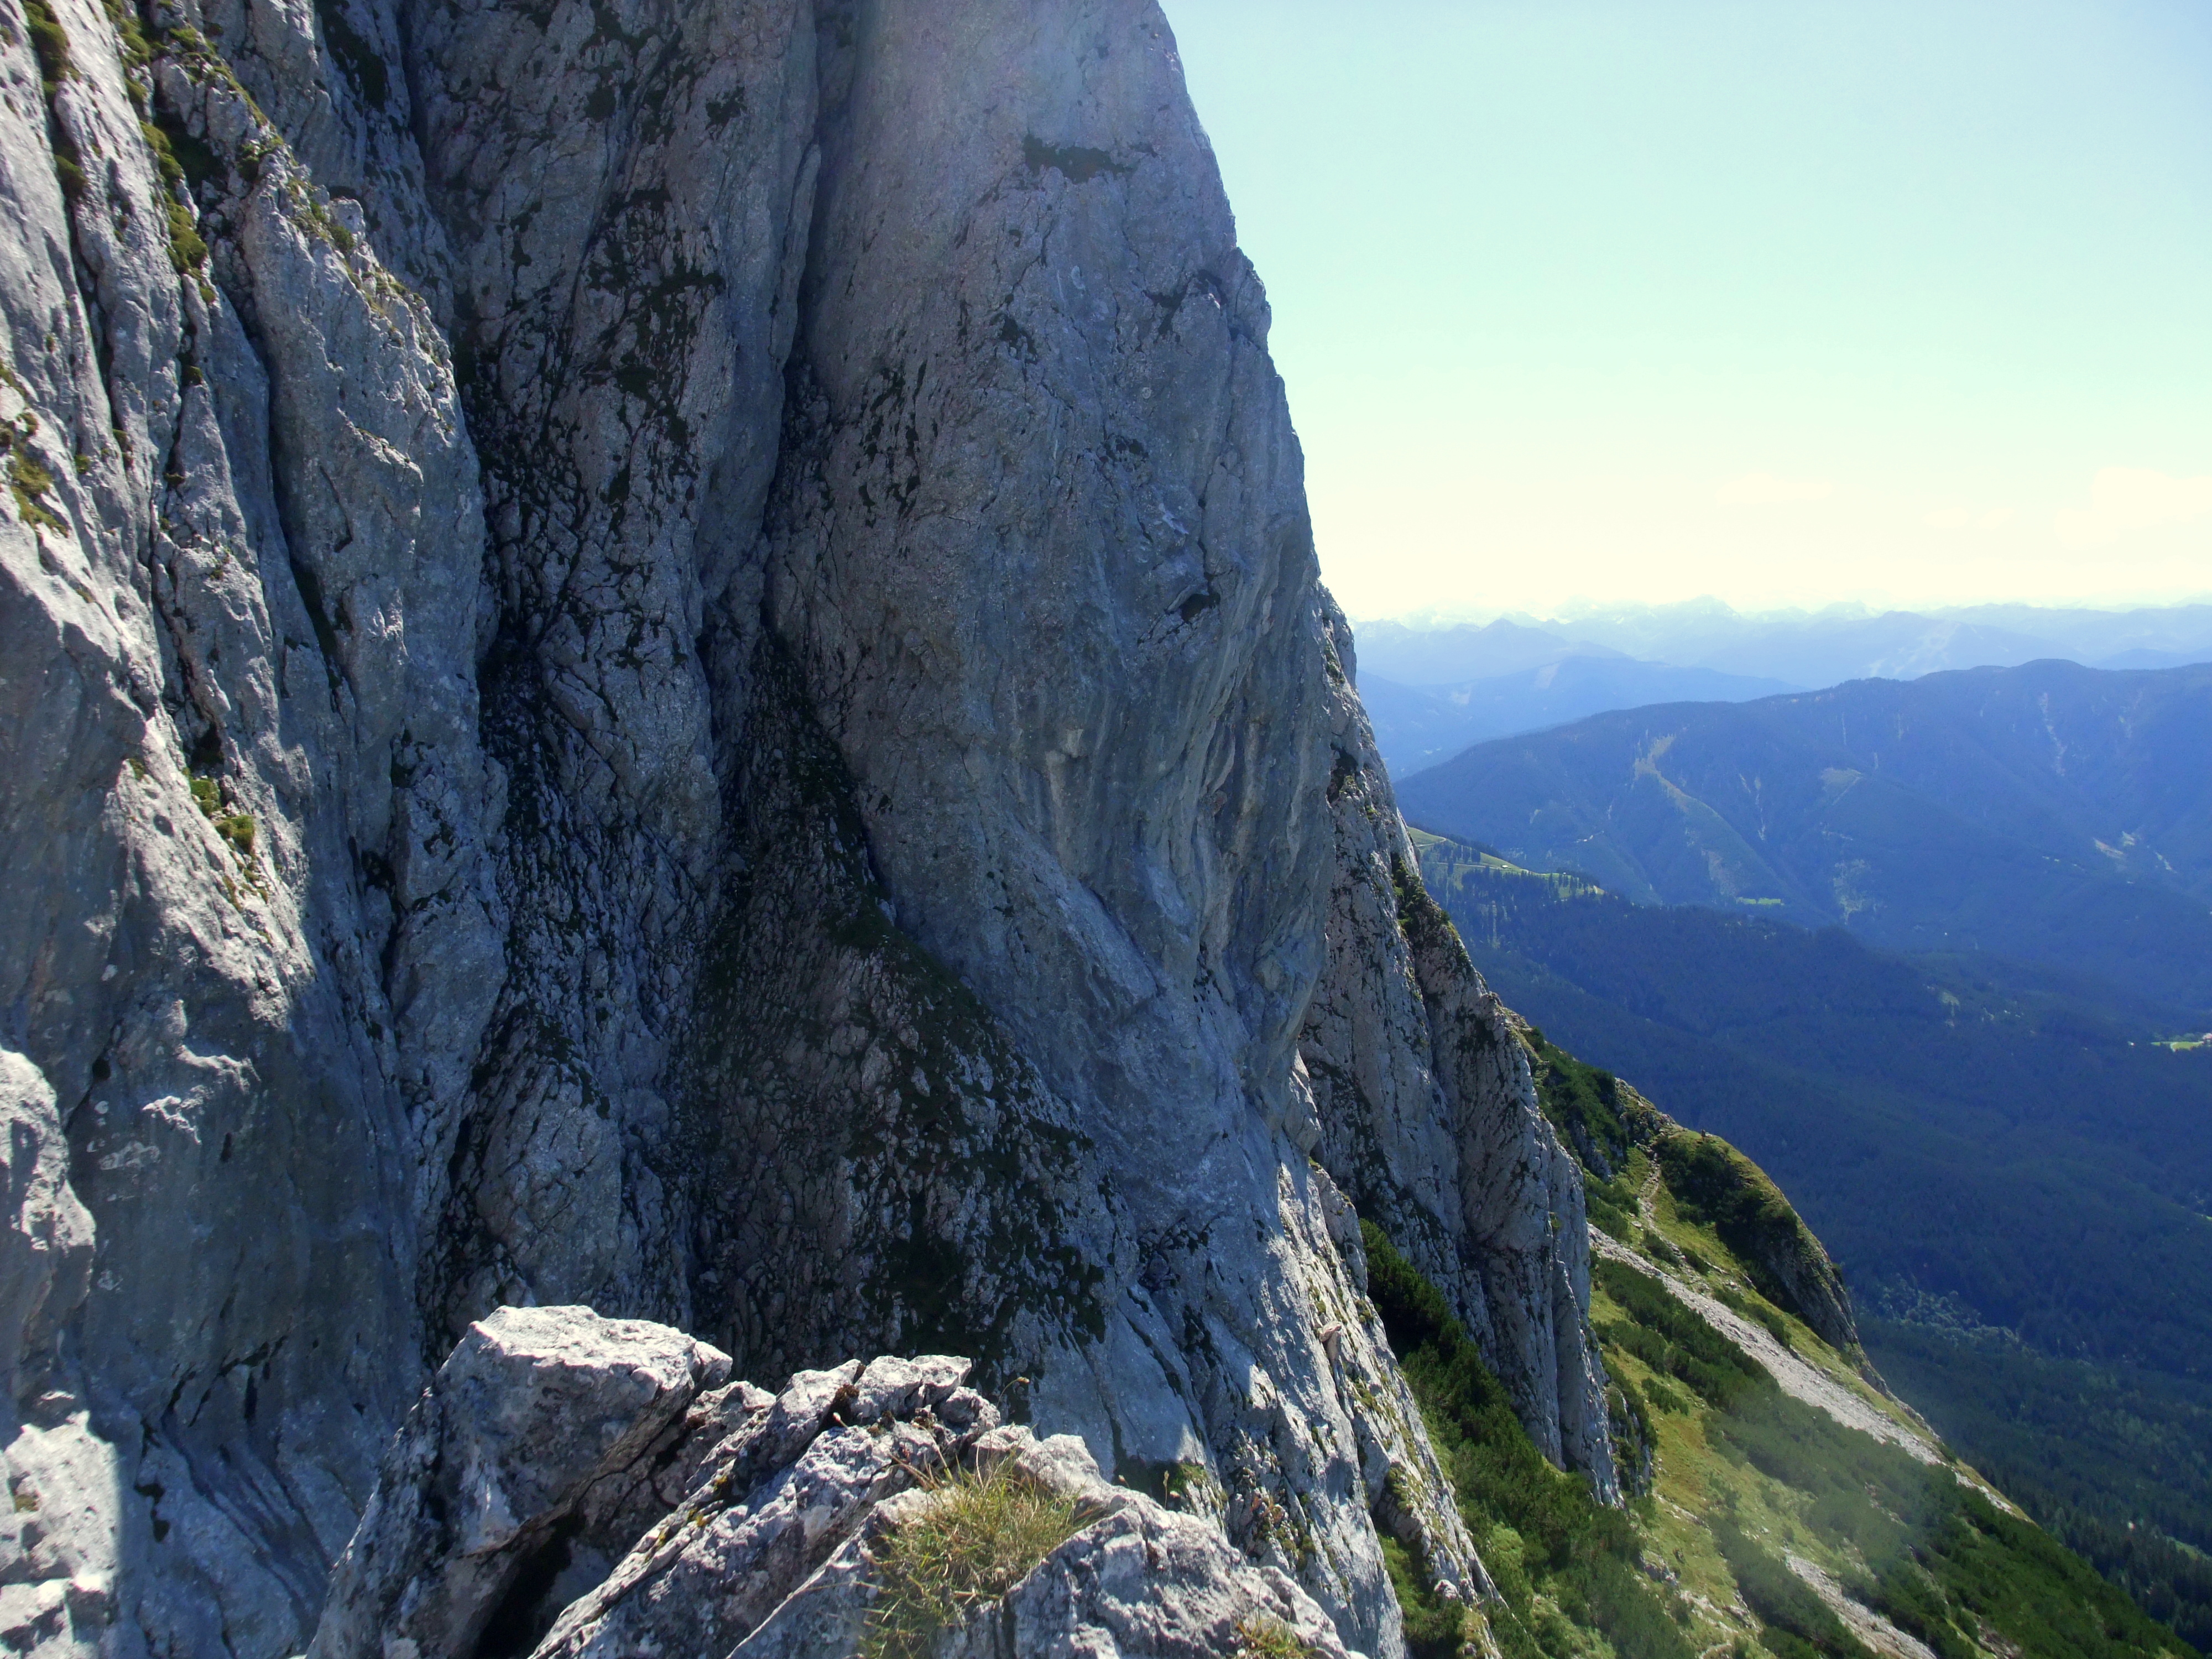
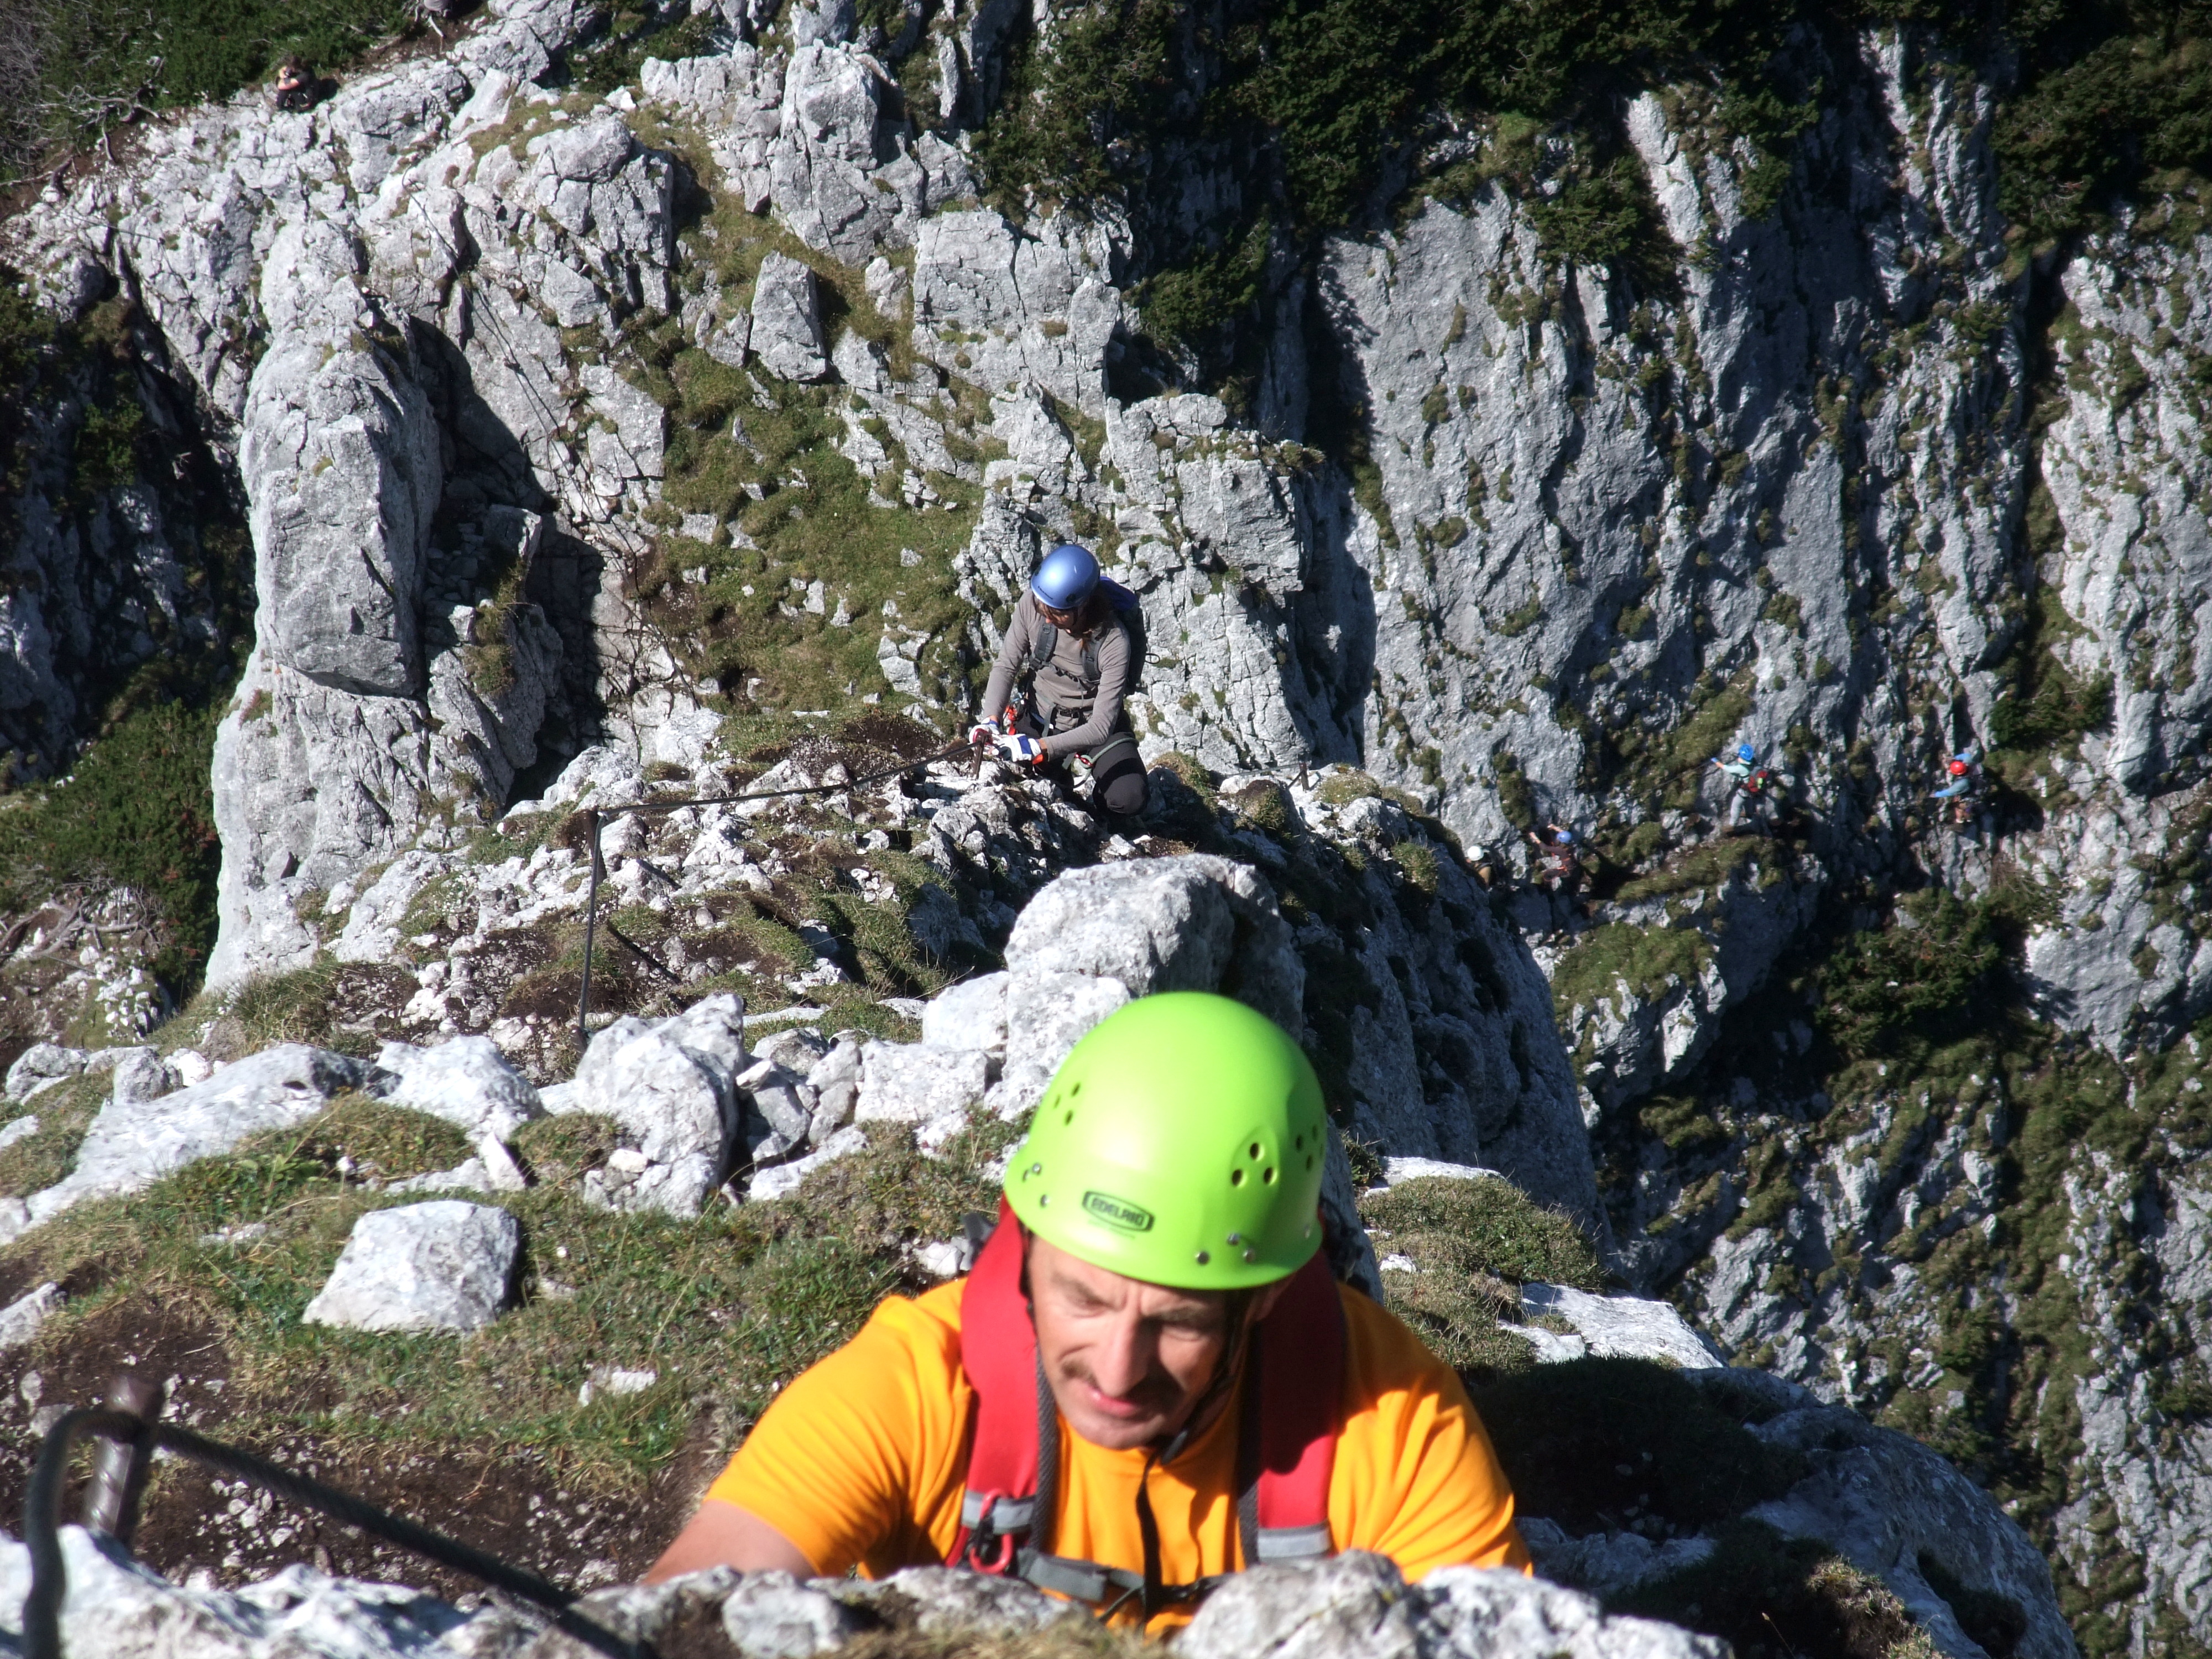
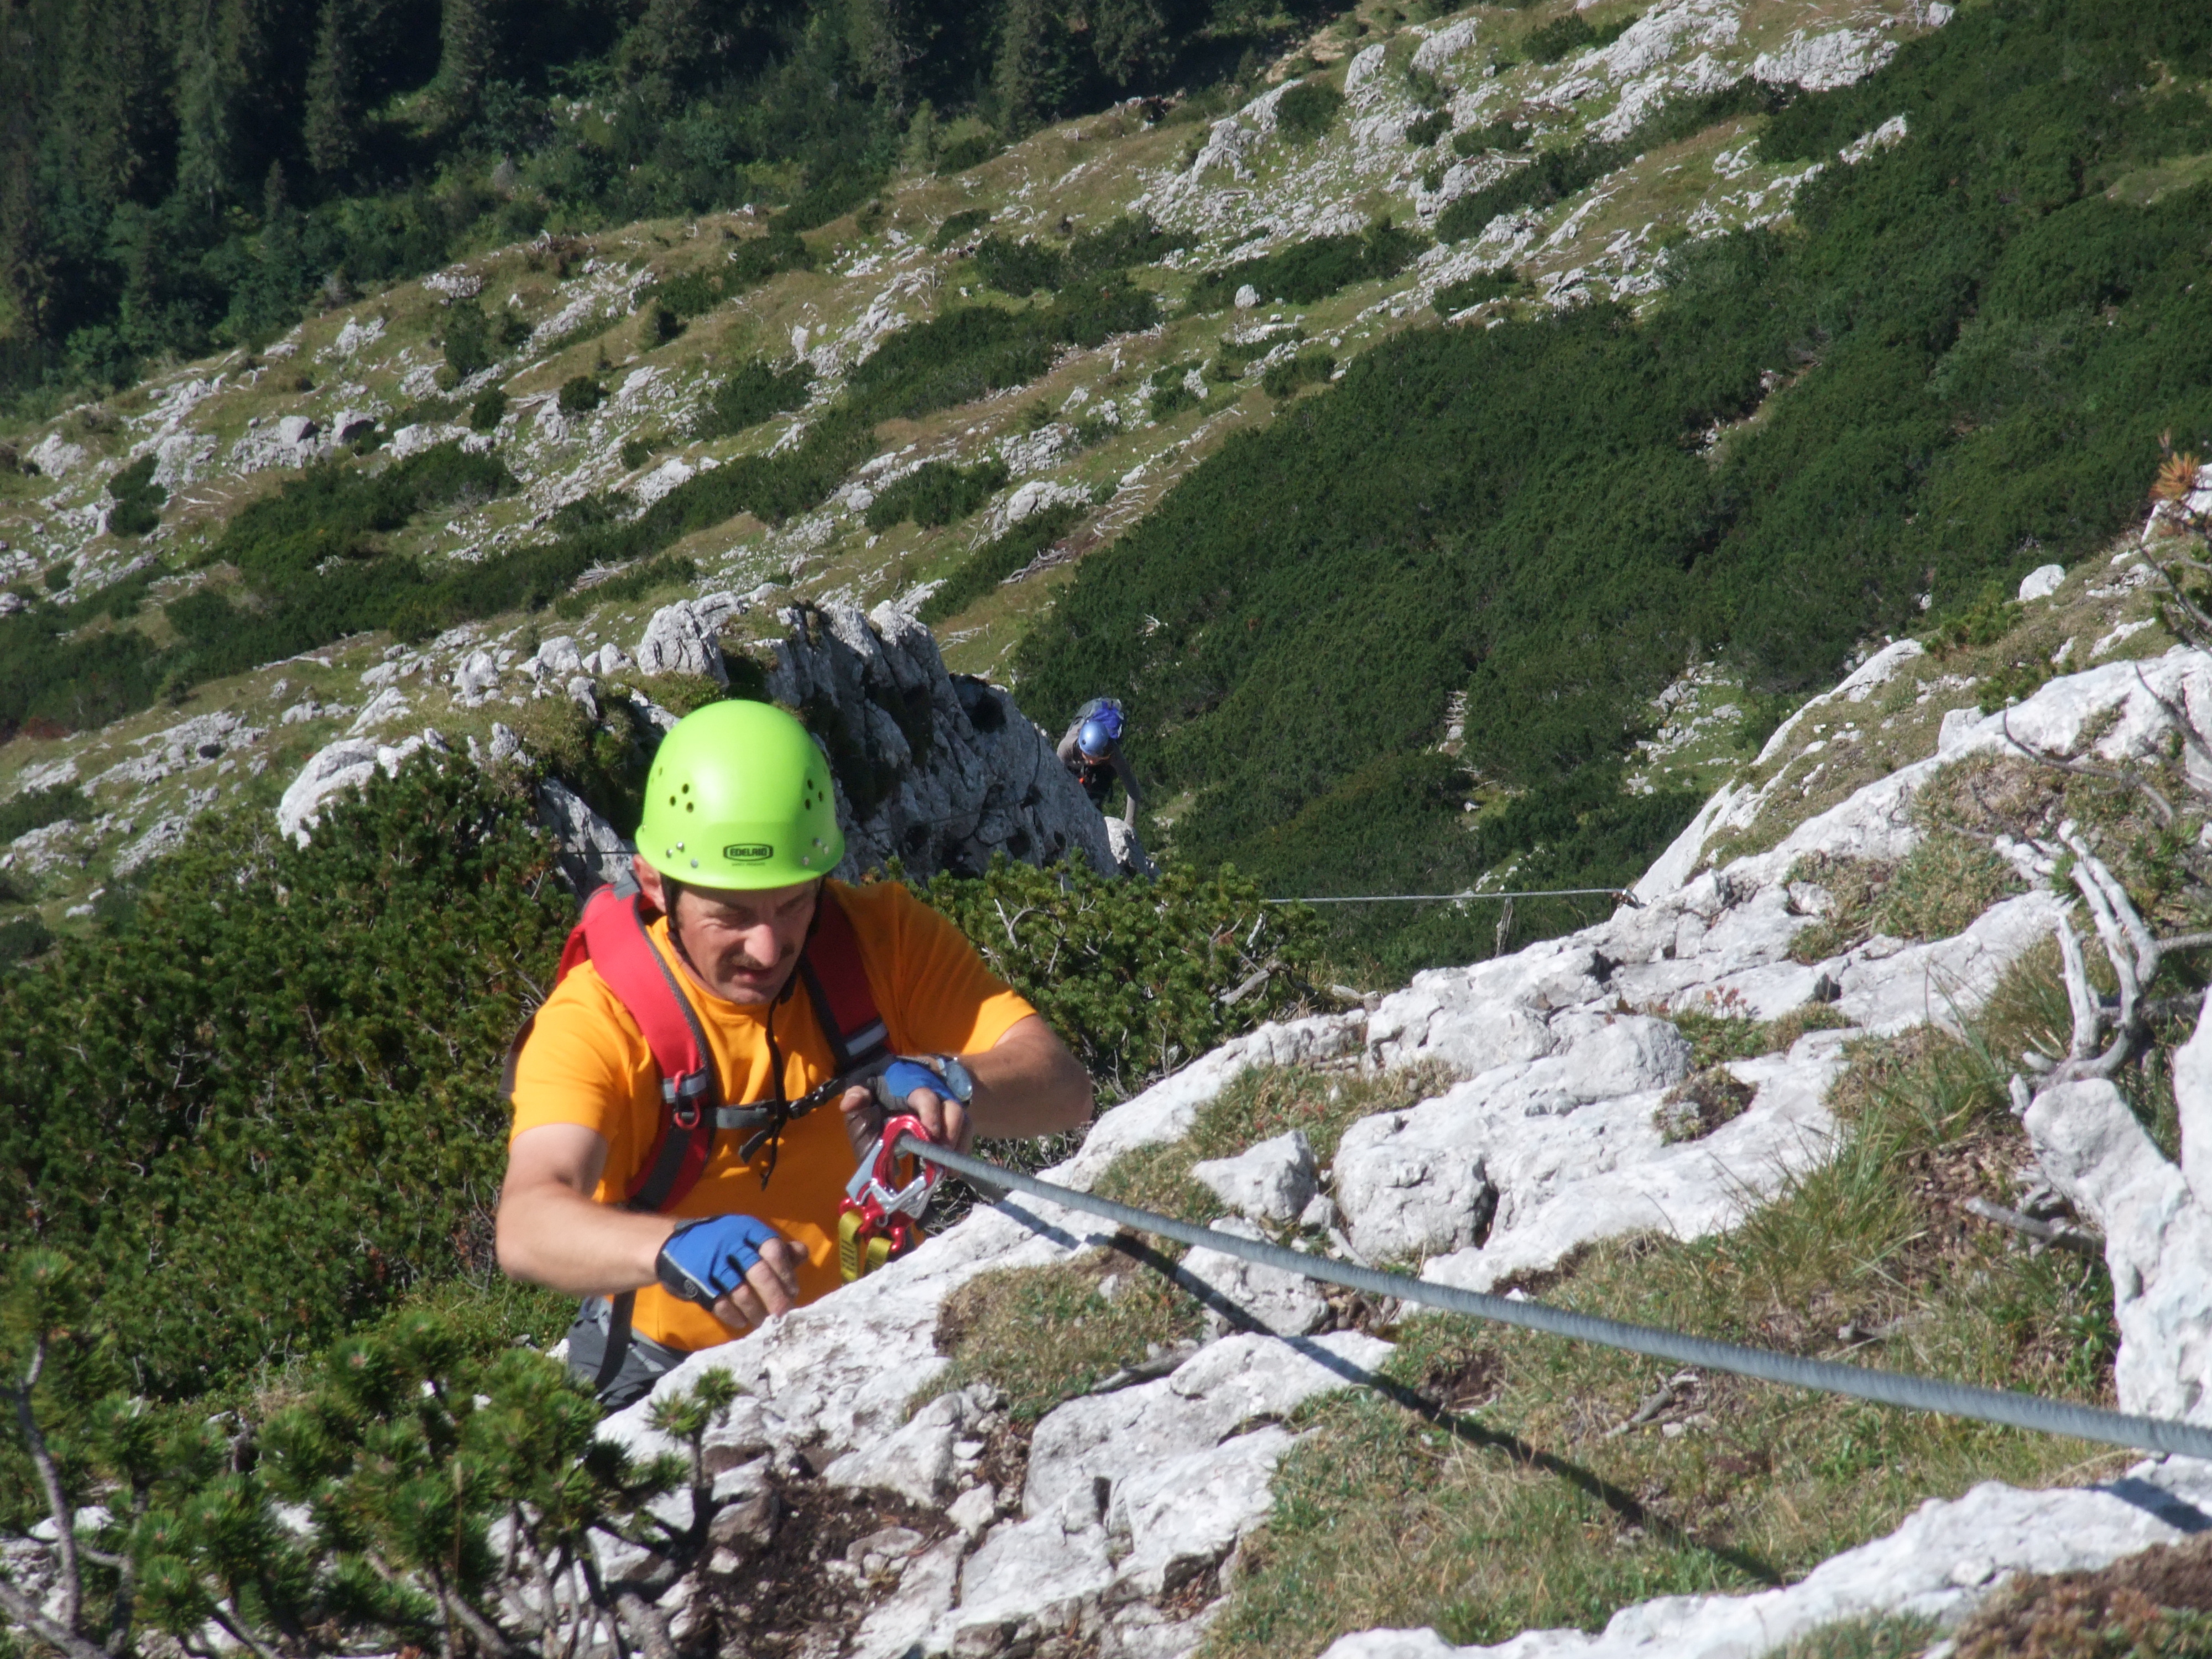
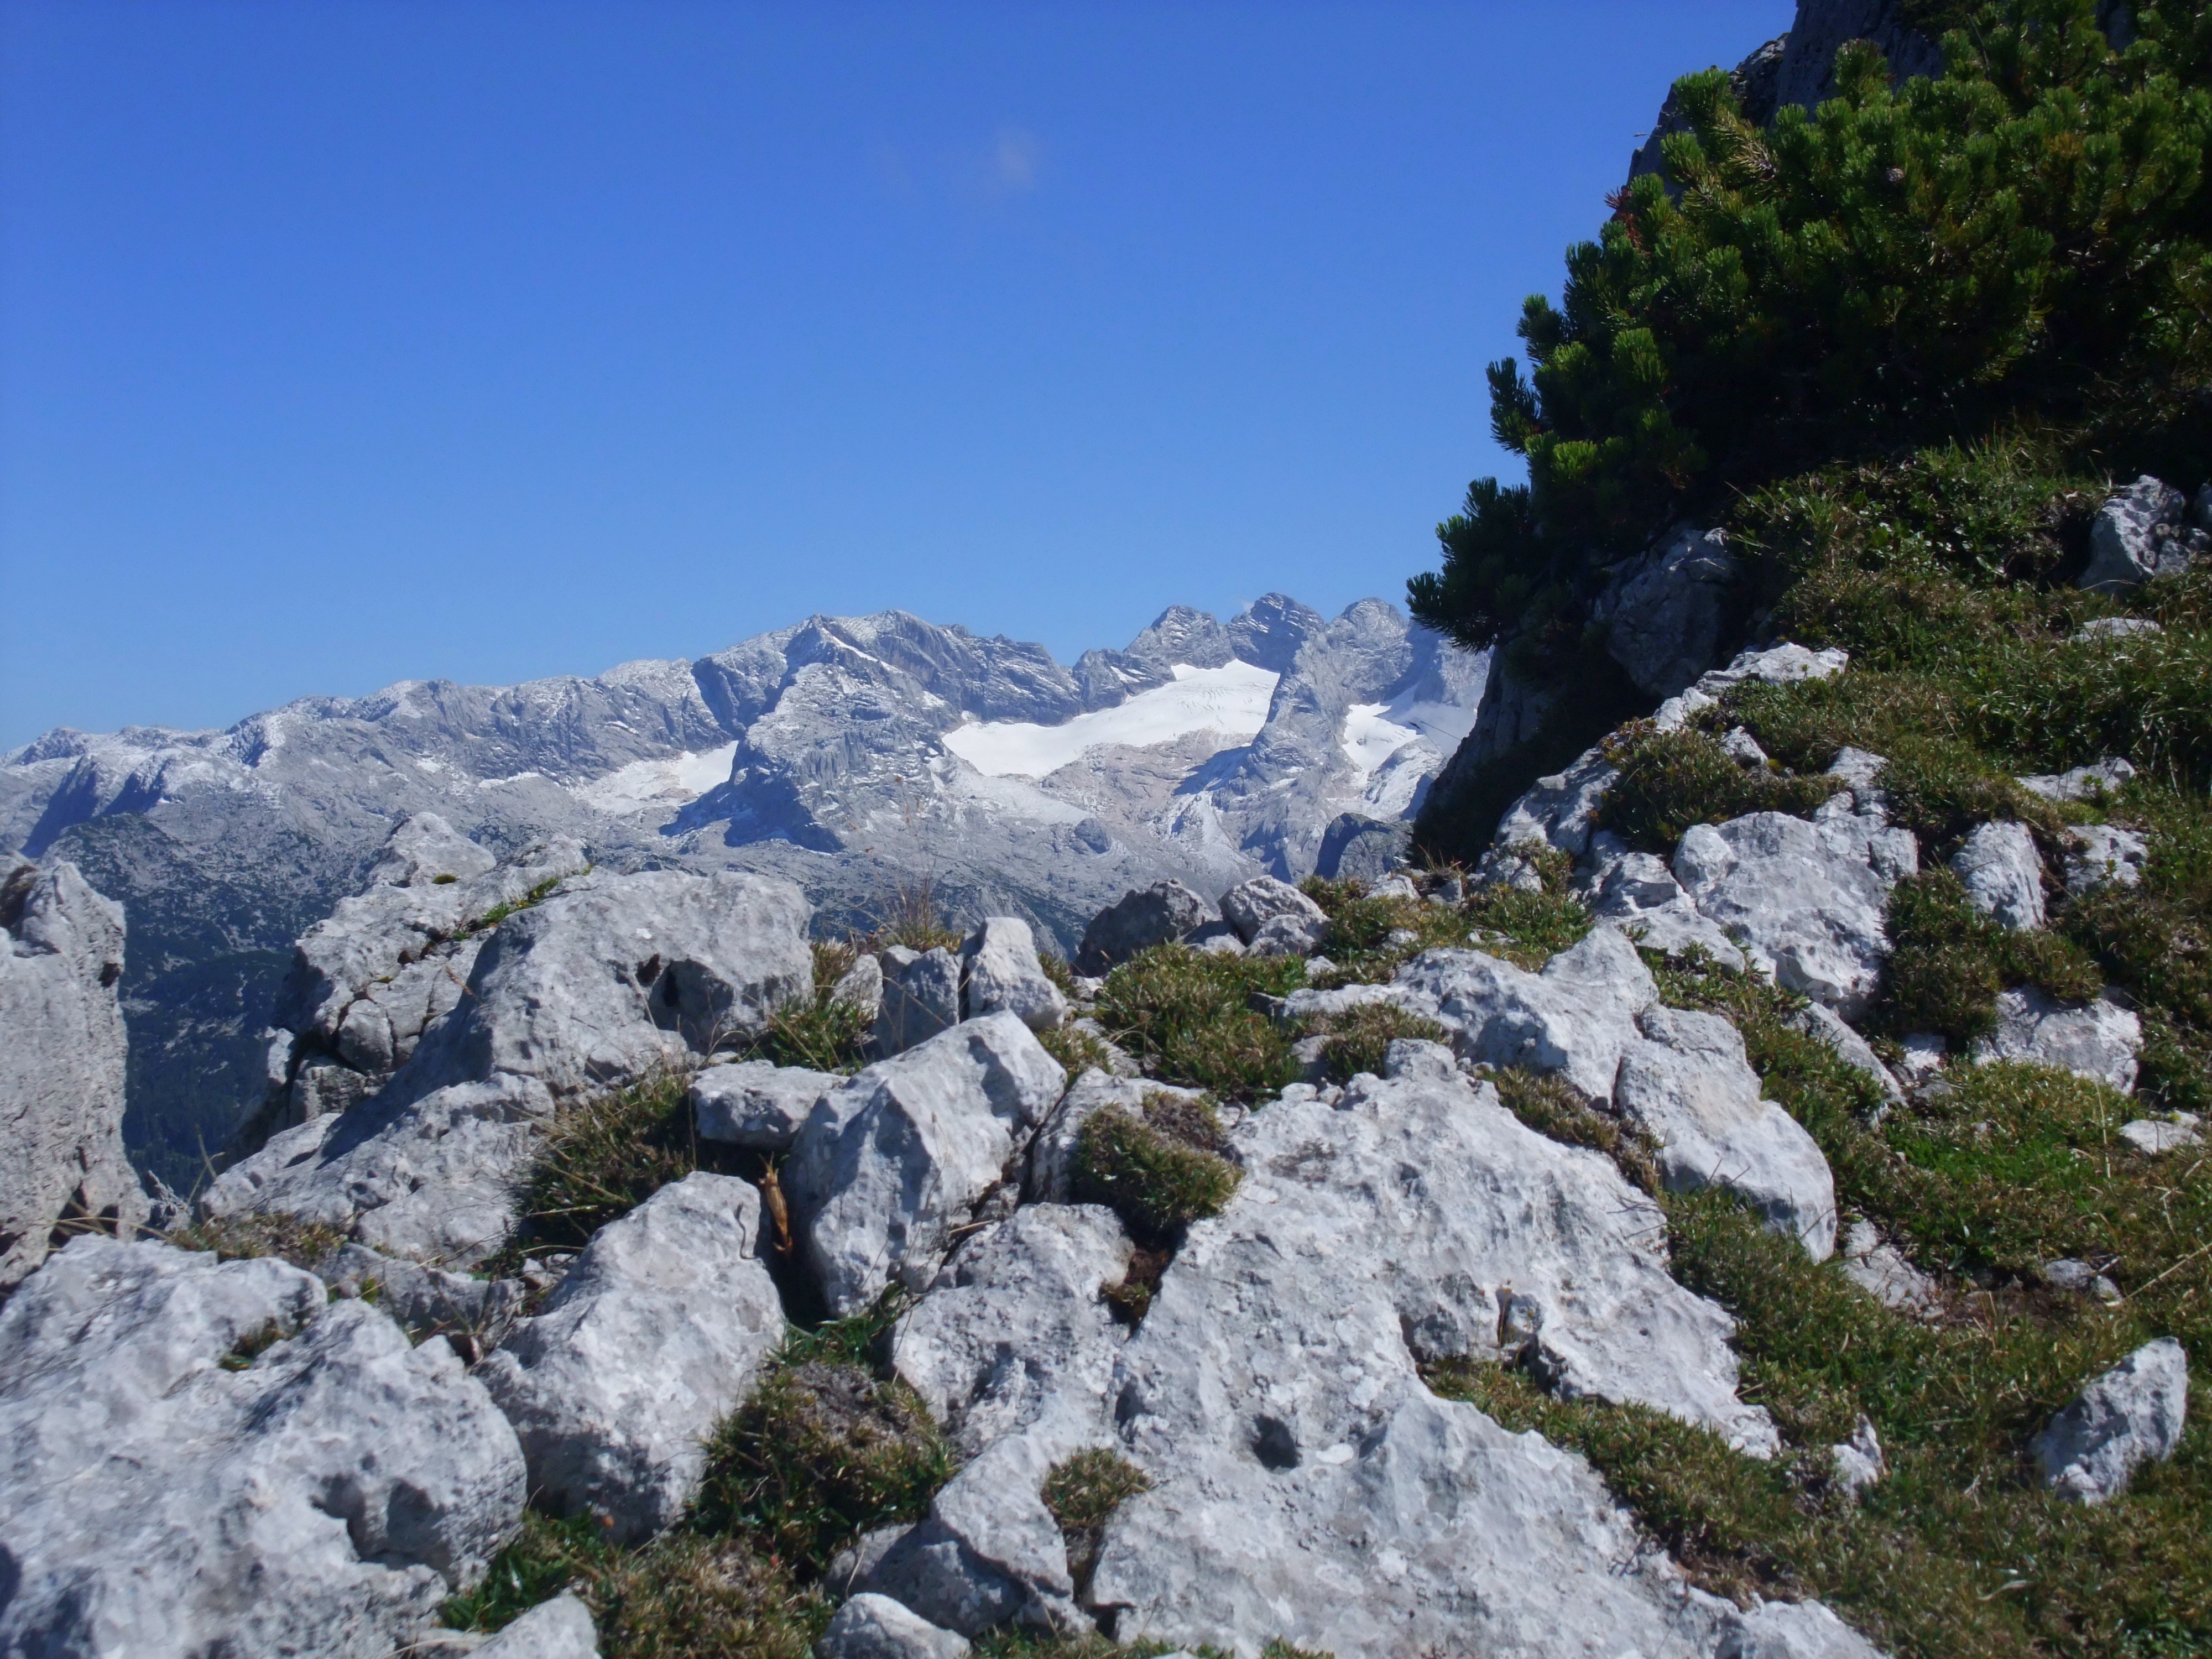
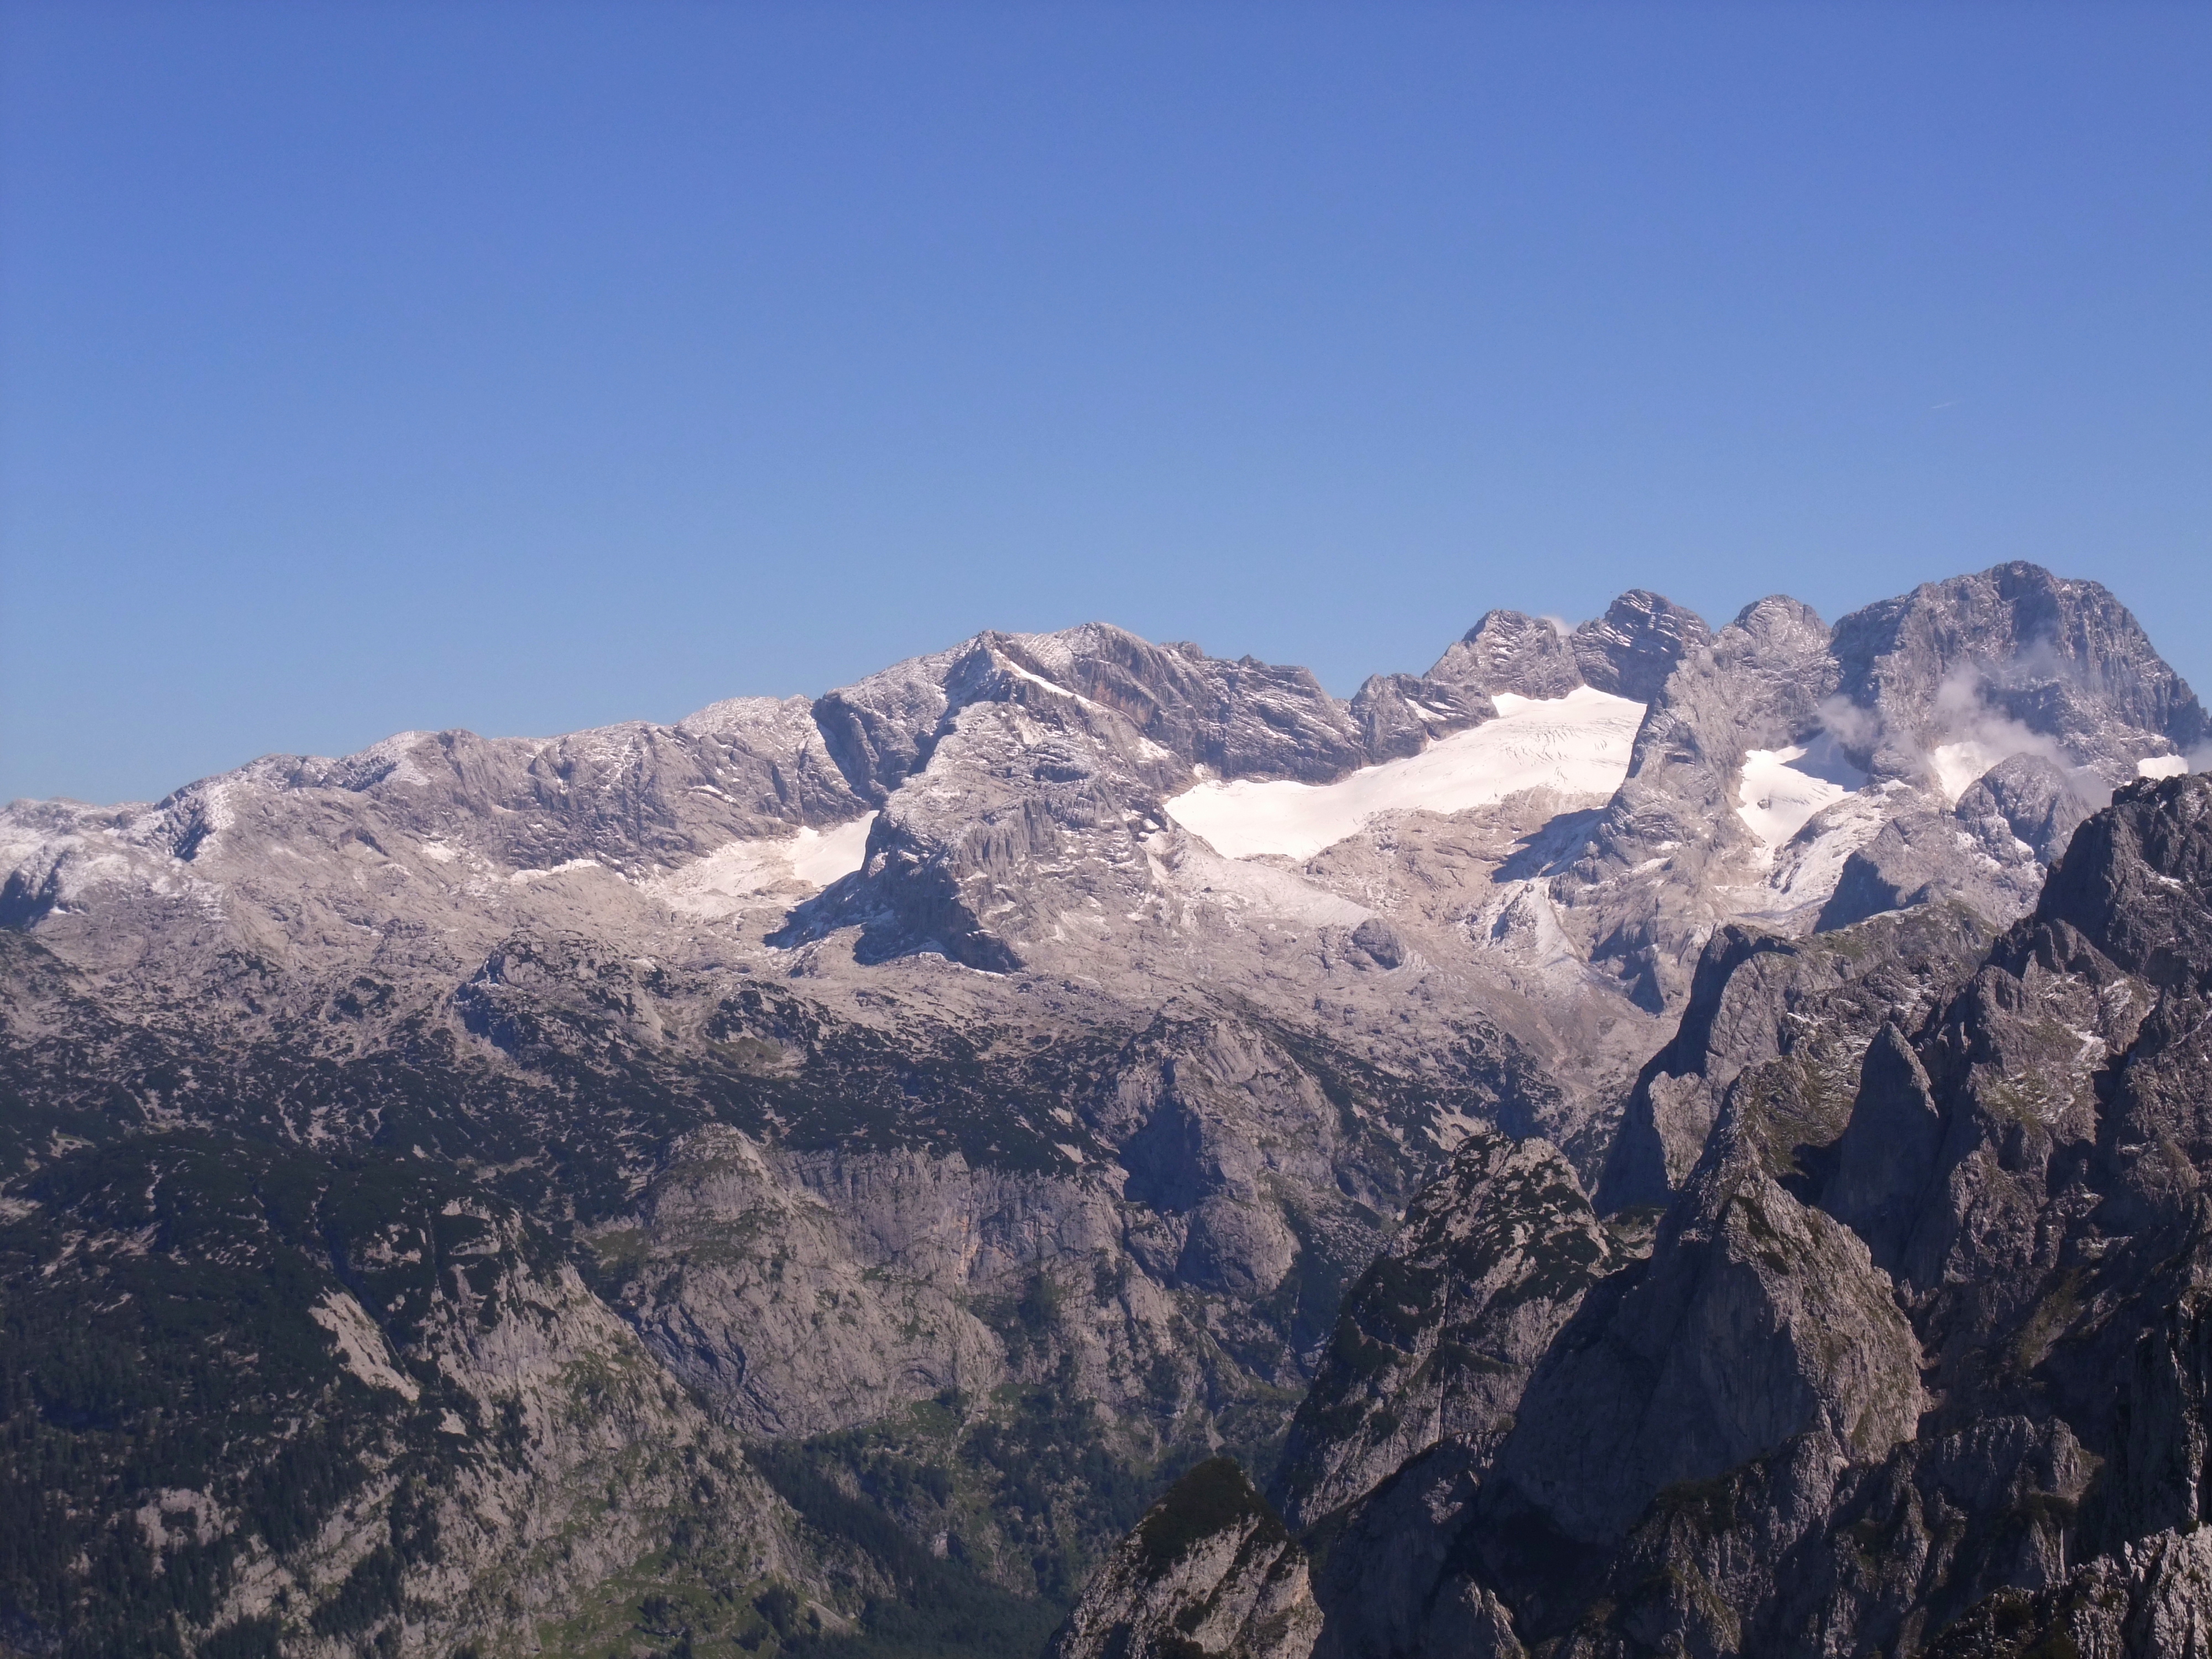
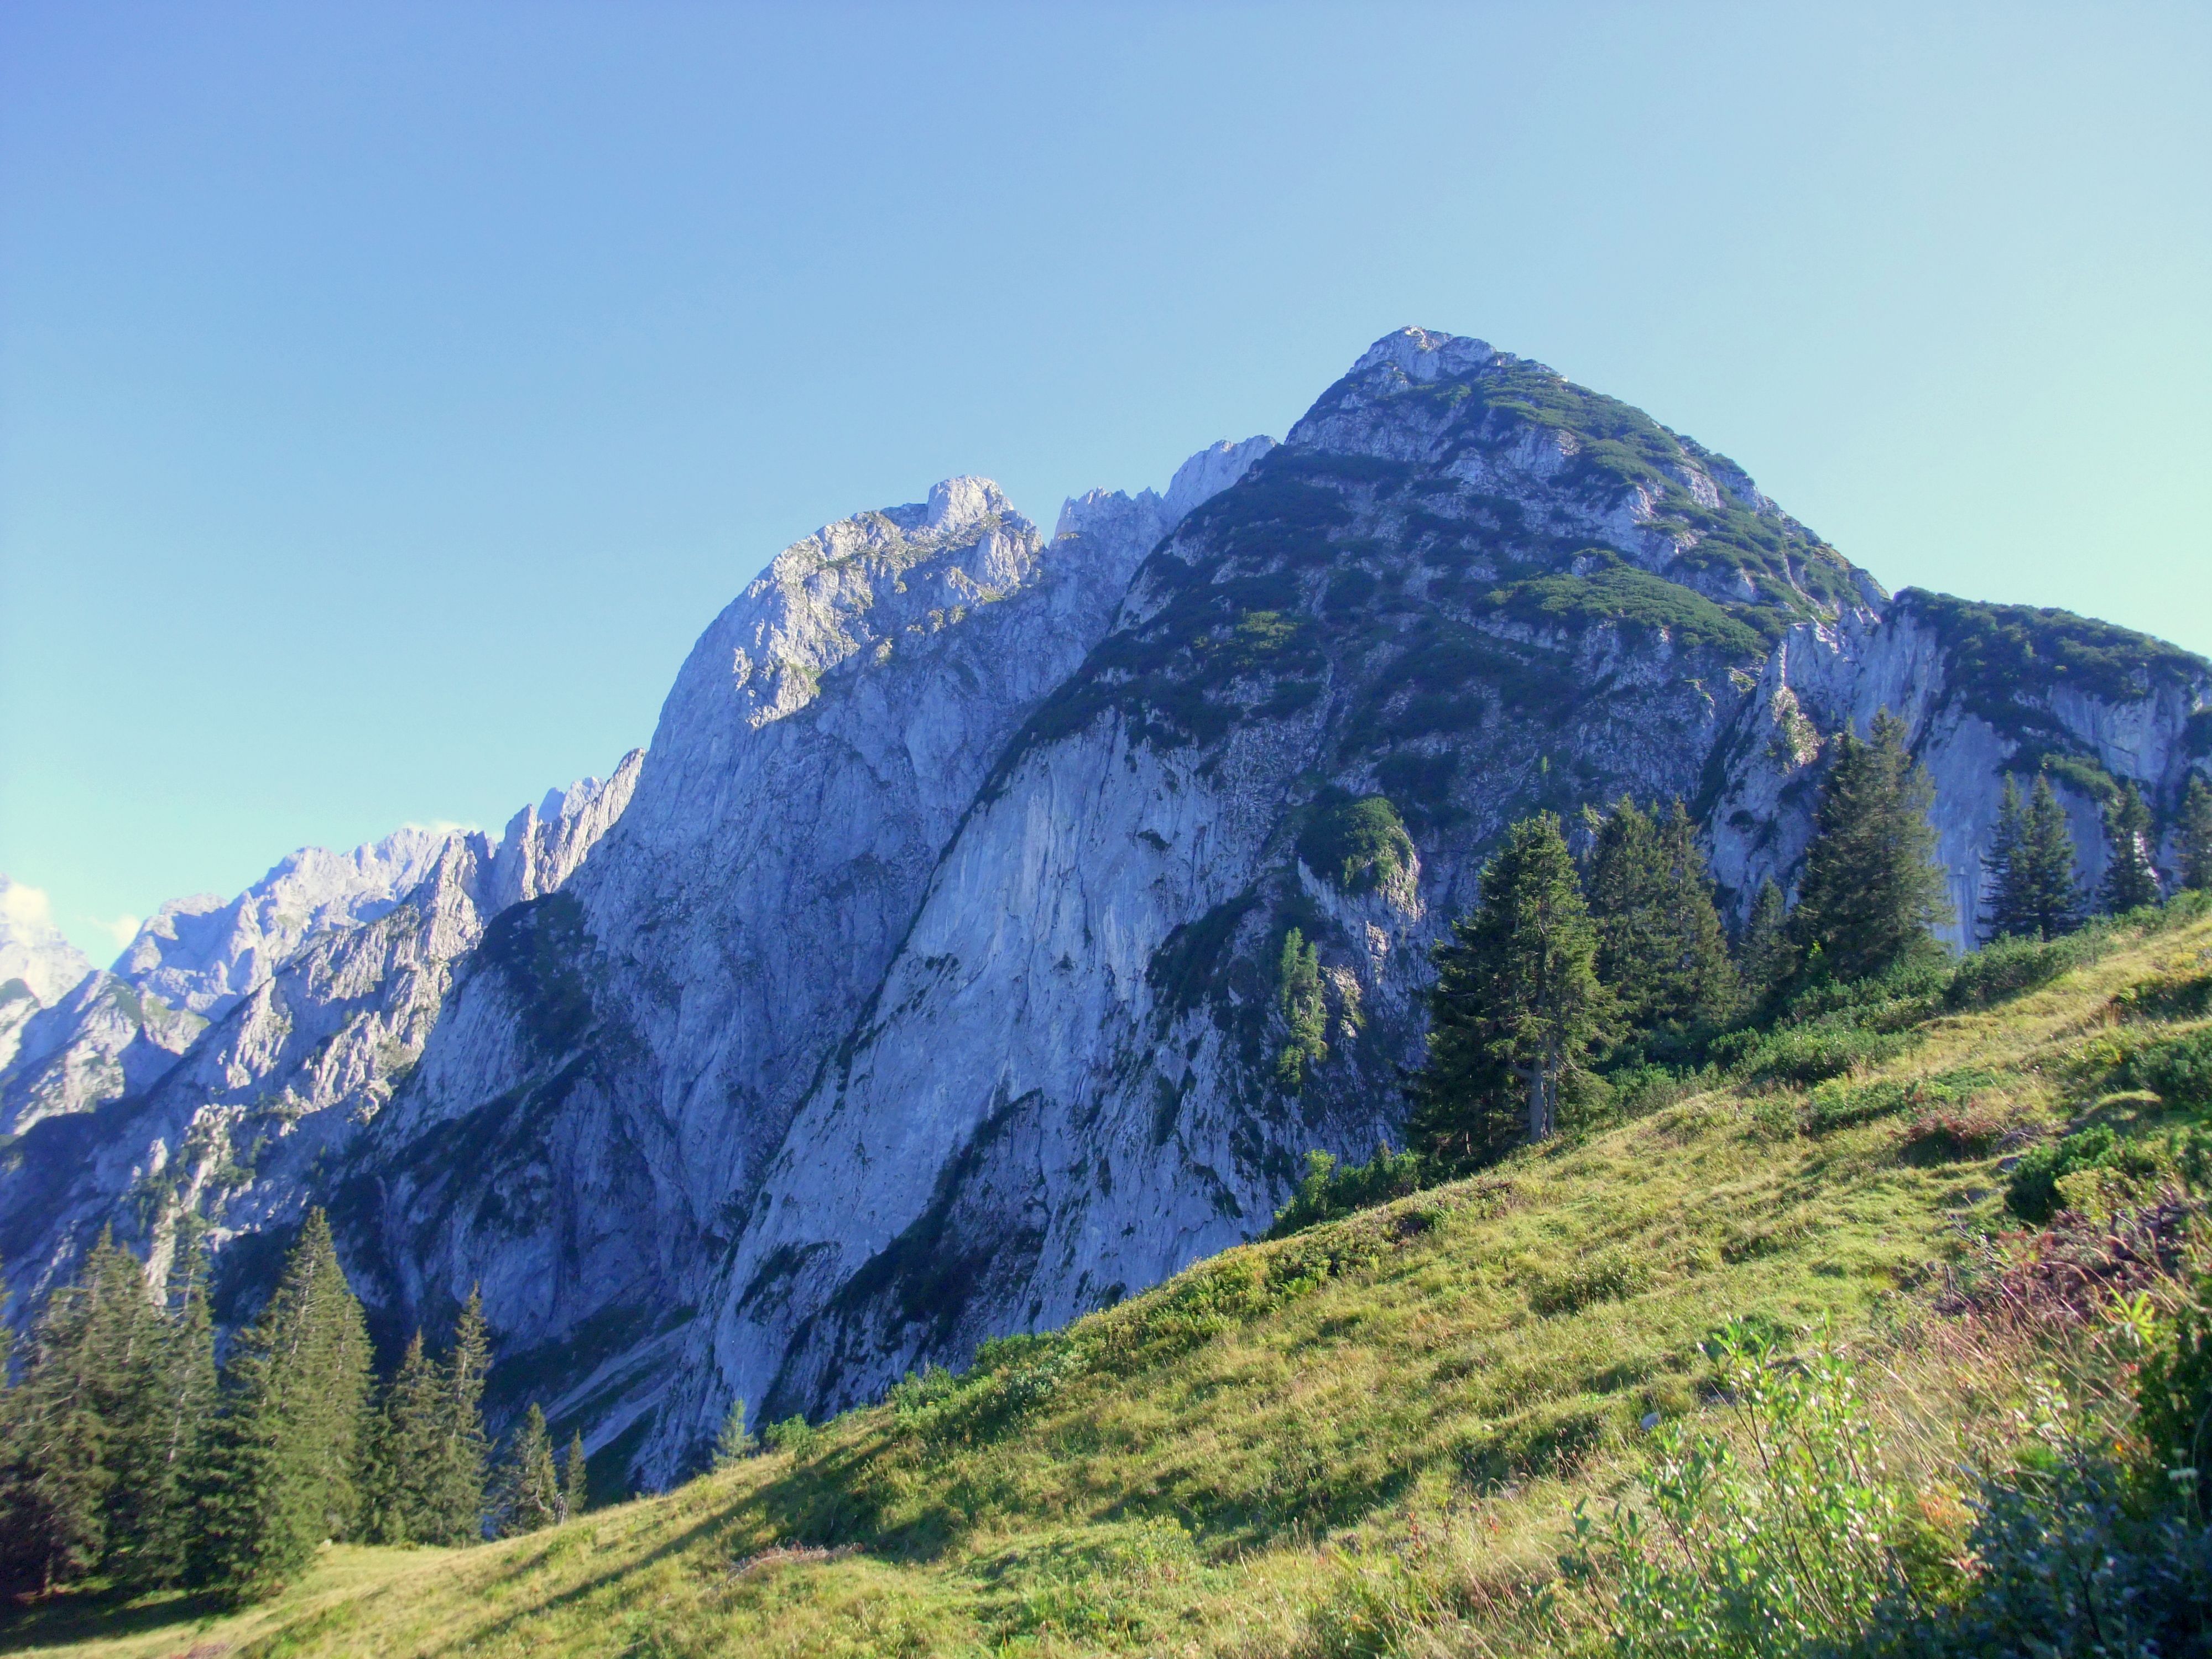
The 1,250 metres of climbing on the Donnerkogel route begin smoothly with the Kaiser Verschneidung (C/D) and continue somewhat more comfortably through the Enzianwand. After a saddle, the second, less attractive leg of the via ferrata begins. Unfortunately the original, highly controversial route was relocated because it crossed hunting grounds. The new line runs across dense dwarf-pine slopes and is mostly earthy and slippery – well, that’s just the way it is. You accept it and leave it behind without comment. All the more beautiful is what follows: from the Donnermadl onward, the Donnerkogel via ferrata finally lives up to its name. Steep (D) and exposed, the route climbs up the Donnermandl and then along the ridge to the summit. That final section alone was worth it!
Photos